Painting a Happy Moment with My Dog, Cadet
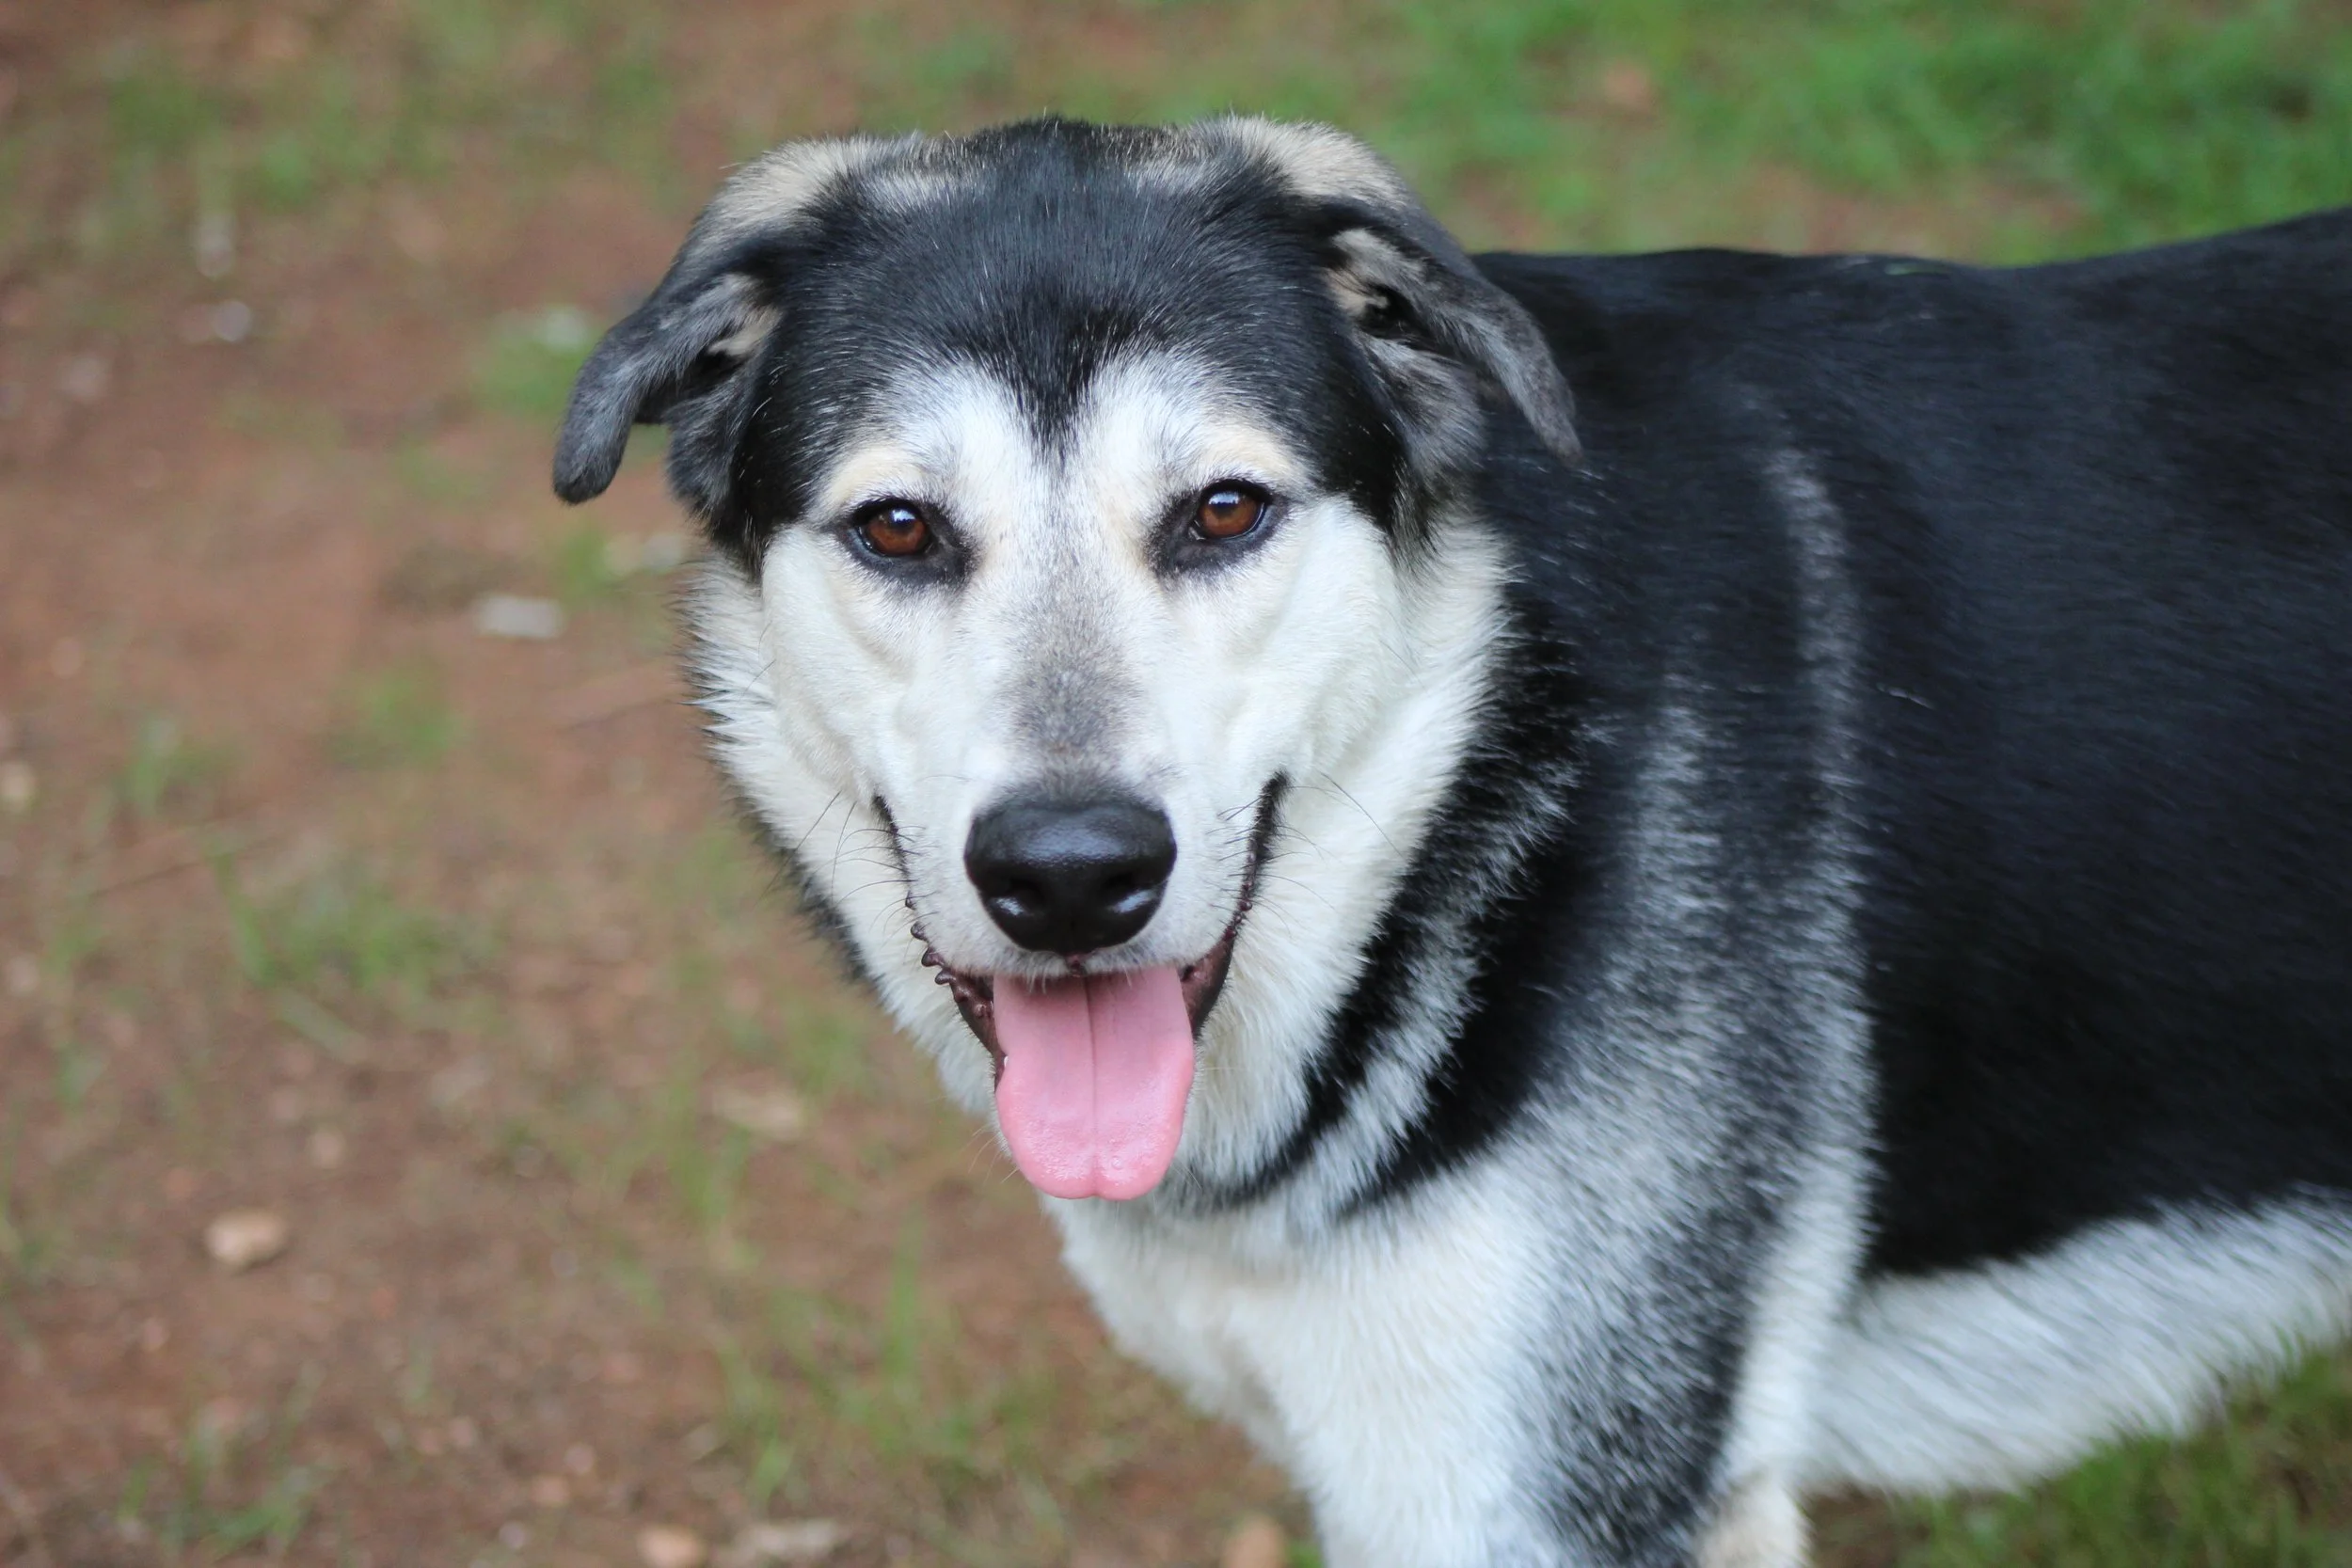
Meet Cadet!
Even when Cadet was just a puppy, he stood out from the rest of our puppies..
Whenever I would arrive home, all the other puppies would be so excited to run and go outside; not Cadet. Instead, he would run straight to me, excited to get cuddles.. and while originally we were only going to keep Honi and Tala from Scout and Luna’s litter…we couldn’t resist keeping him. HE CHOSE US.
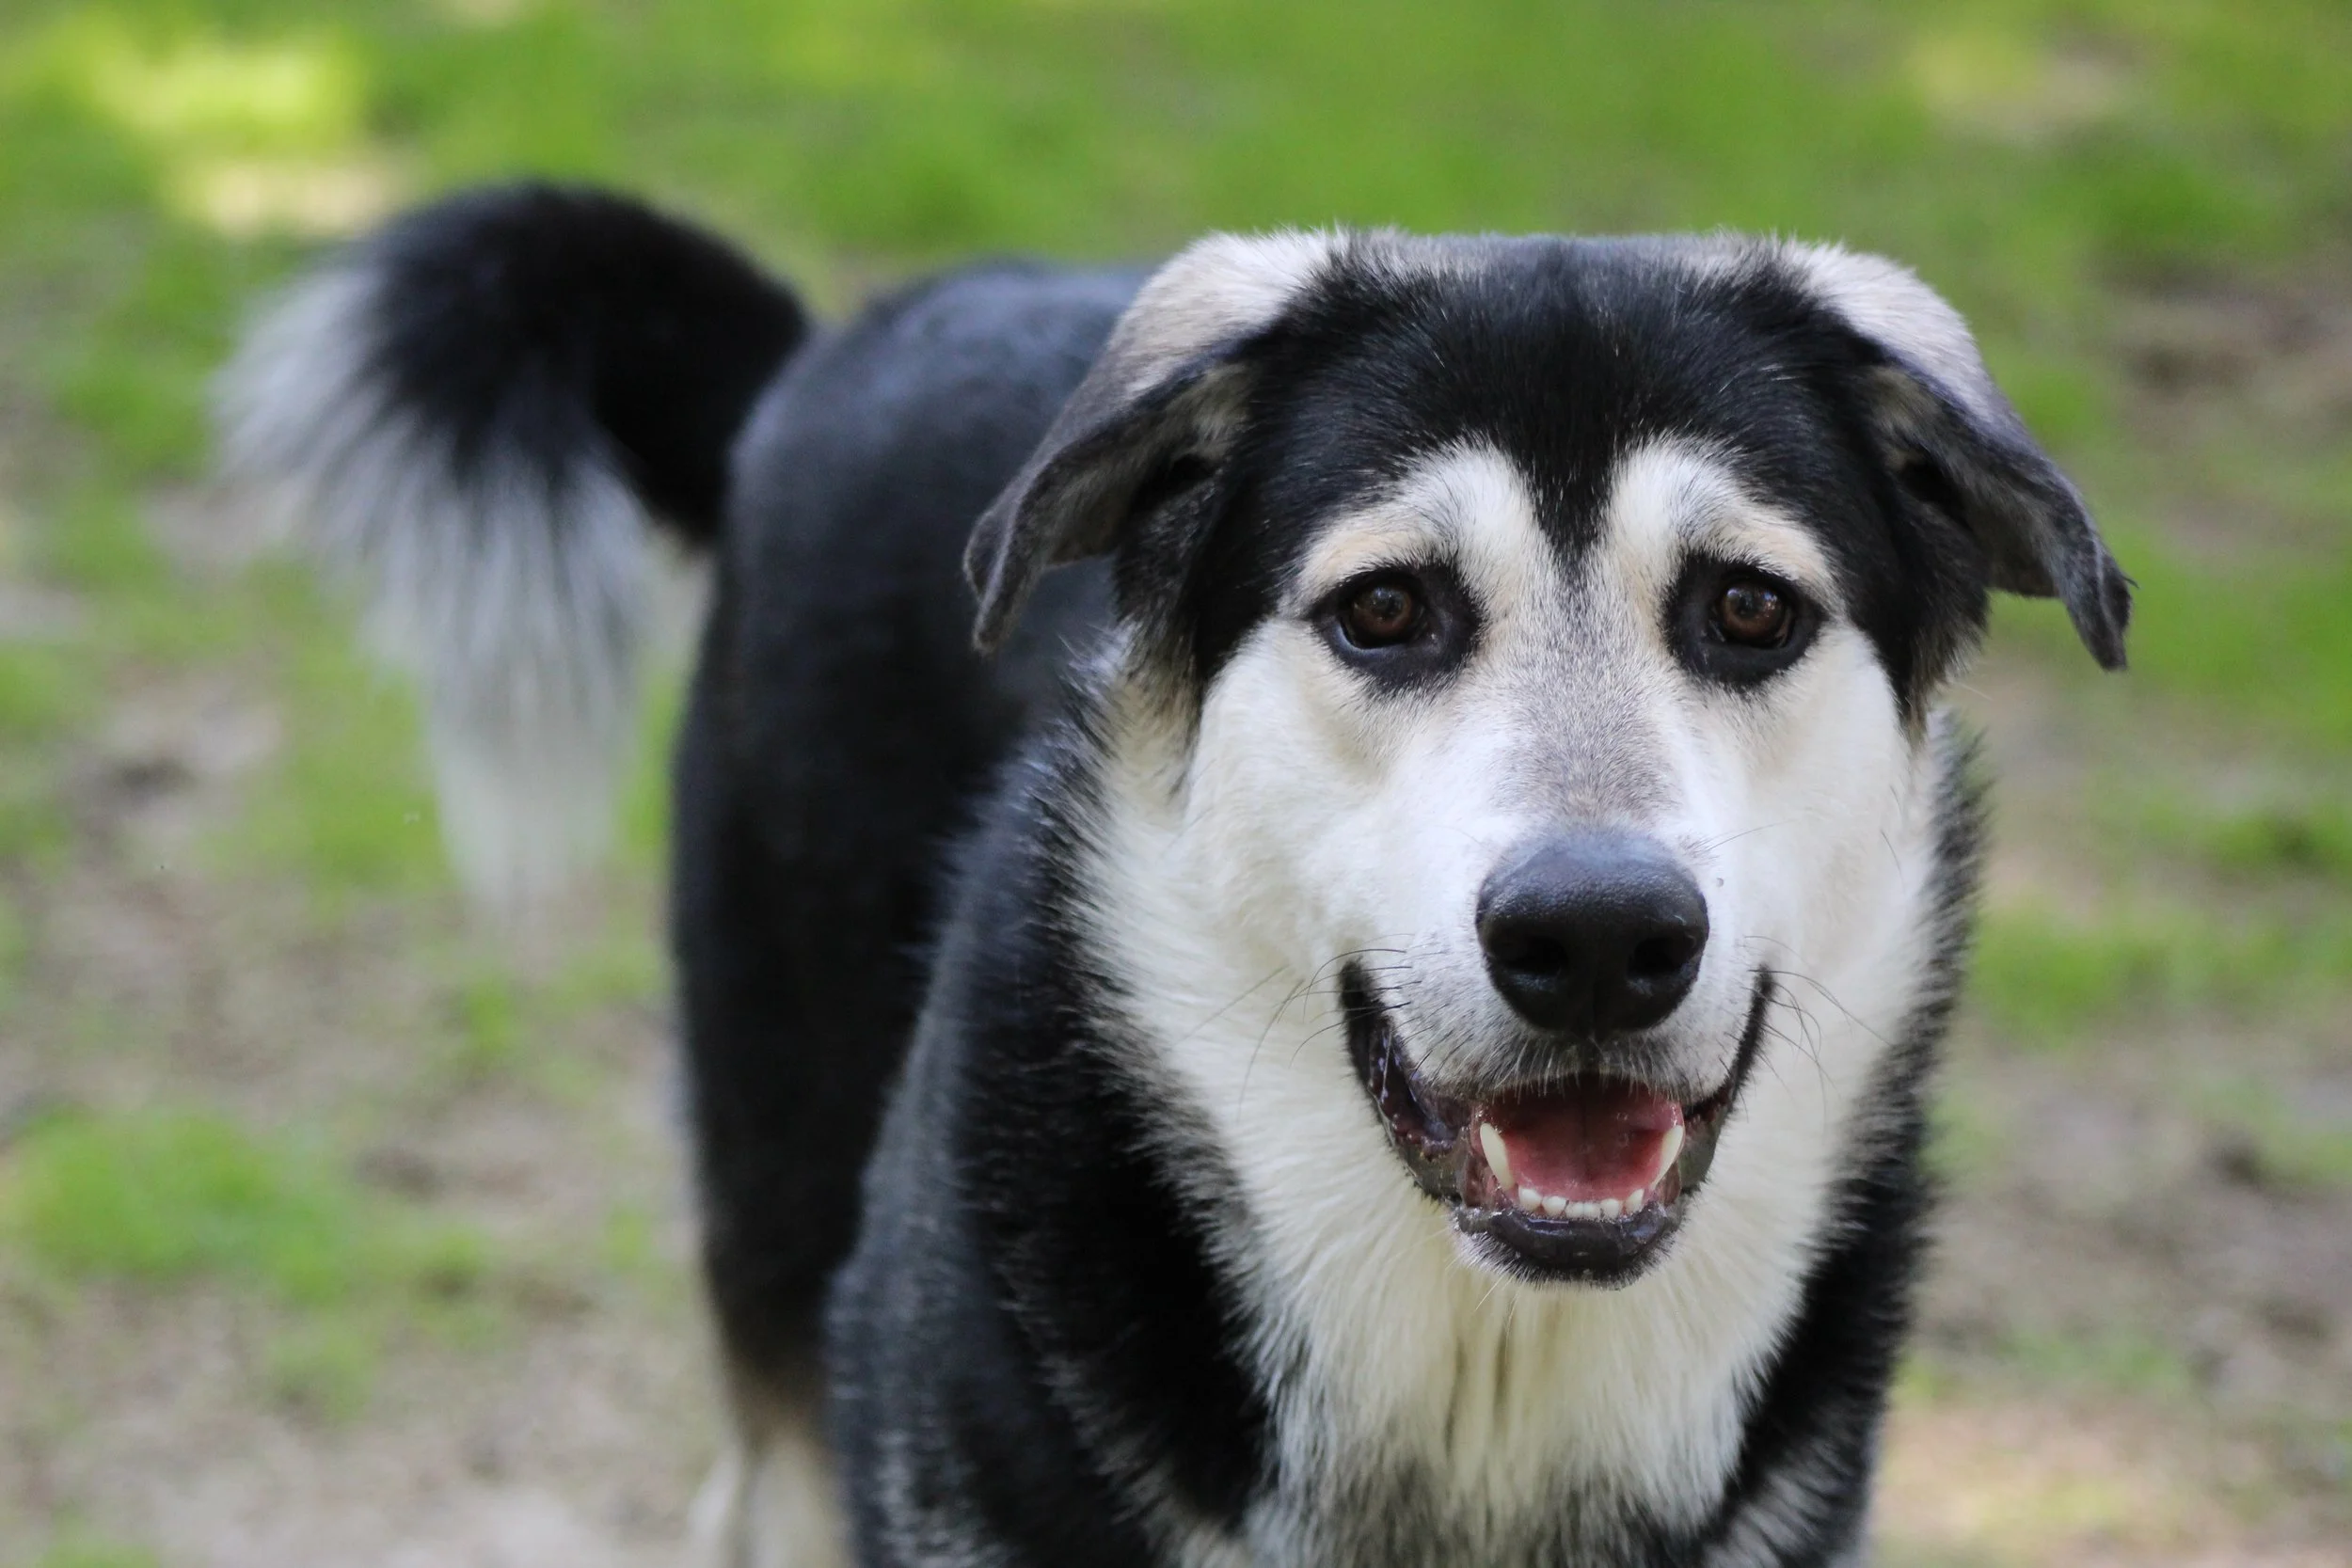
Cadet has remained equally as big of a love bug as he was when he was little. However, he is a shy guy with strangers. He LOVES his back scratches, and getting his hair brushed. His favorite toy is a squeaky donut. Whenever I try to give Gene a hug he will wiggle his way in between us, because he feels he deserves all the attention.. and let’s face it, he does. He also feels he deserves all things lush as well: he requires a comfy dog bed to lay on as he eats his kibble…While he is a needy boy, we wouldn’t change him one bit, because he is perfect the way he is.
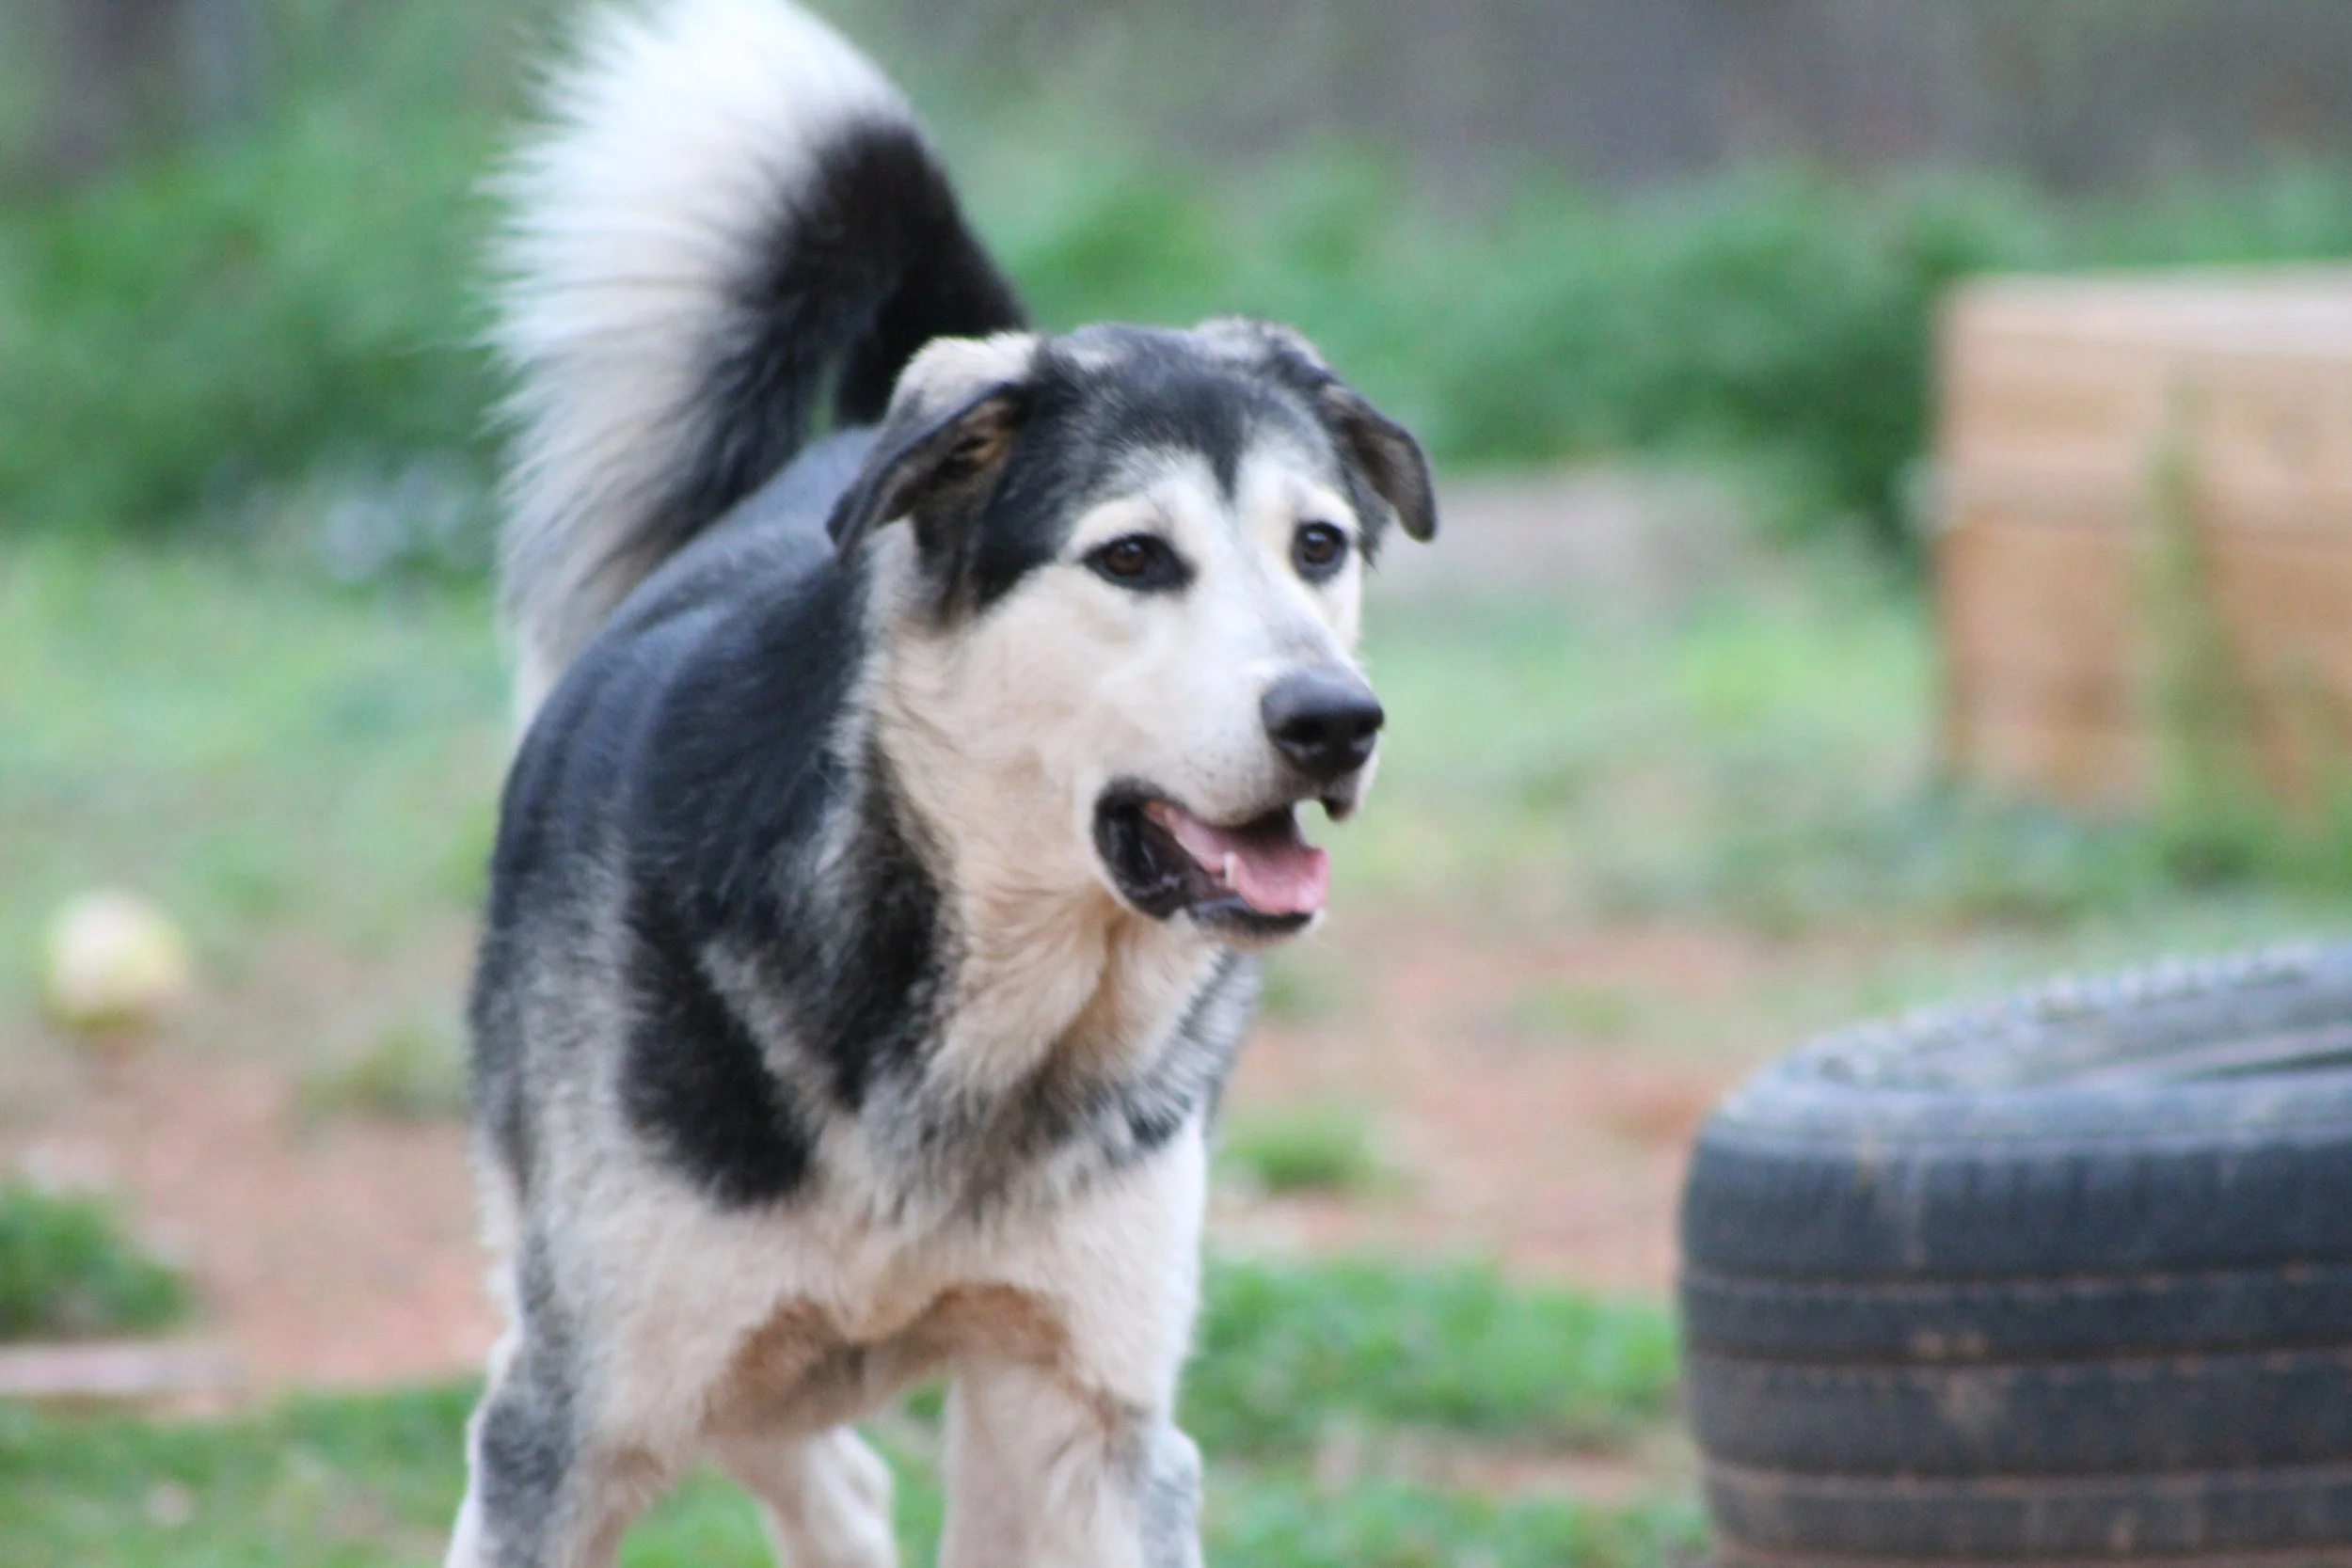
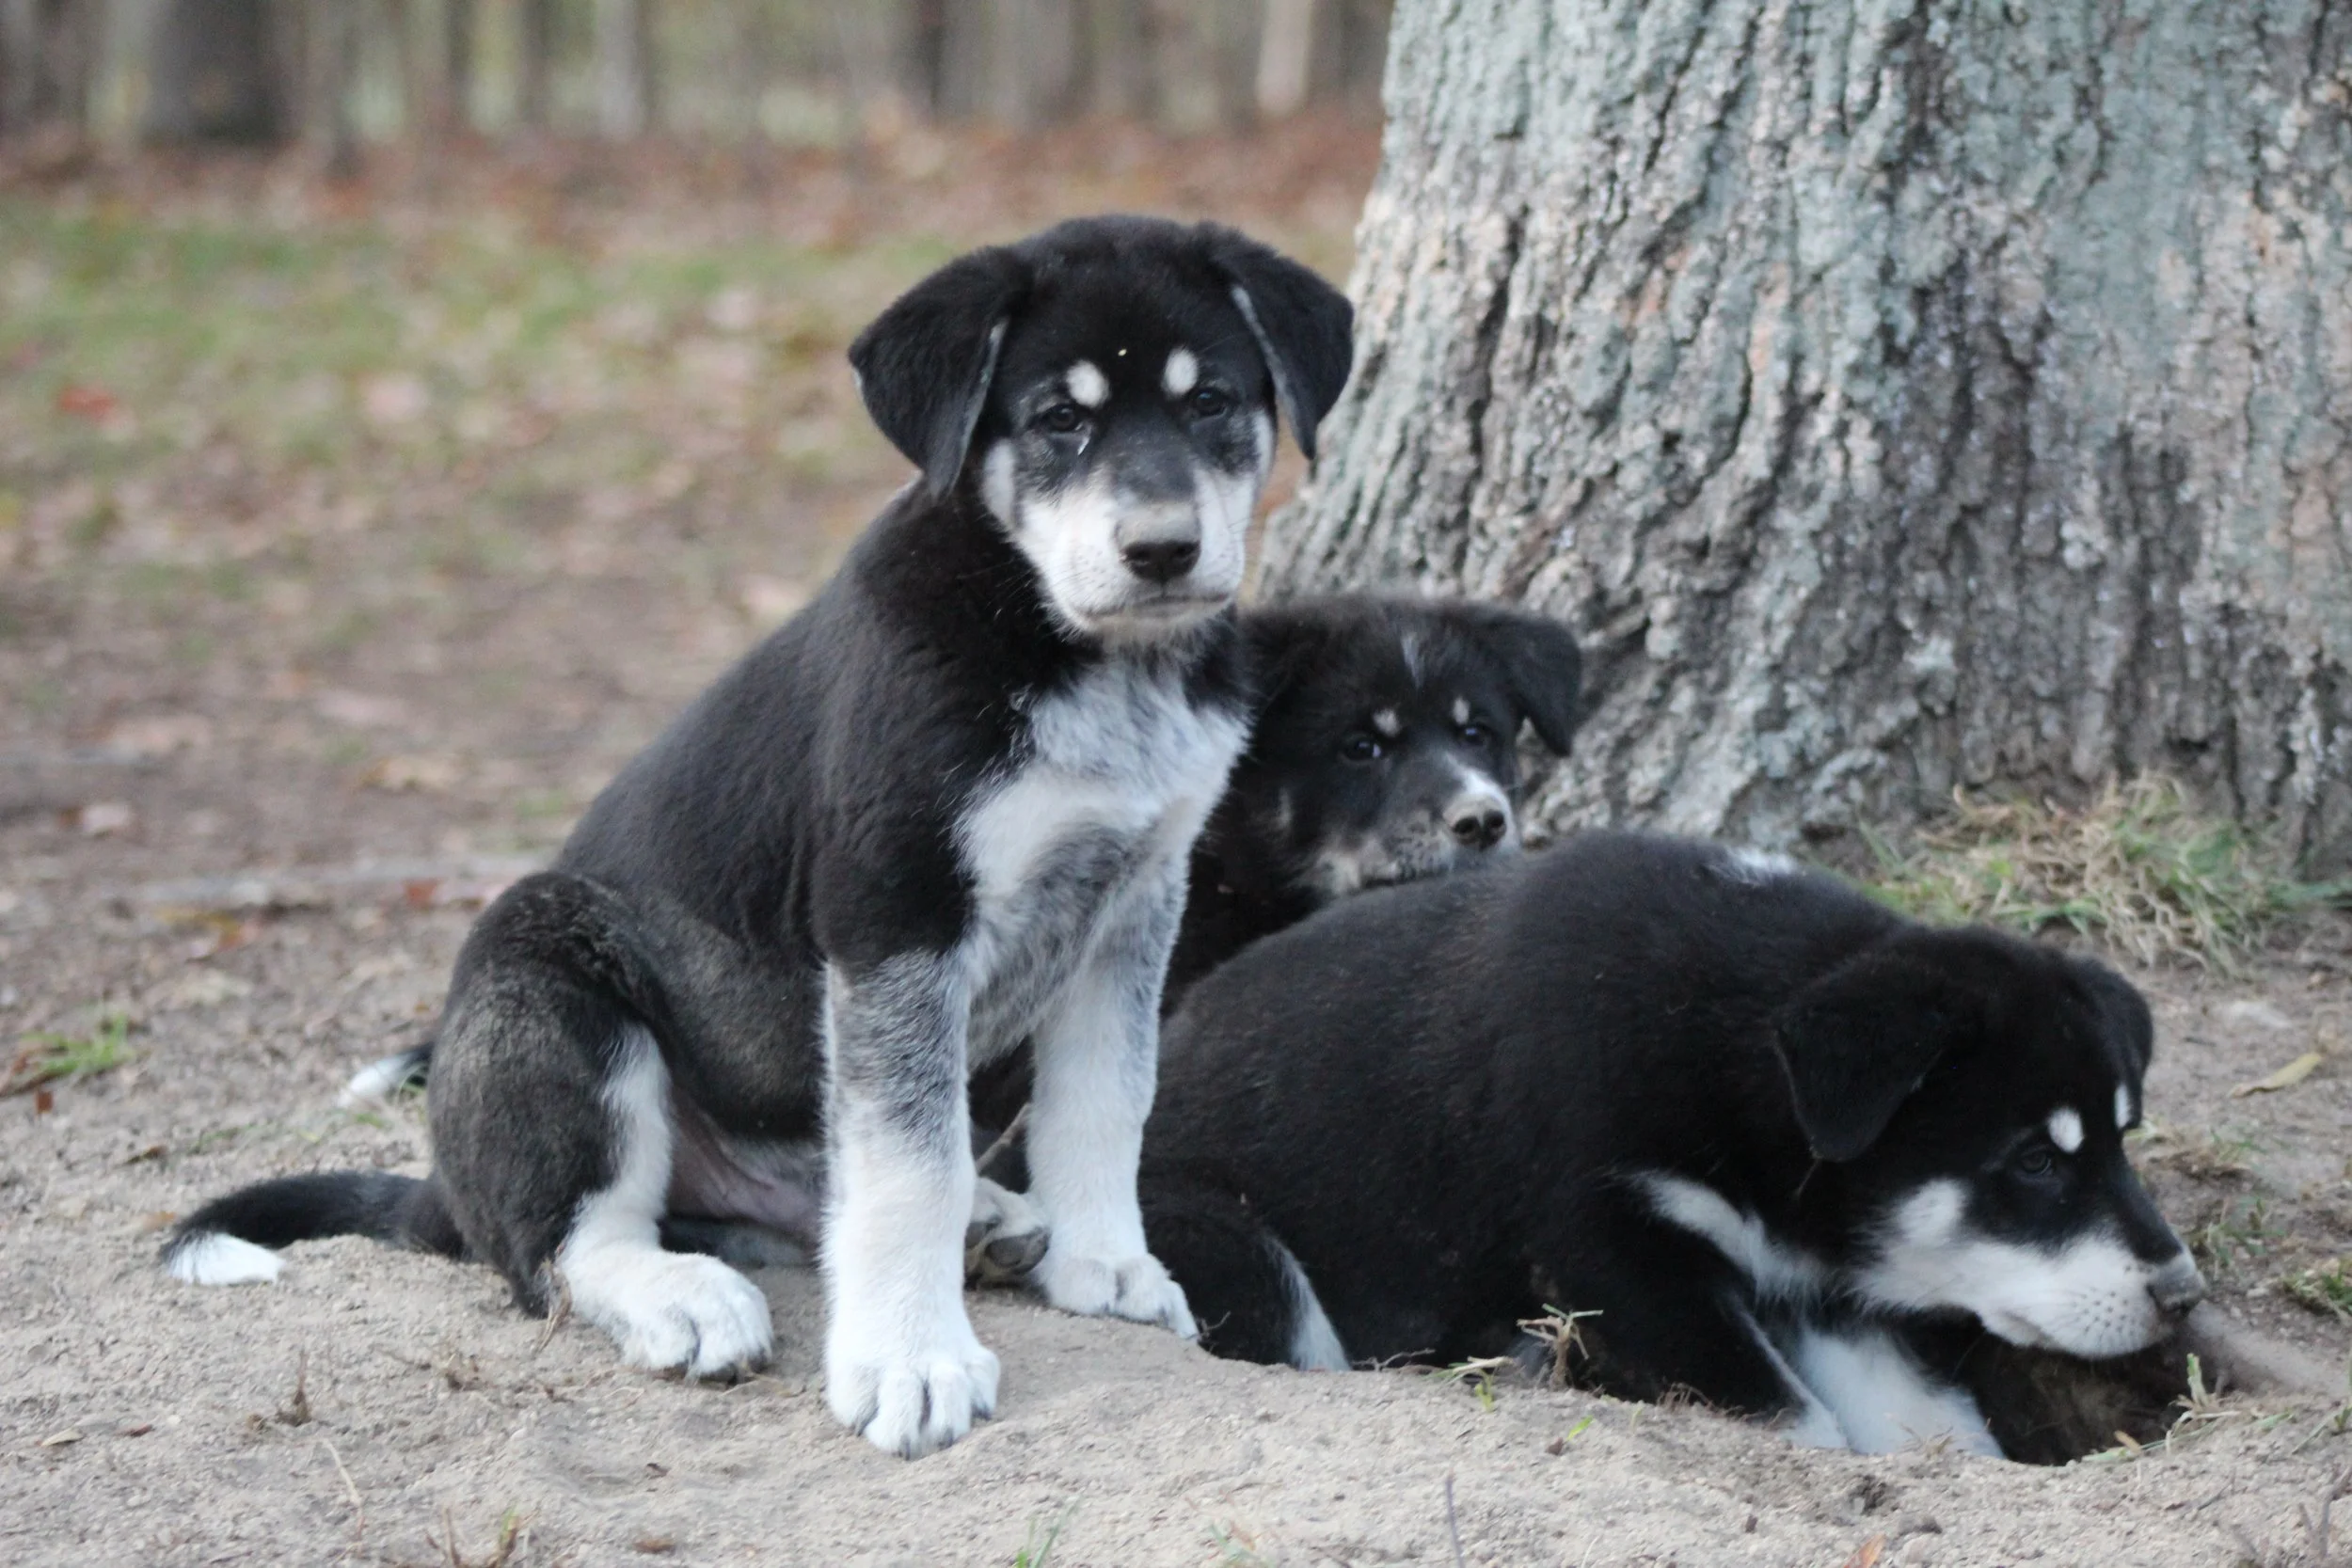
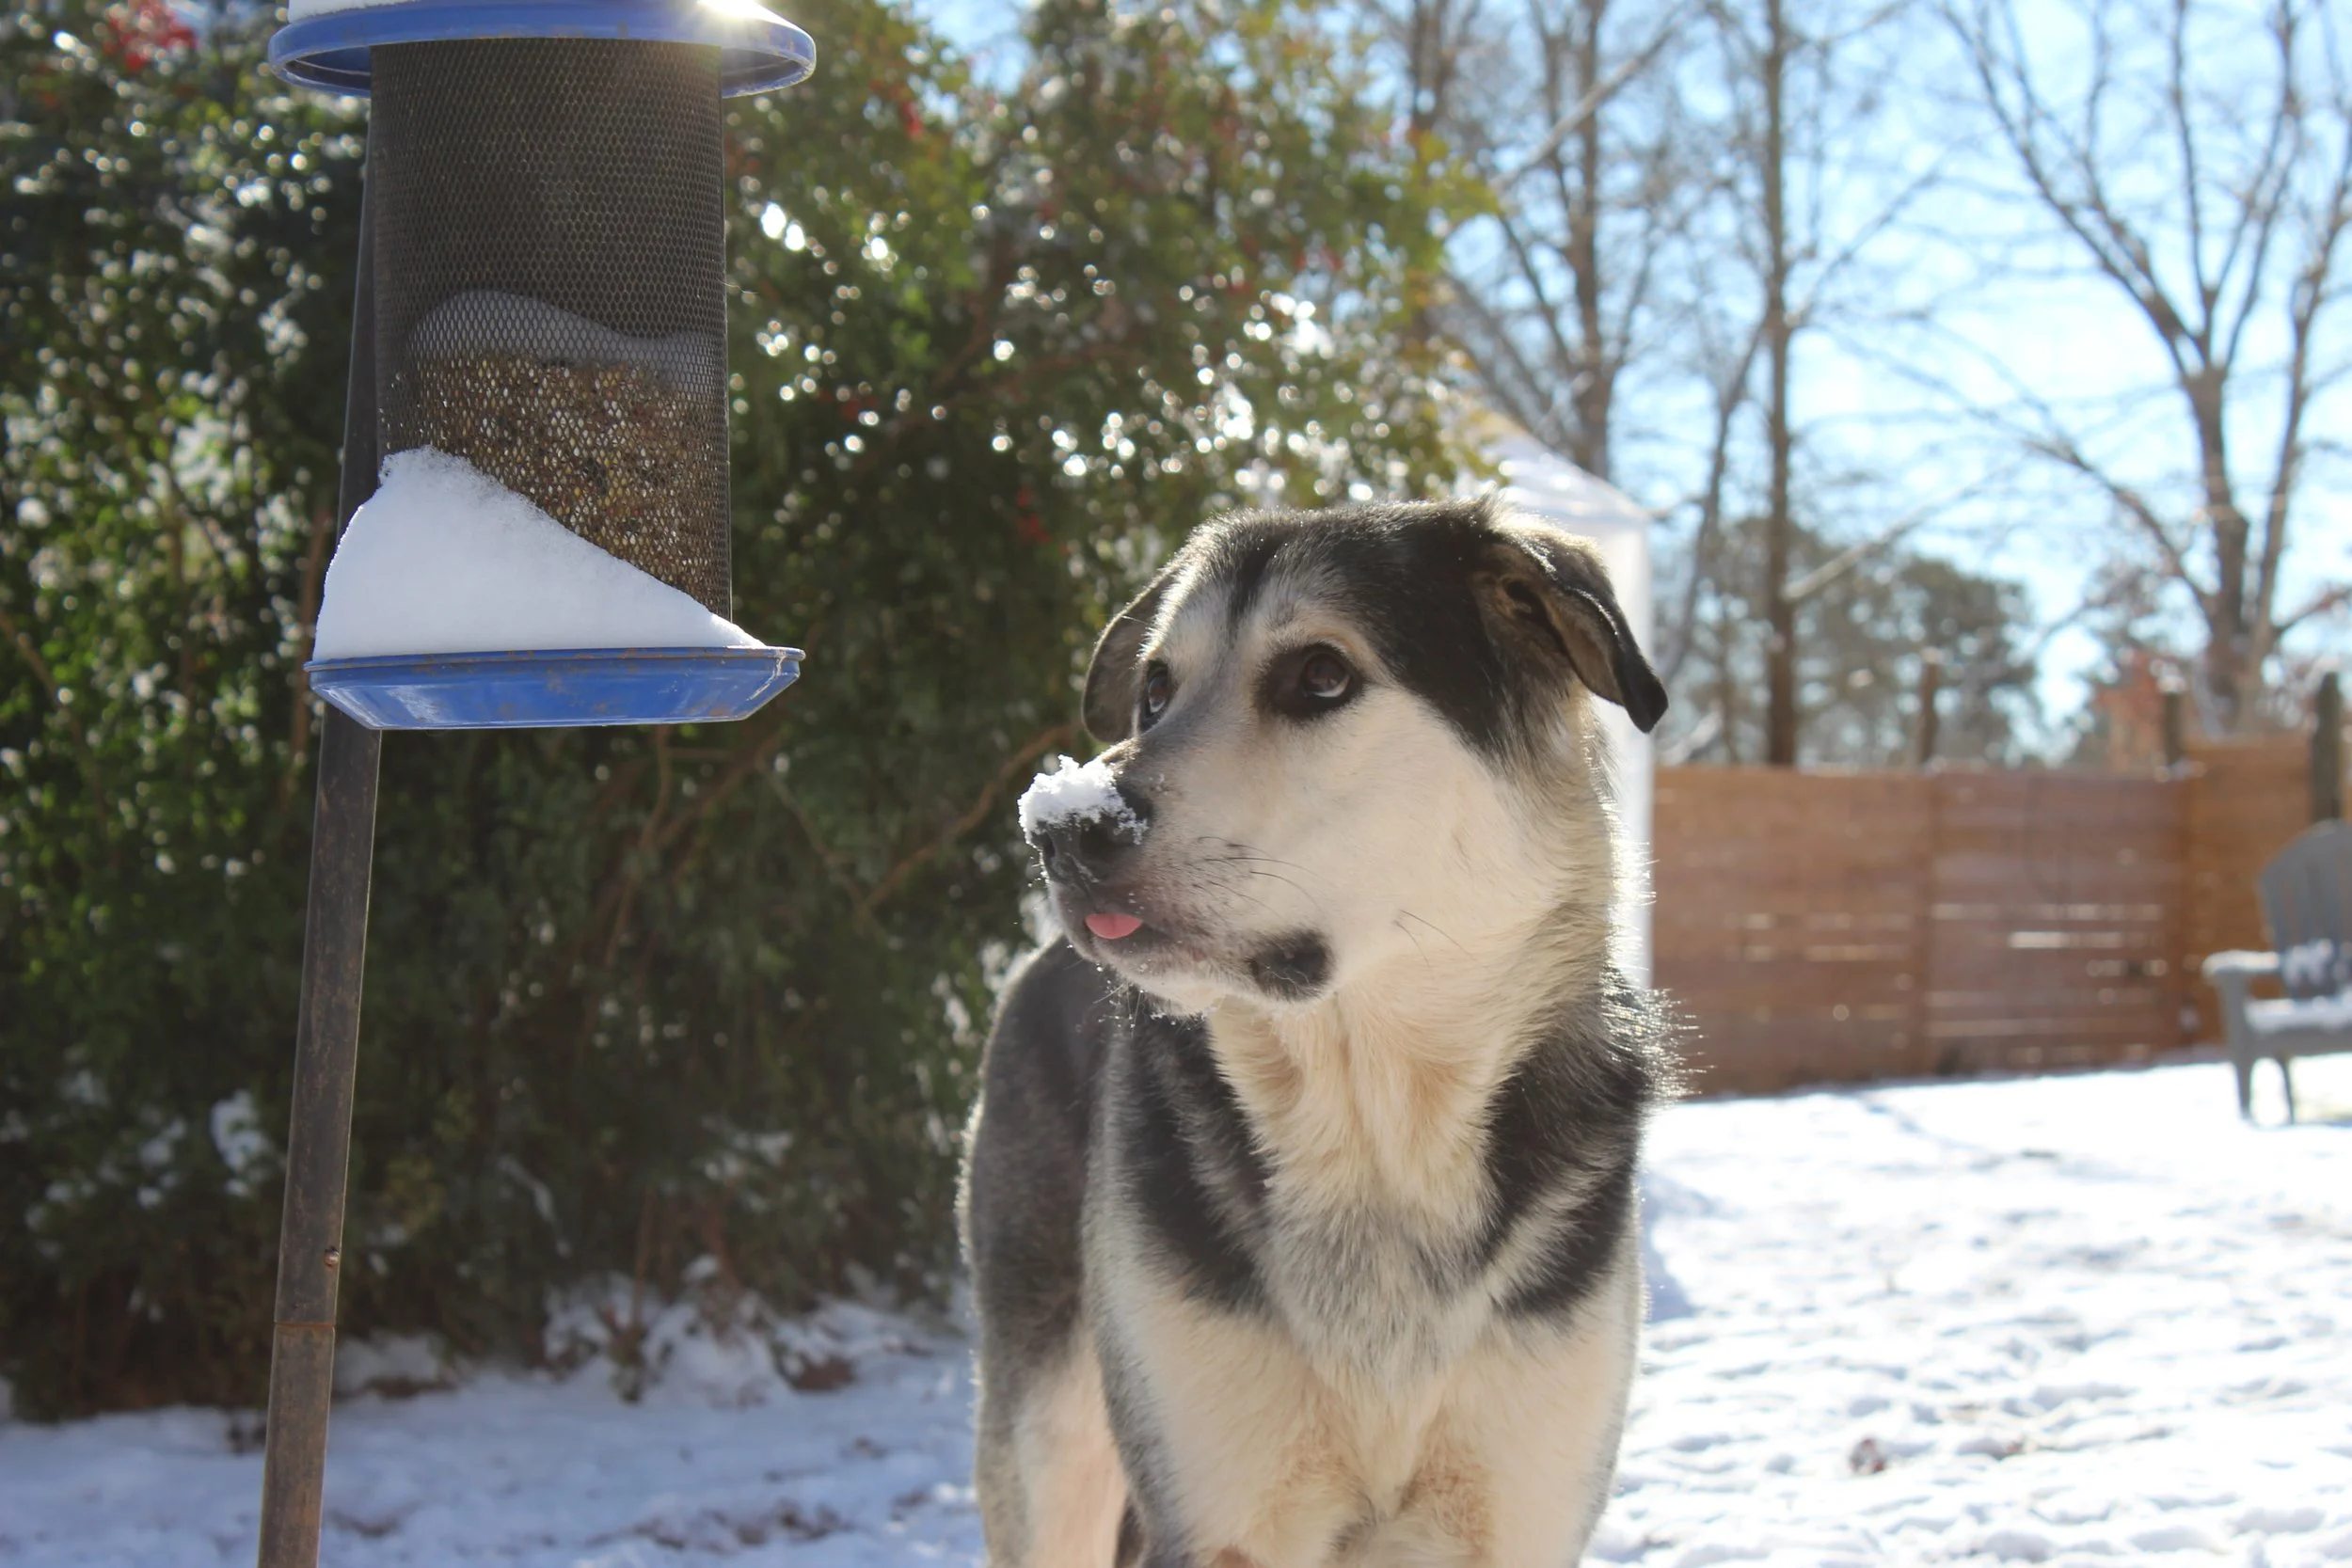
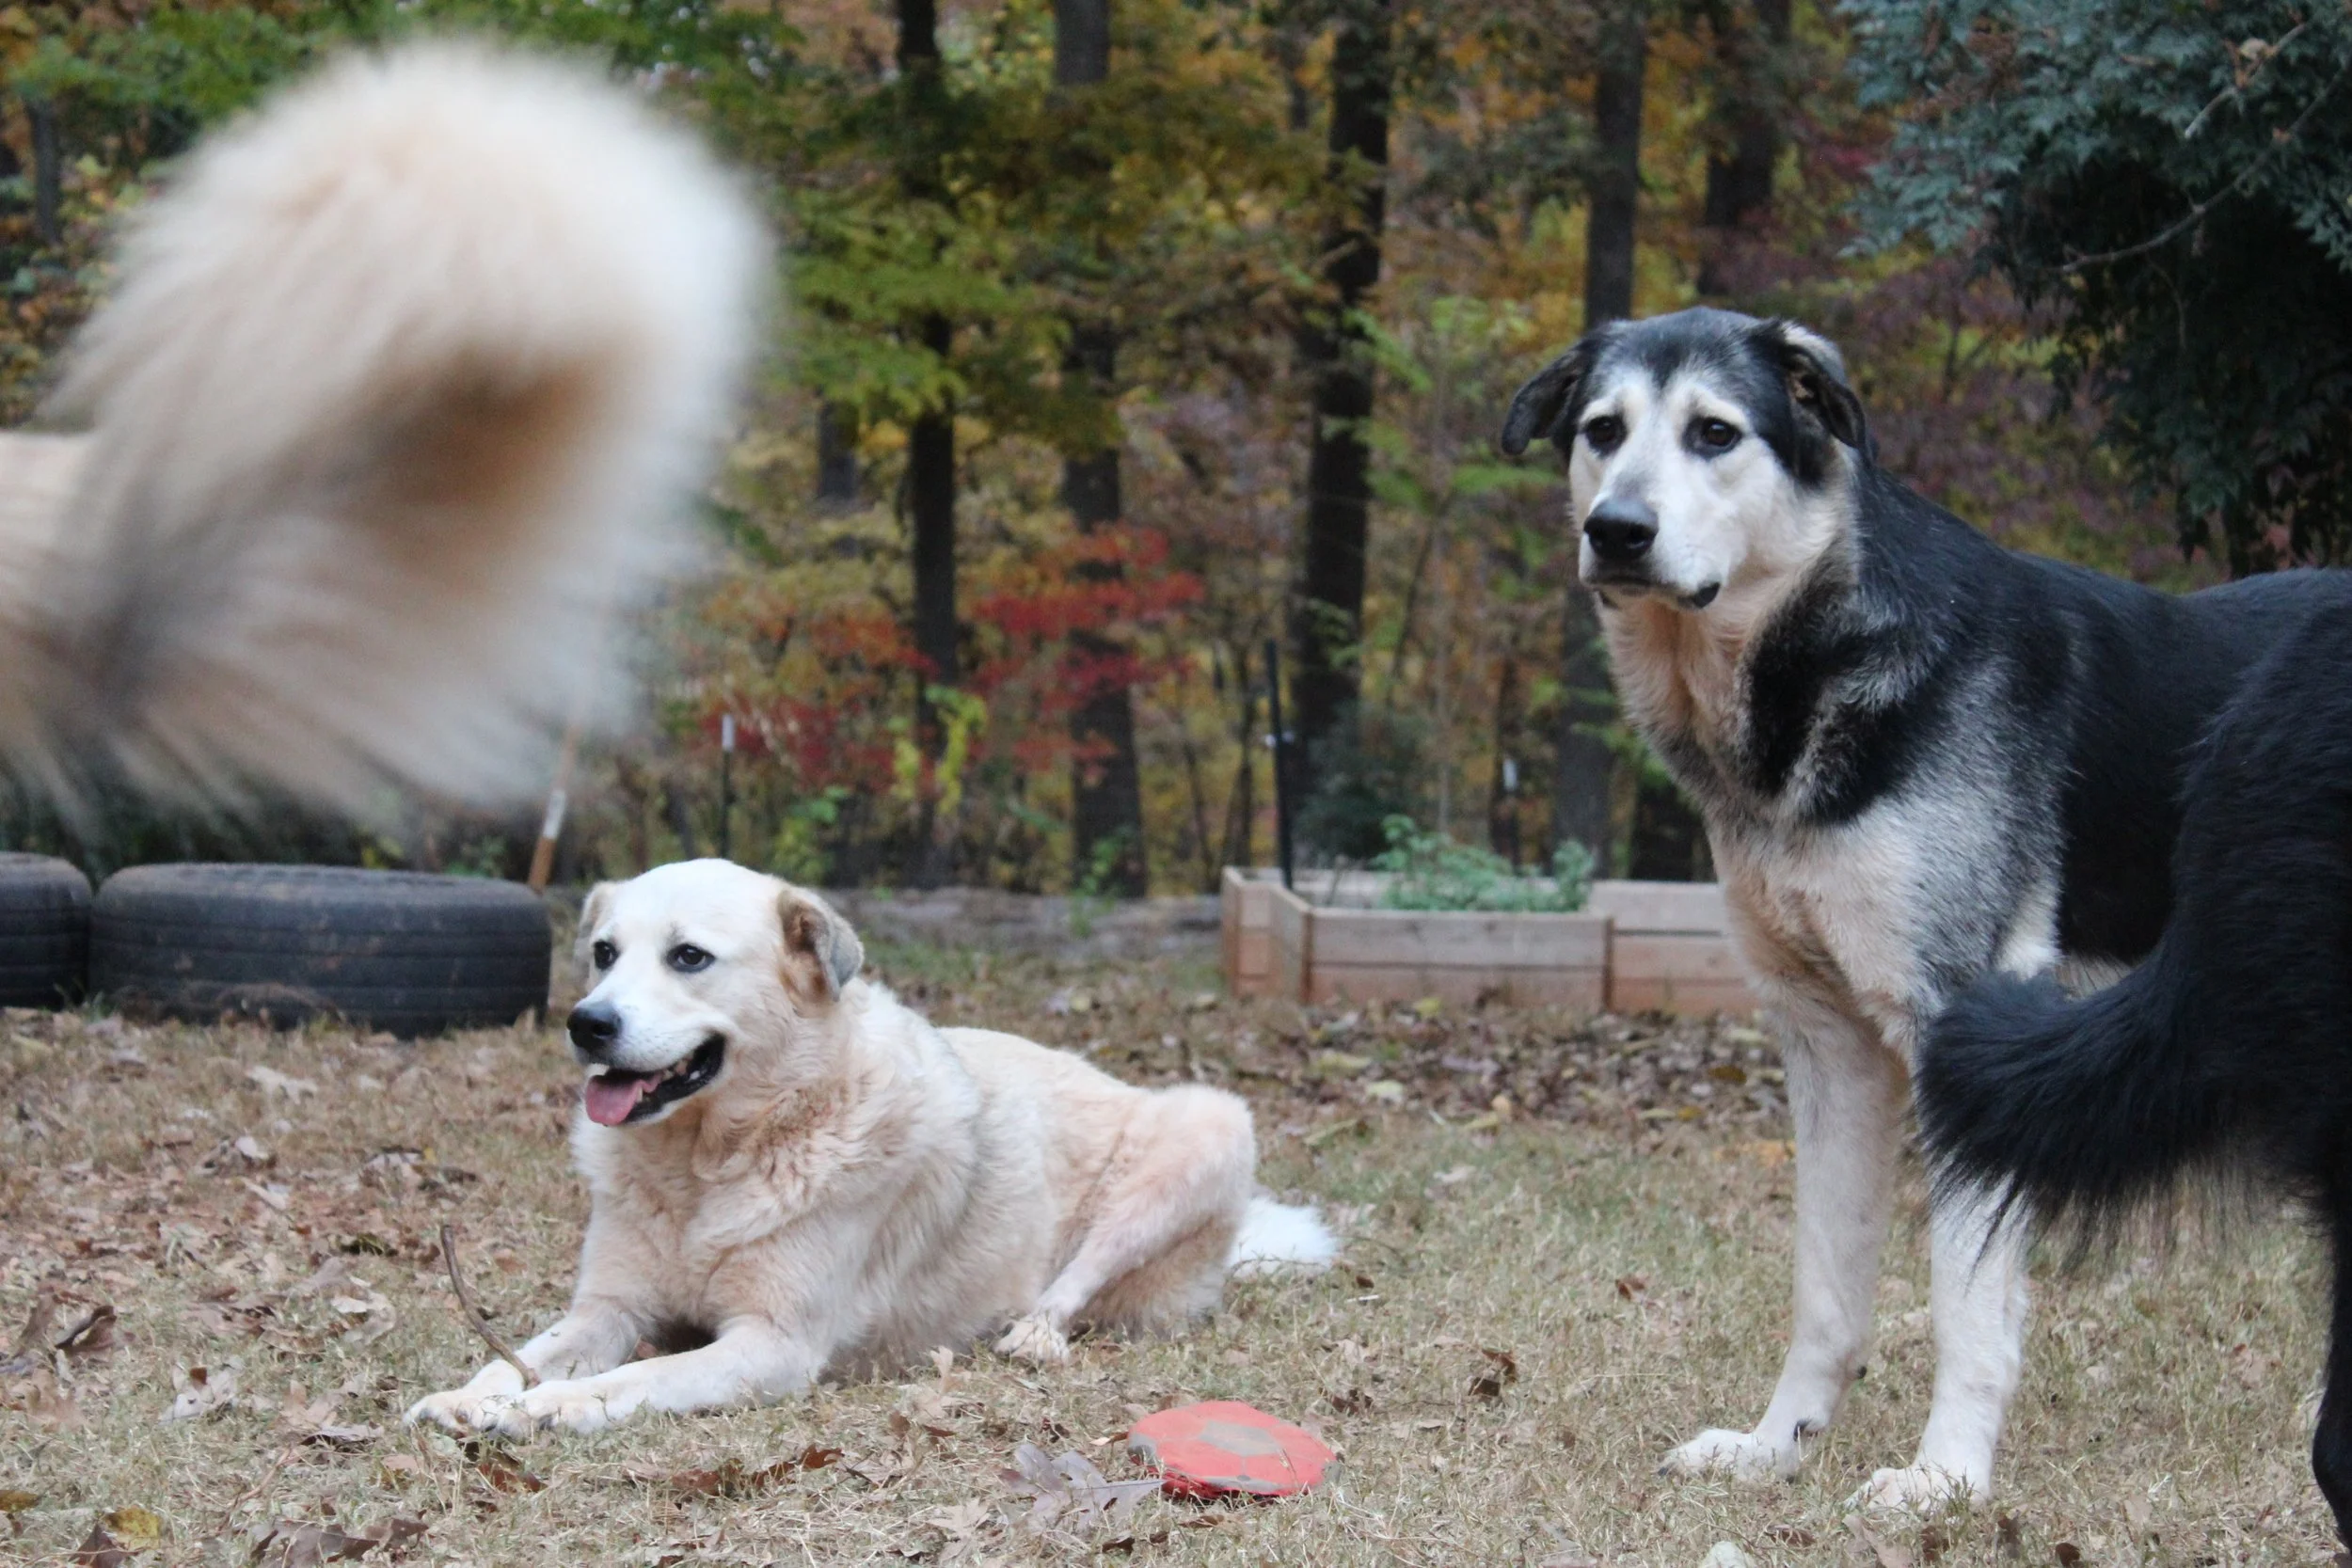
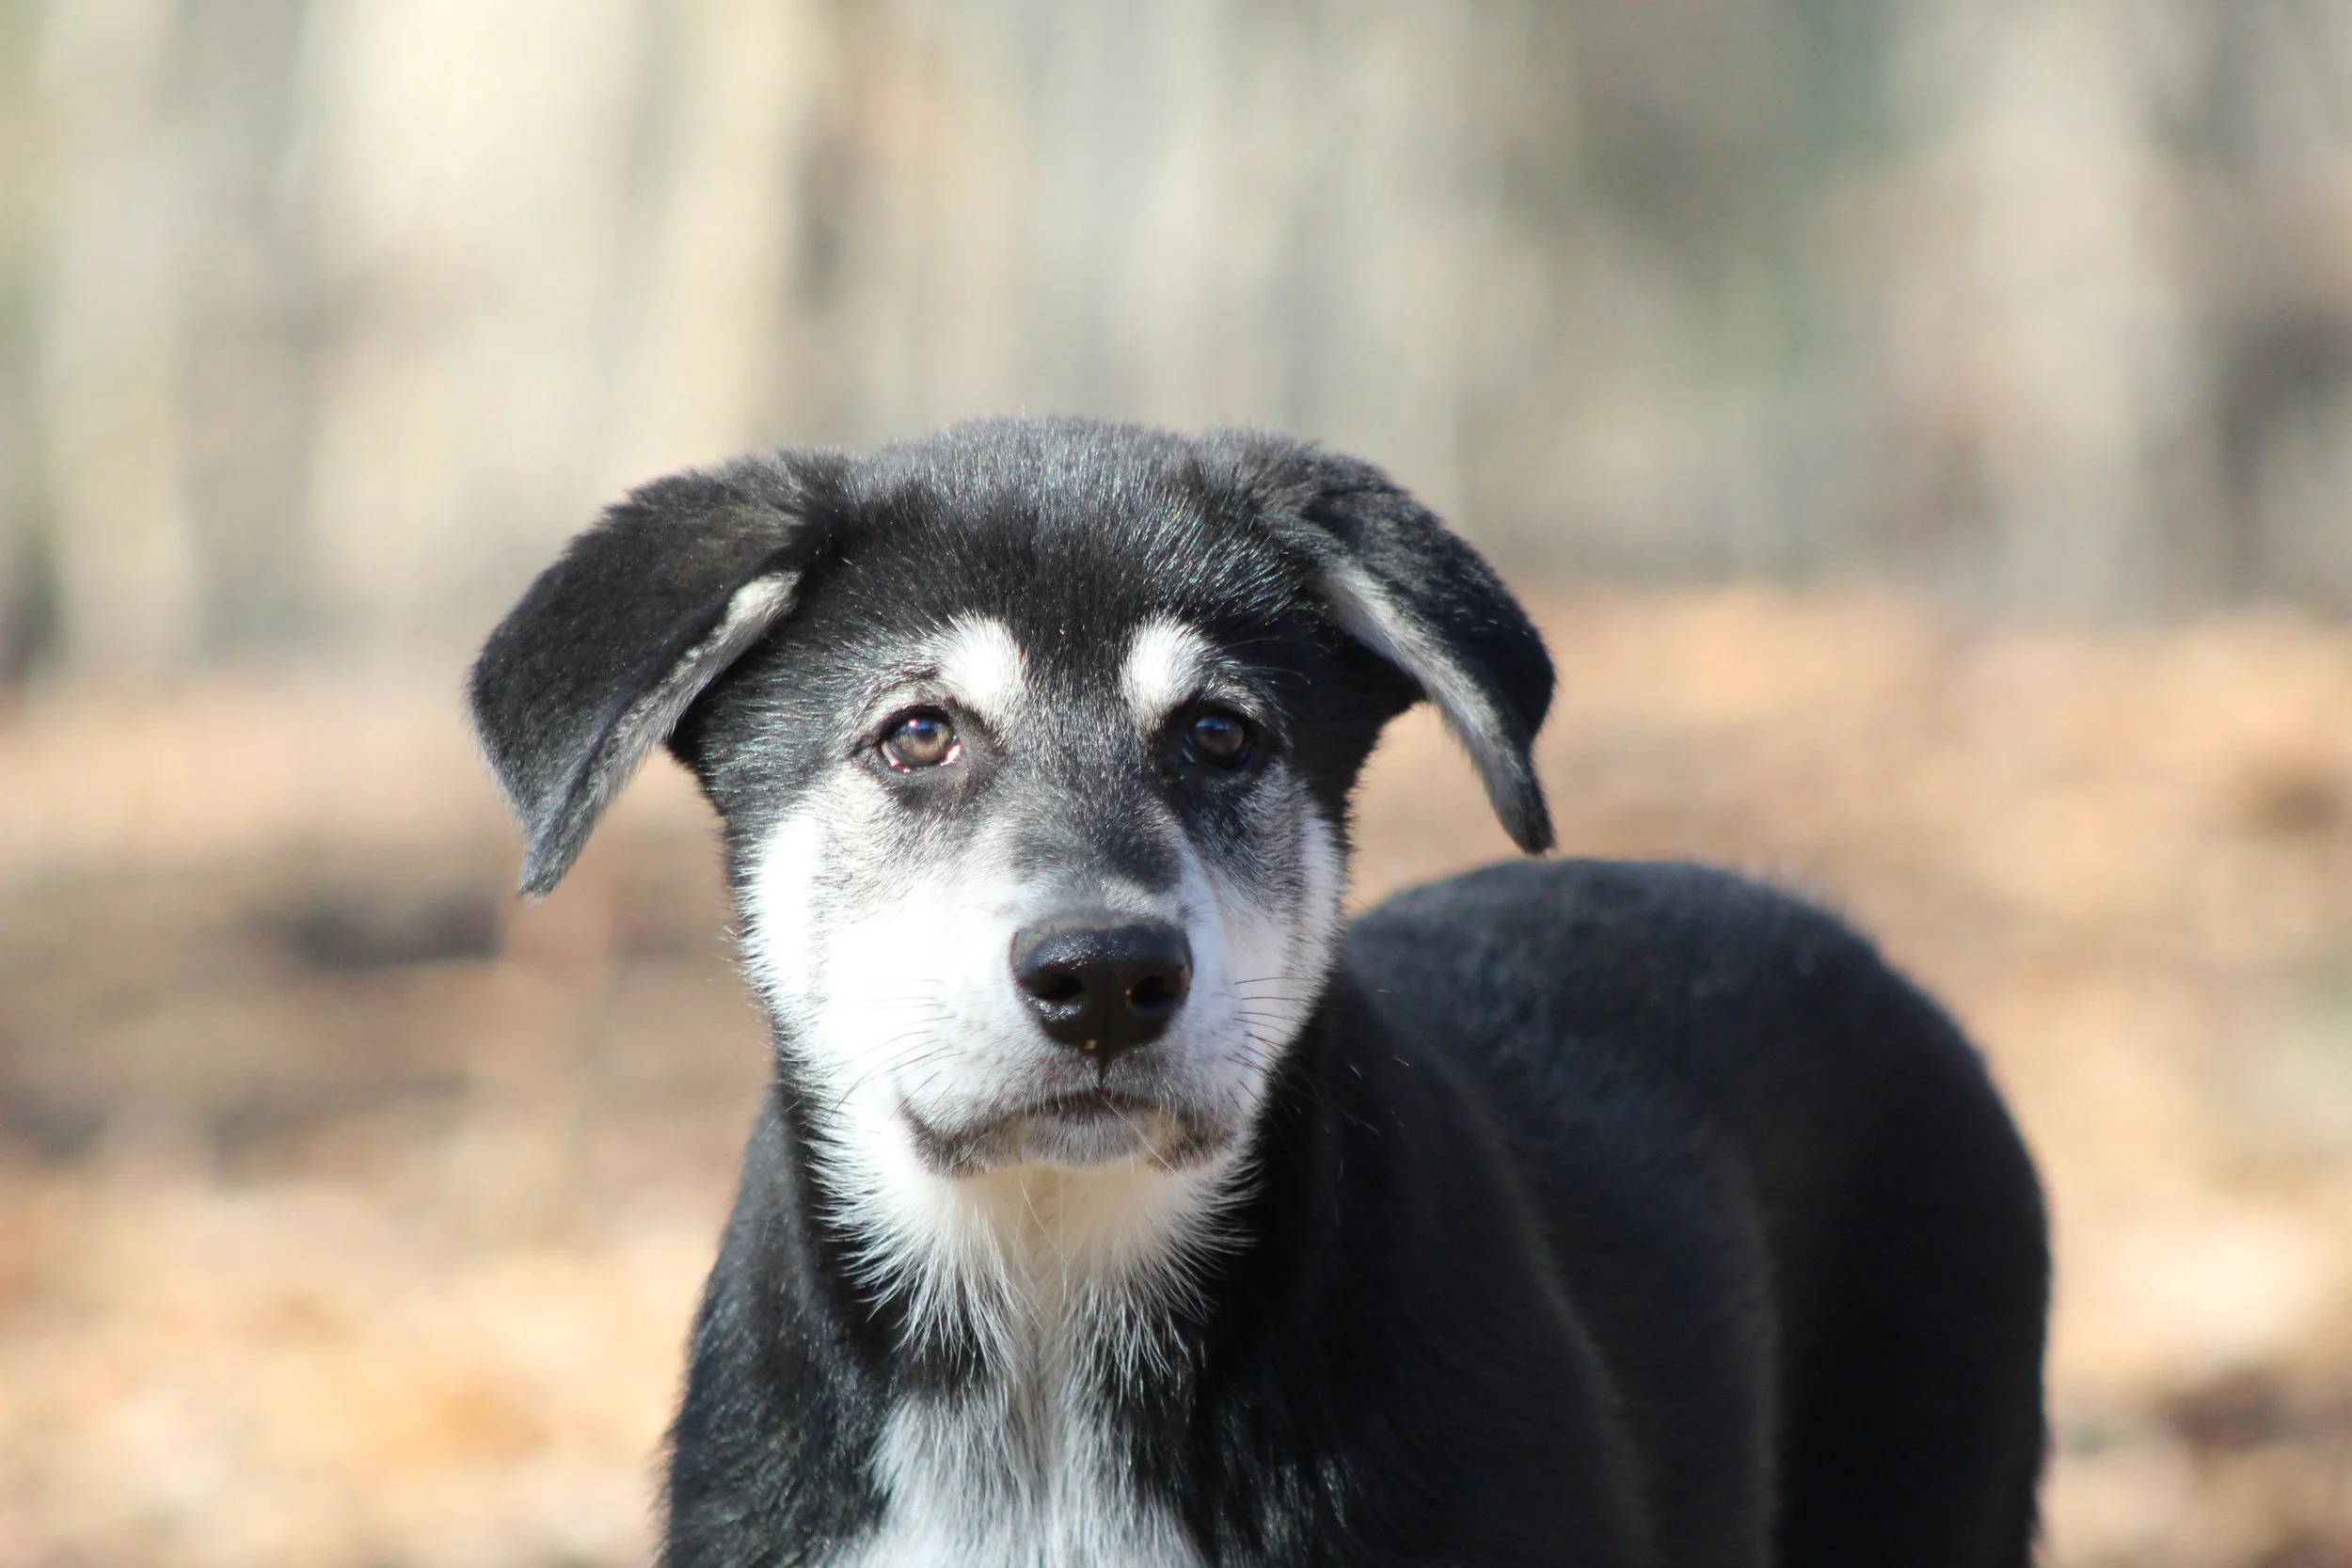
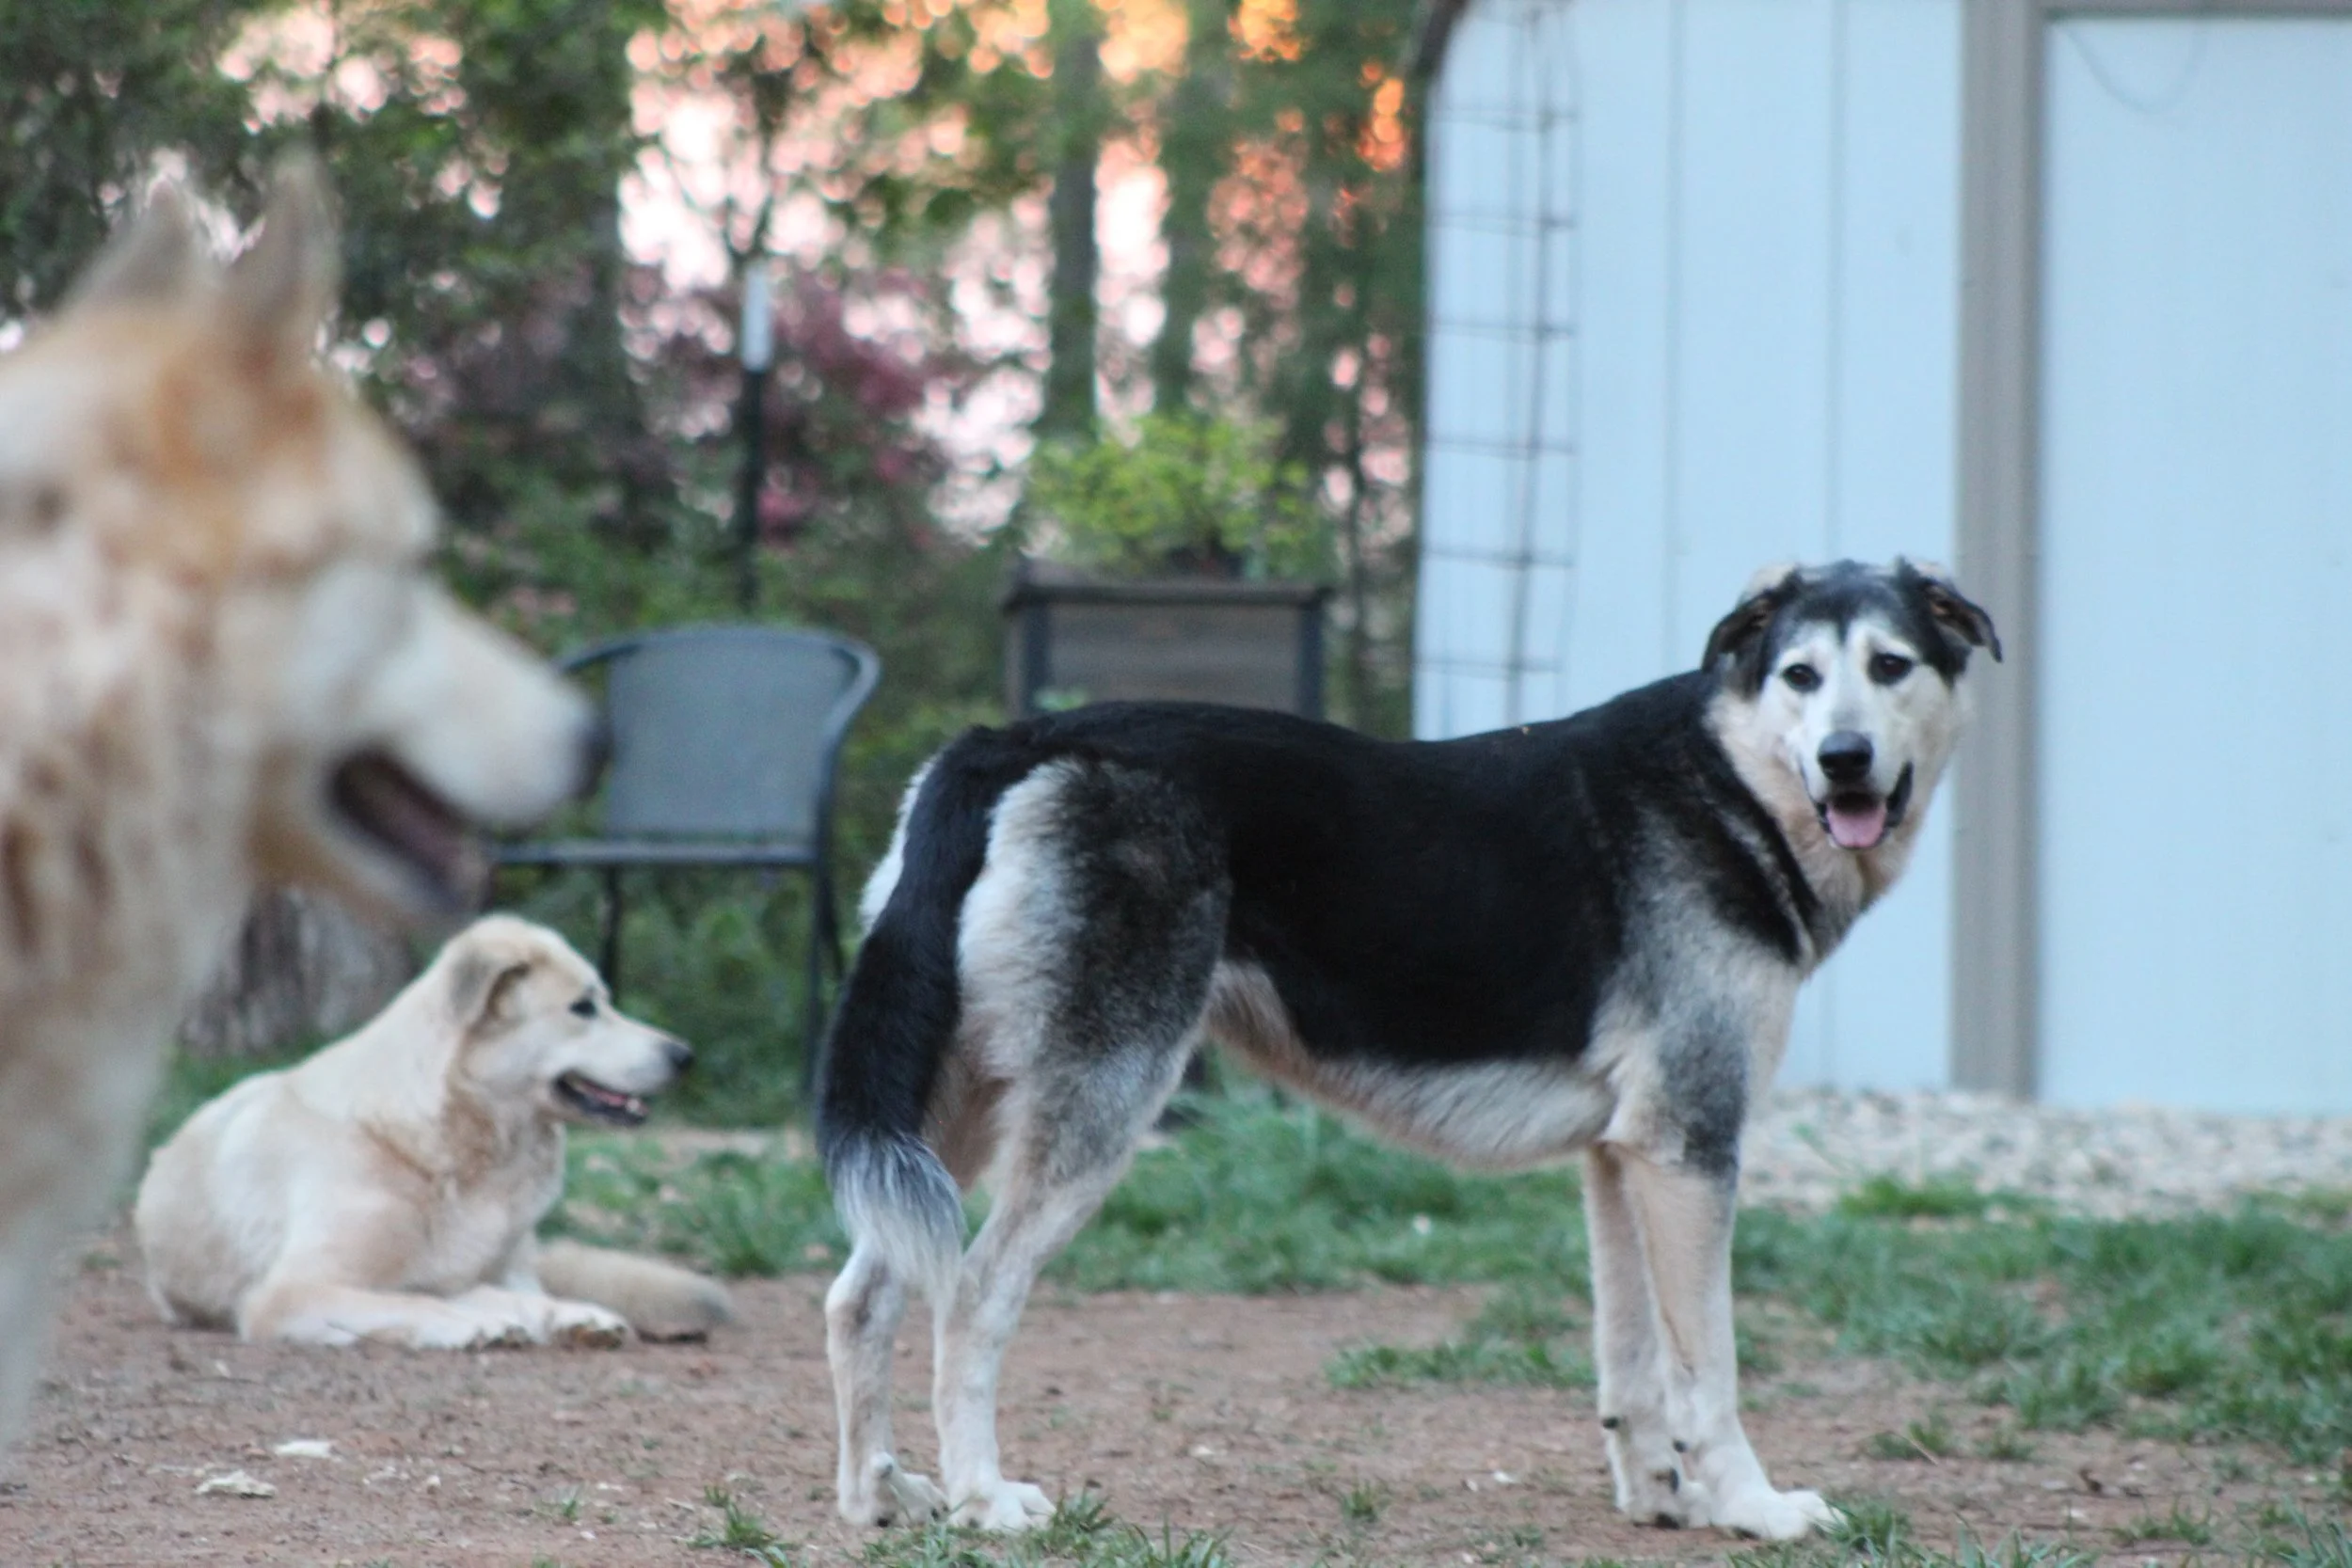
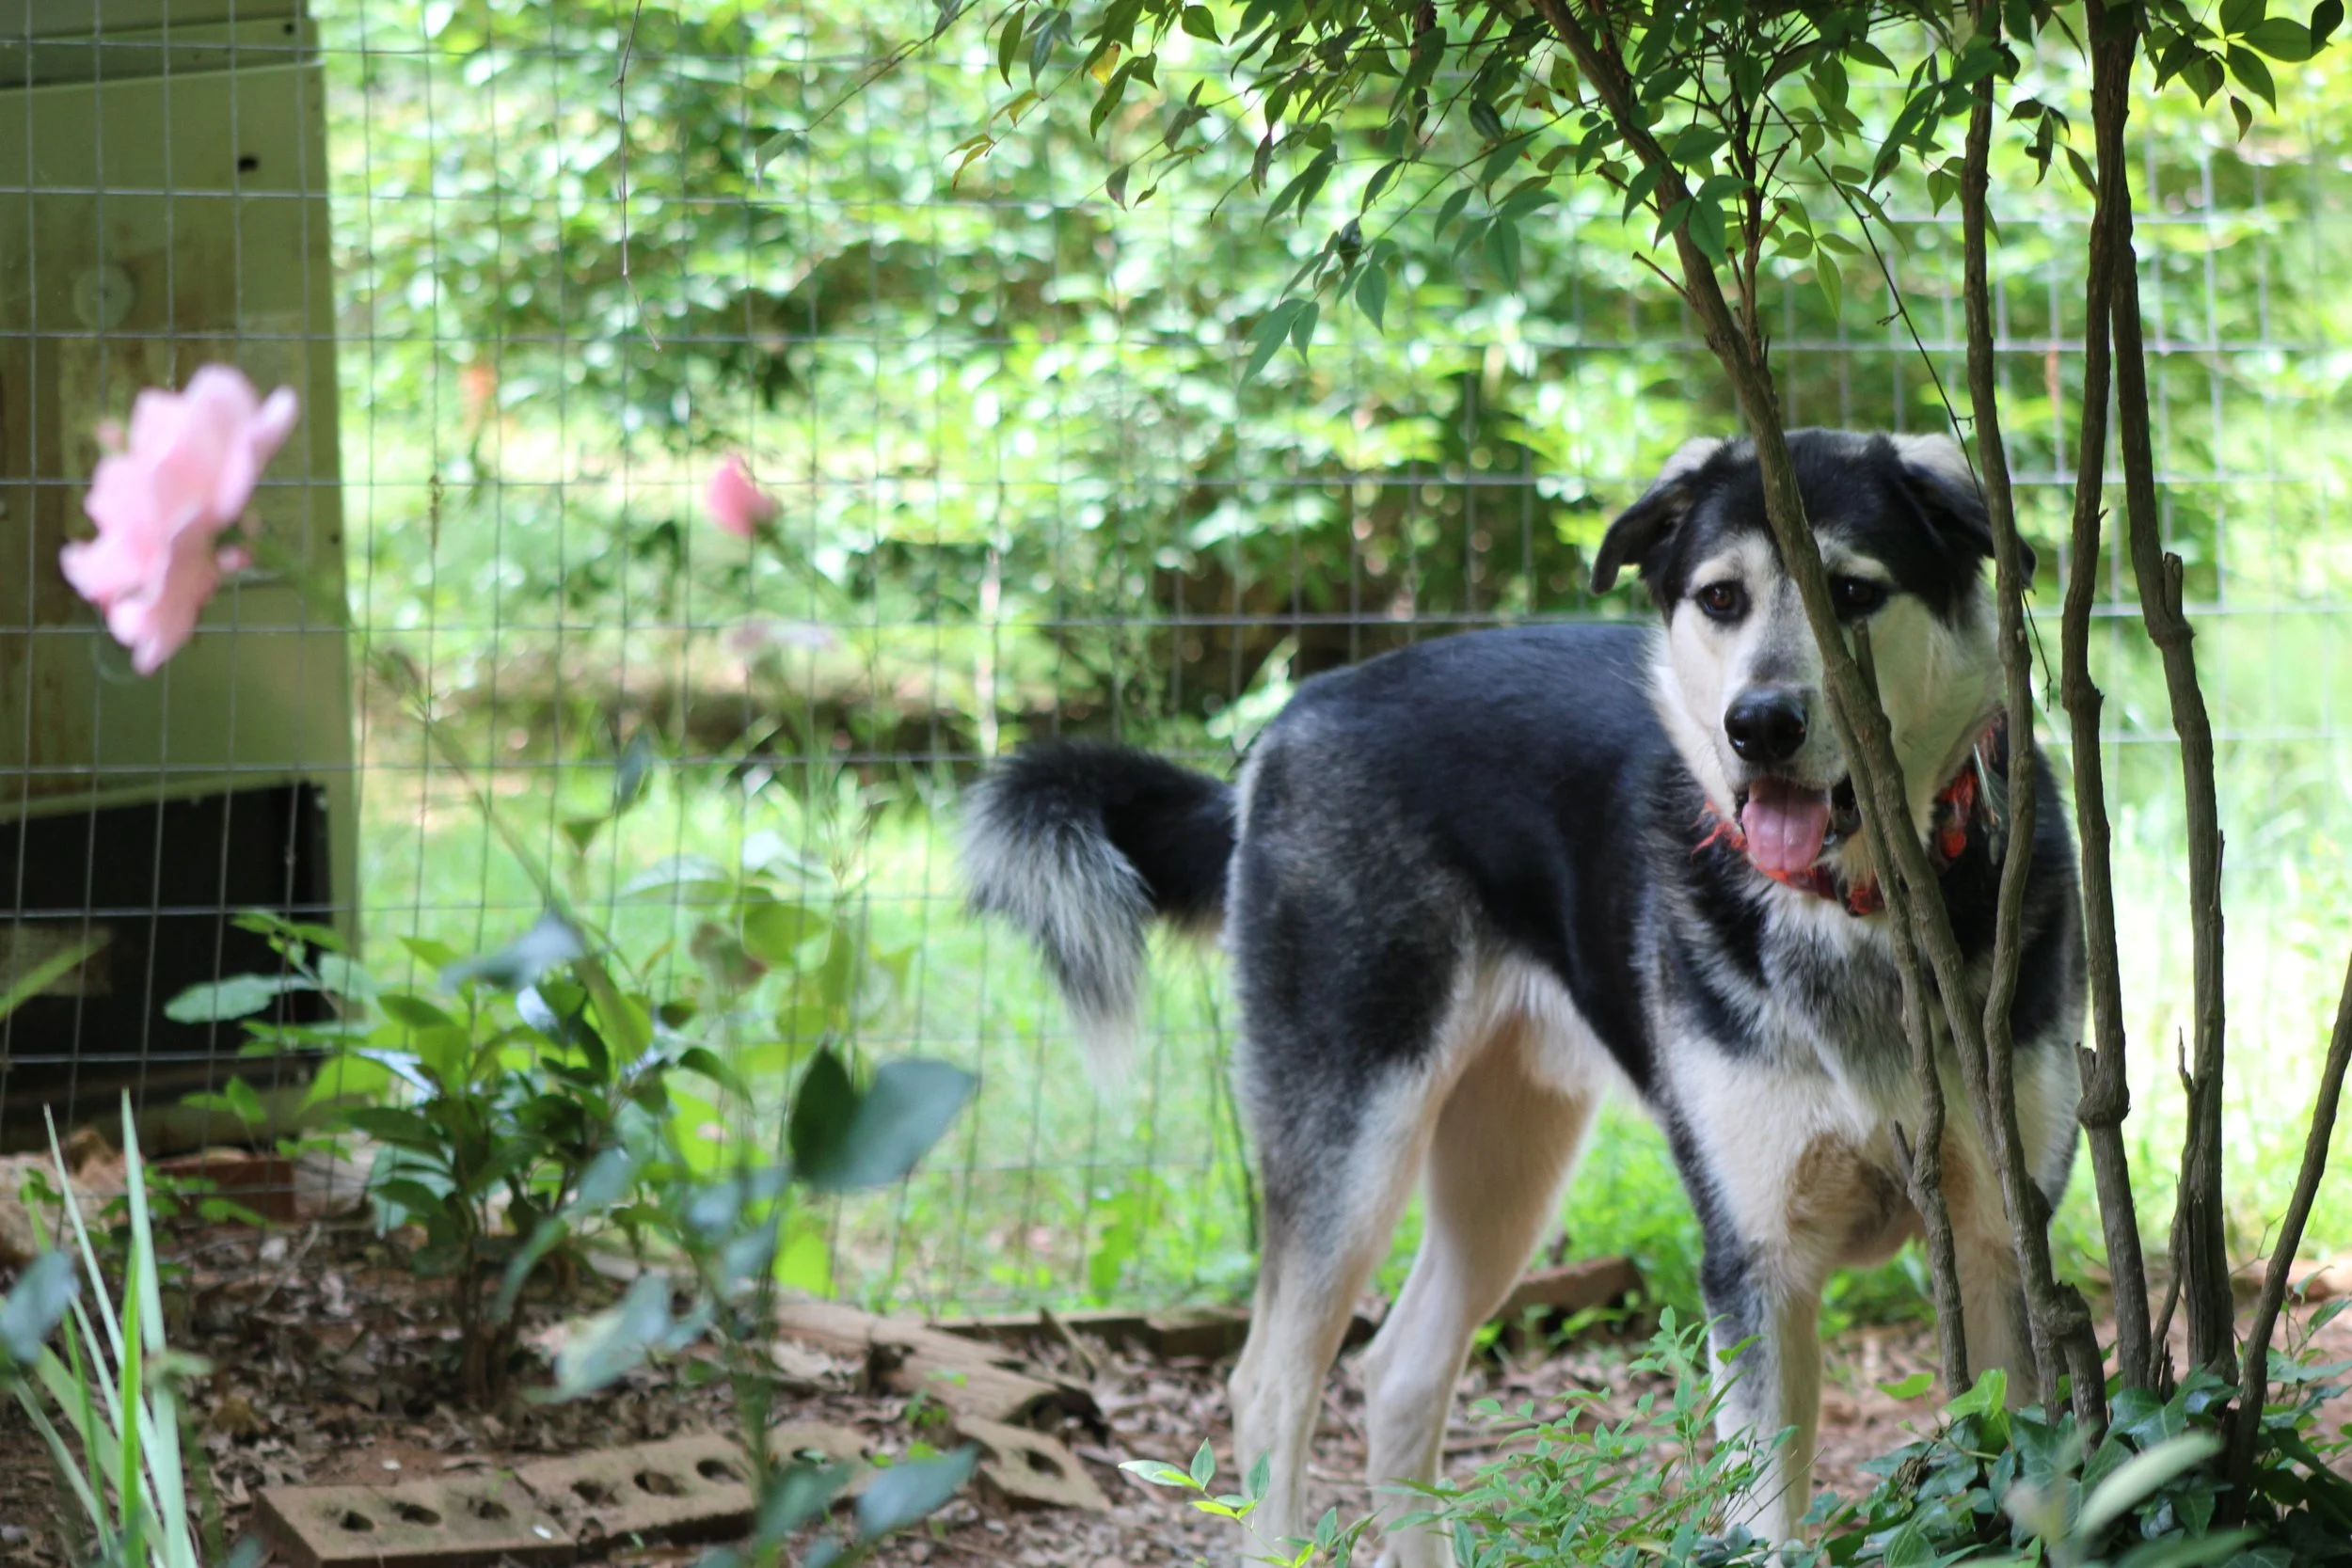
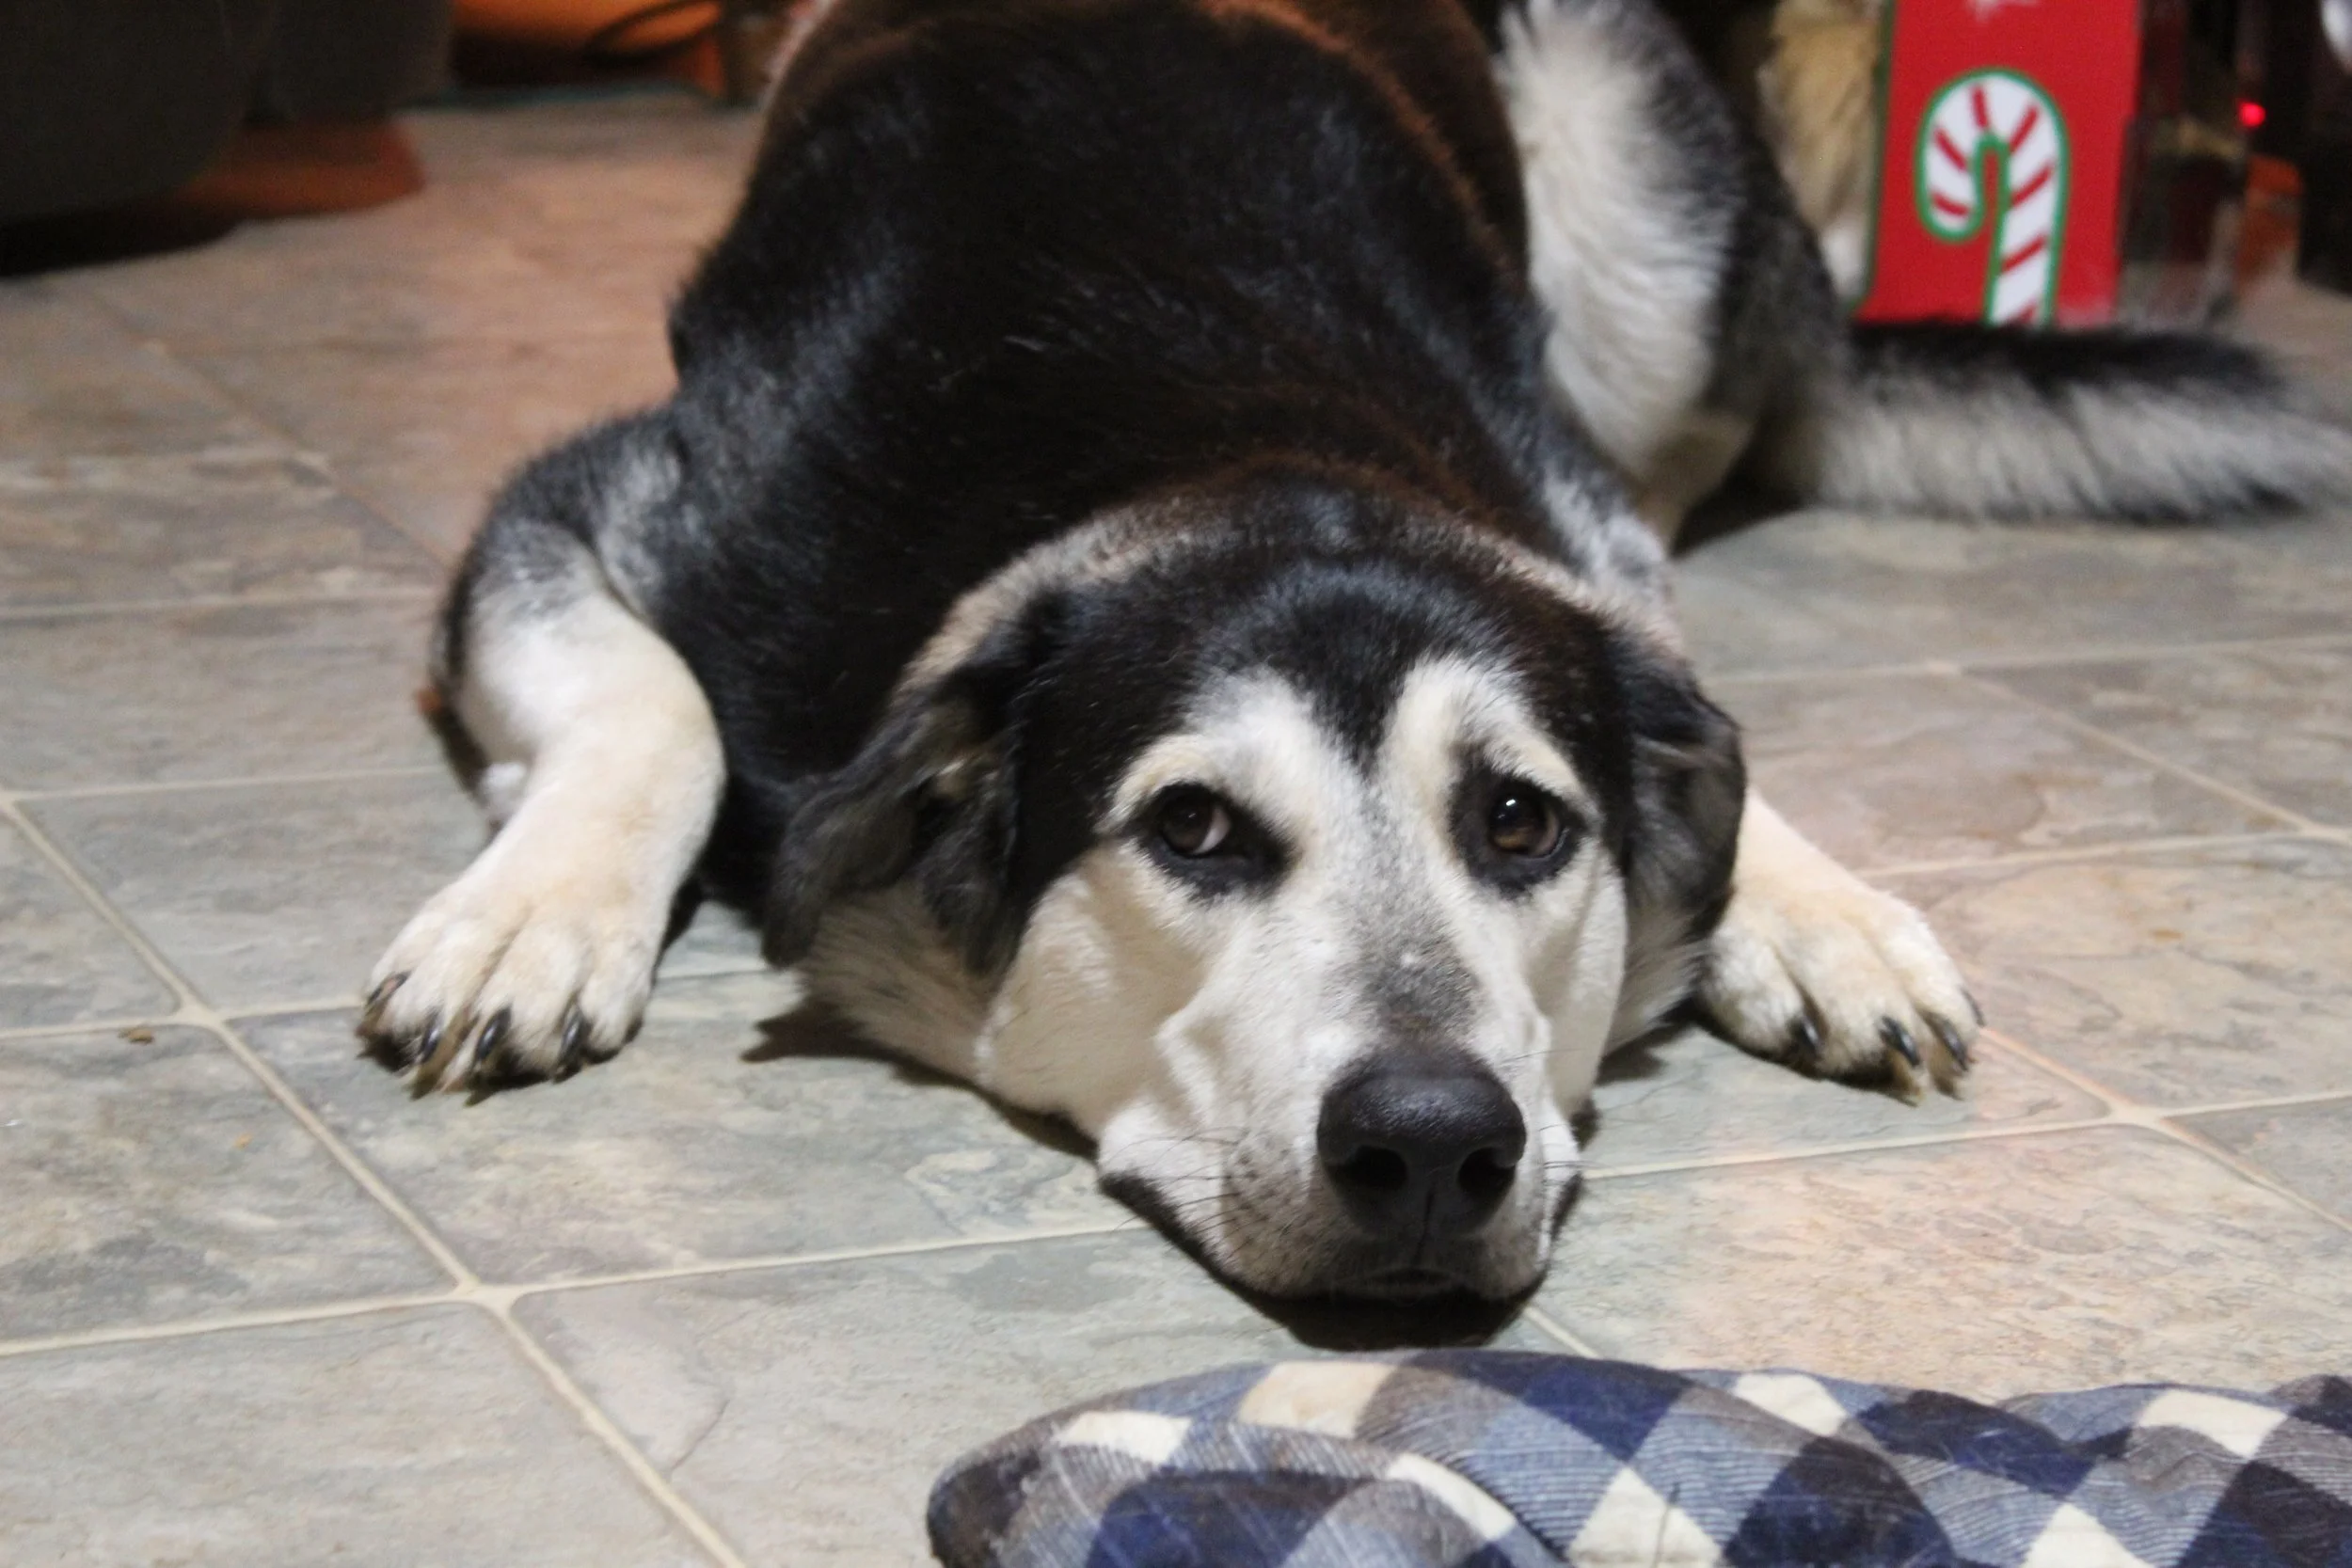
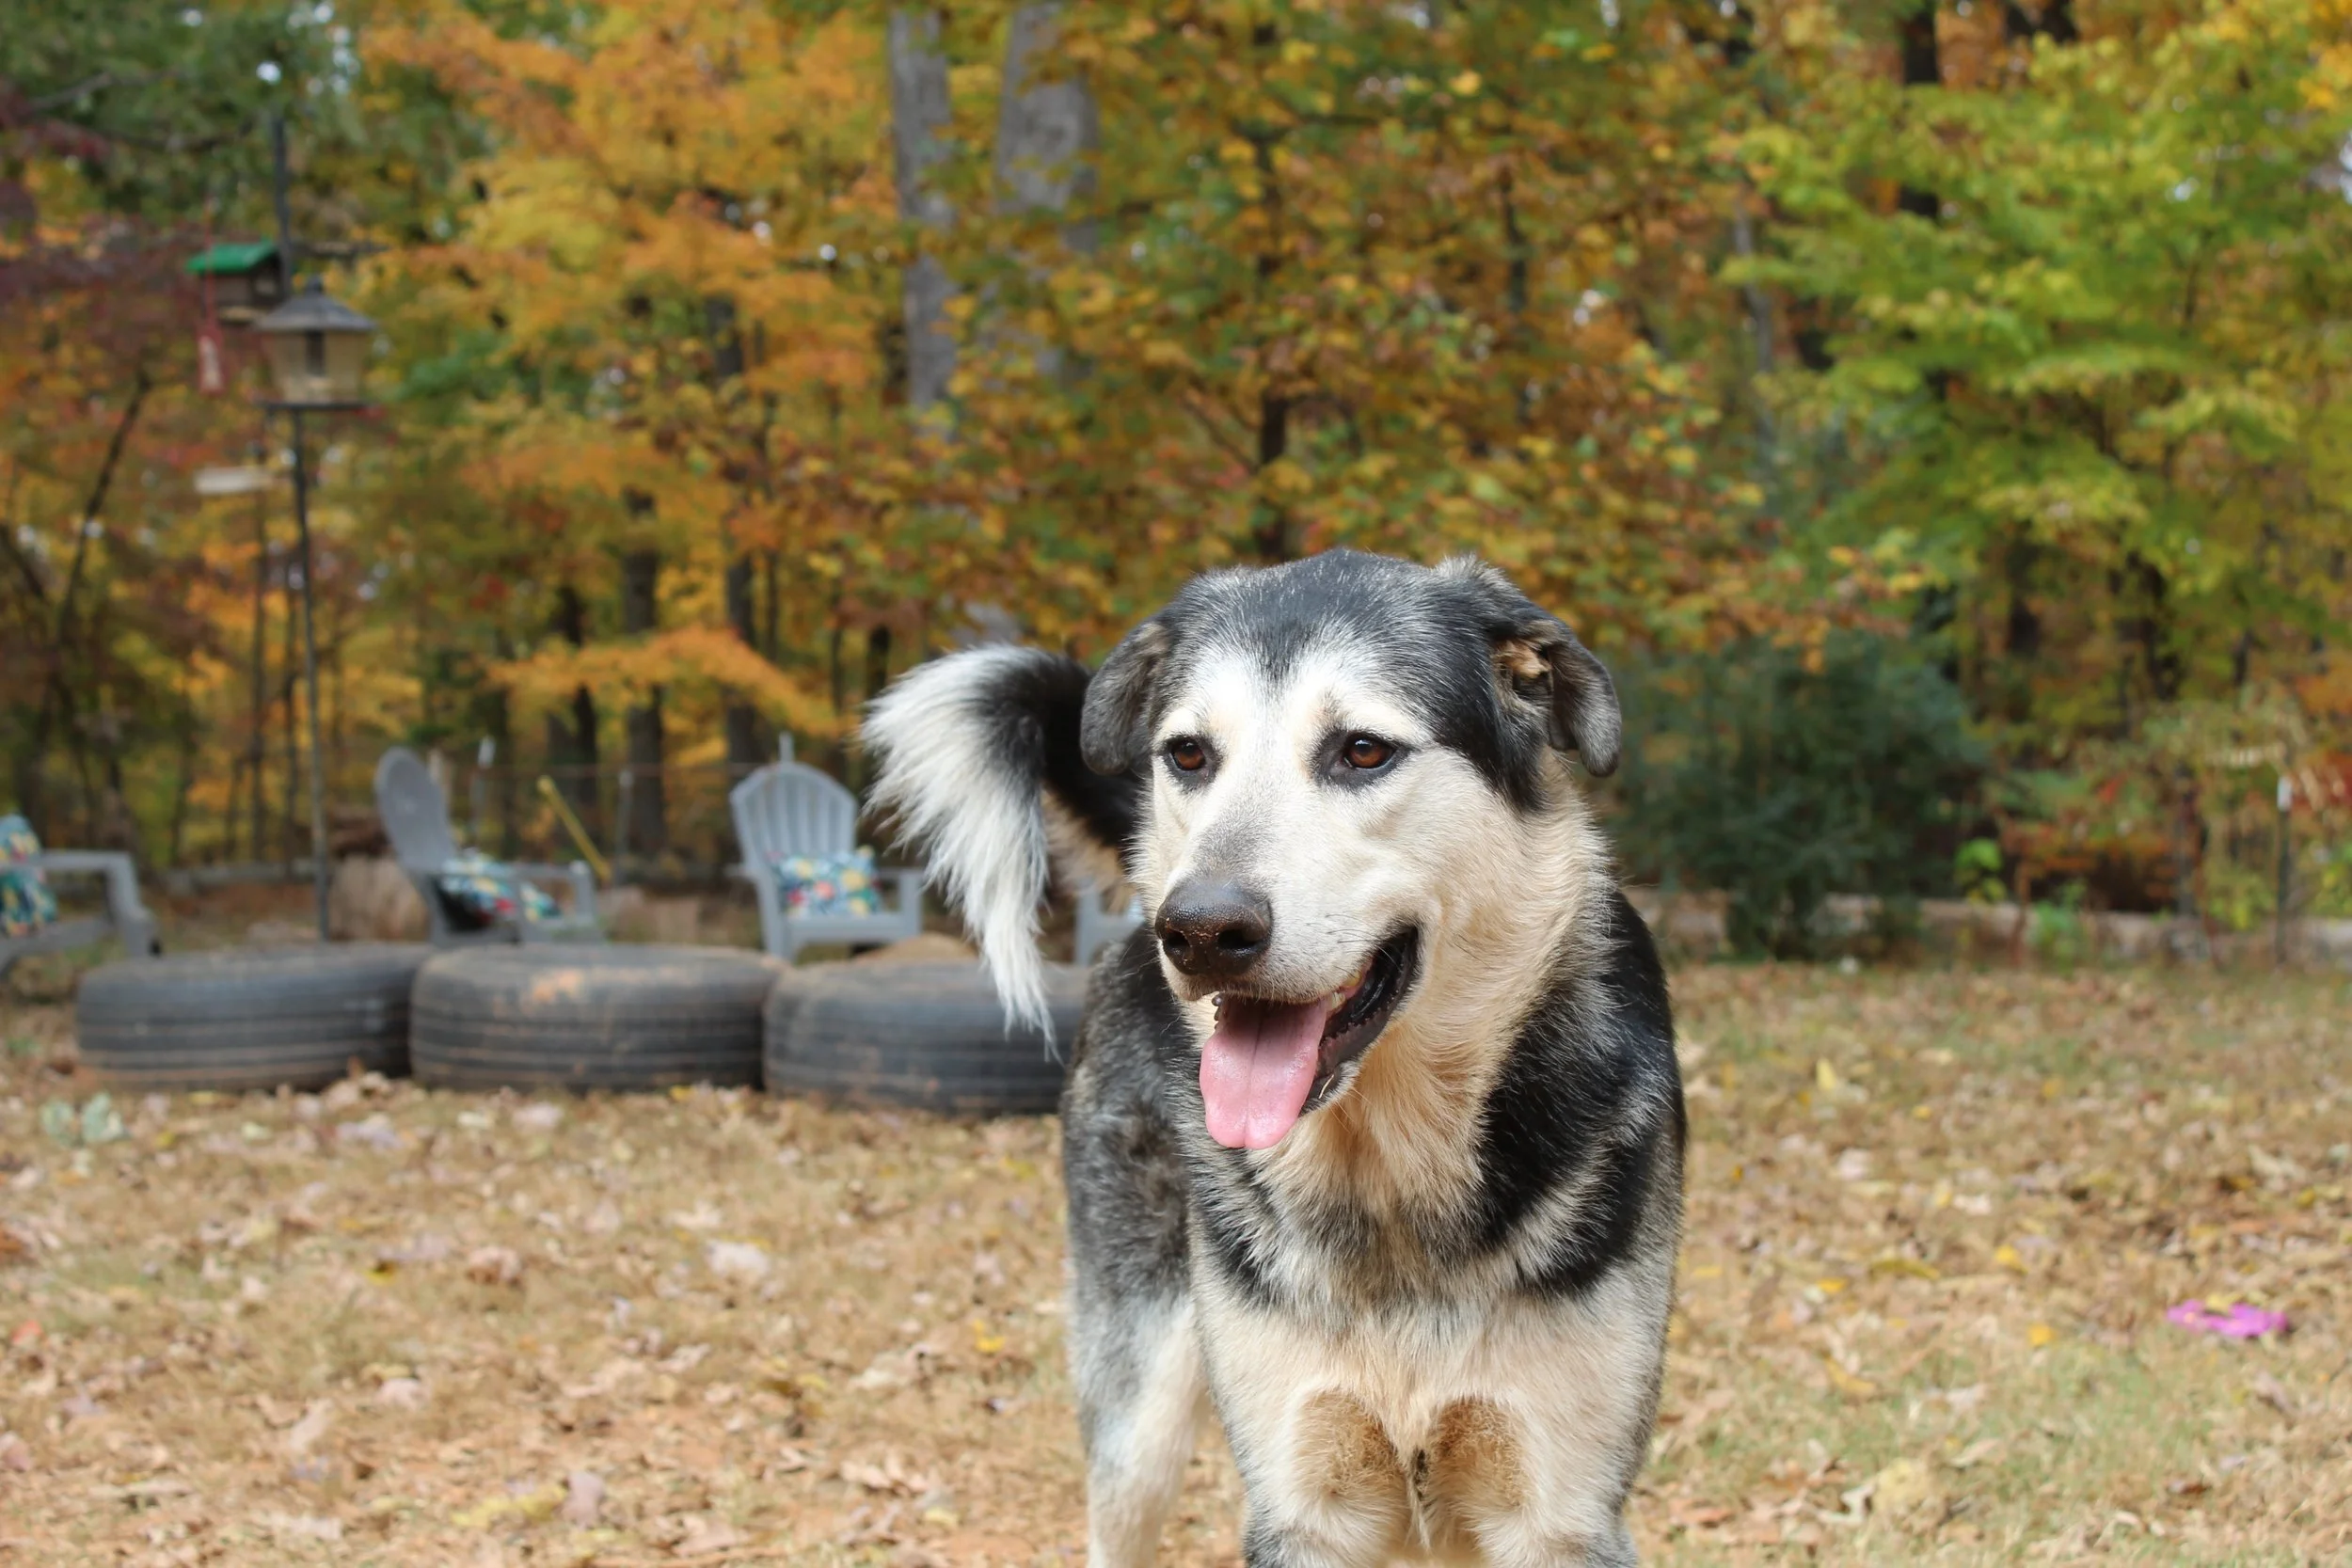
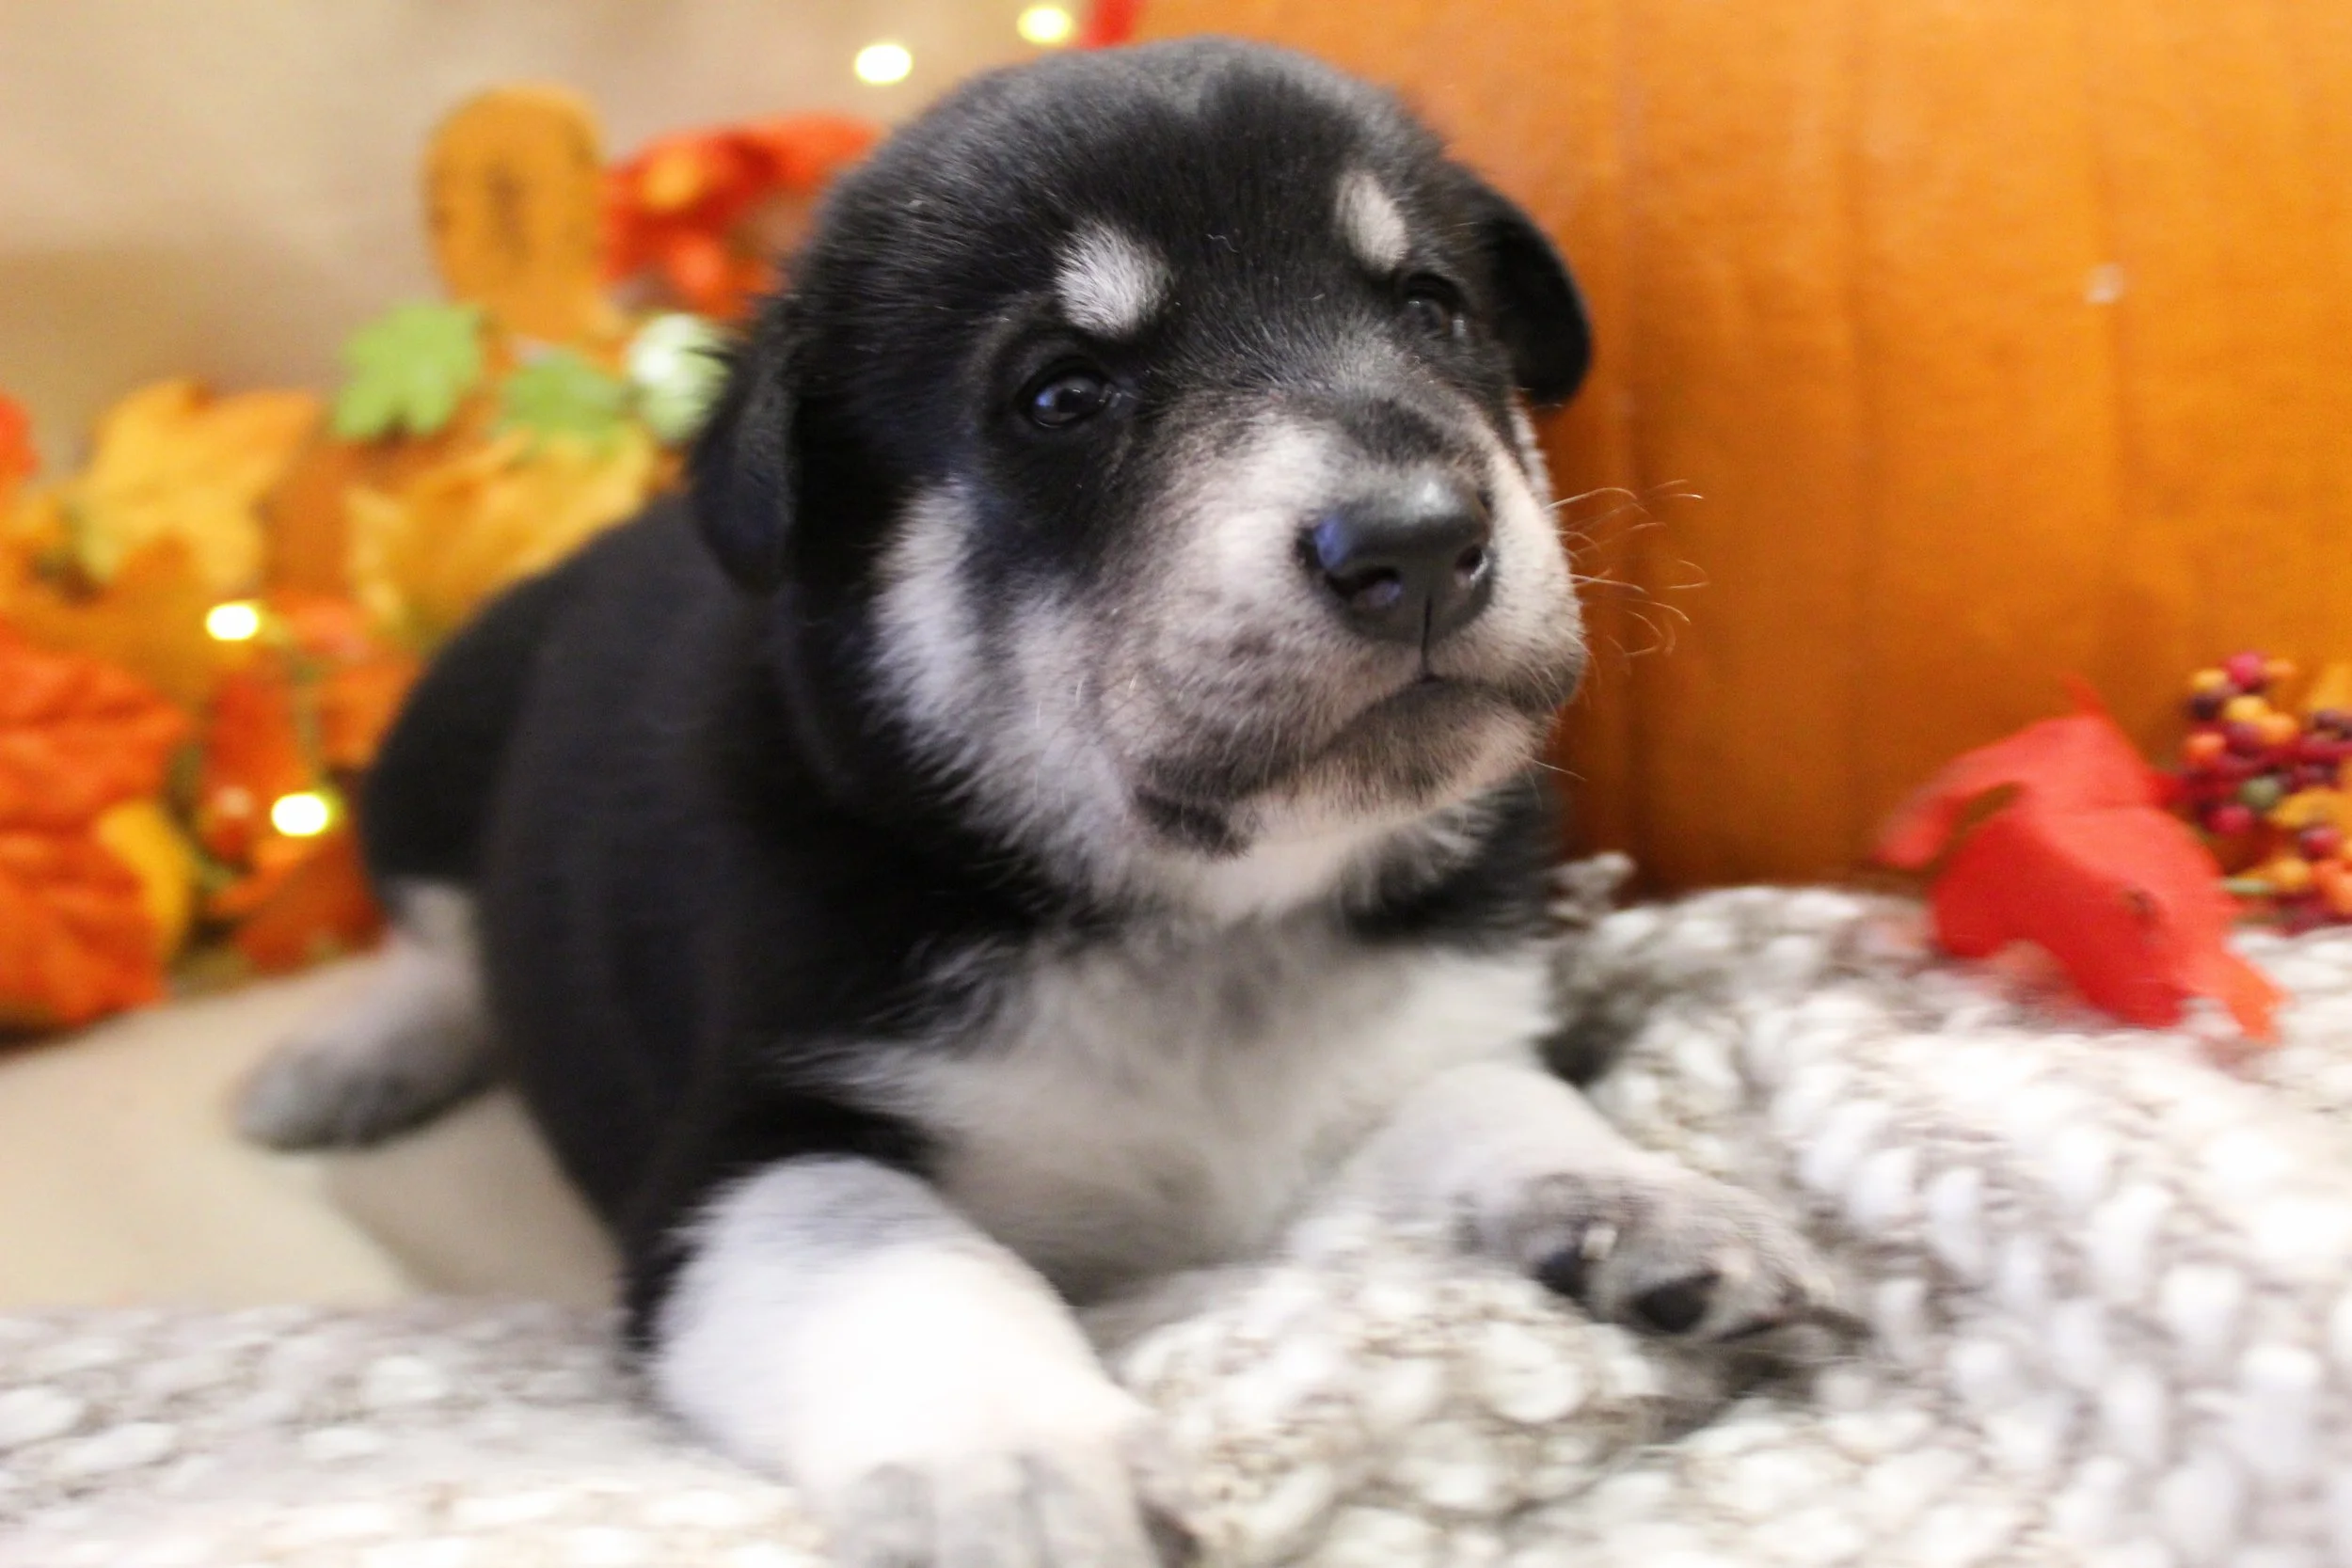
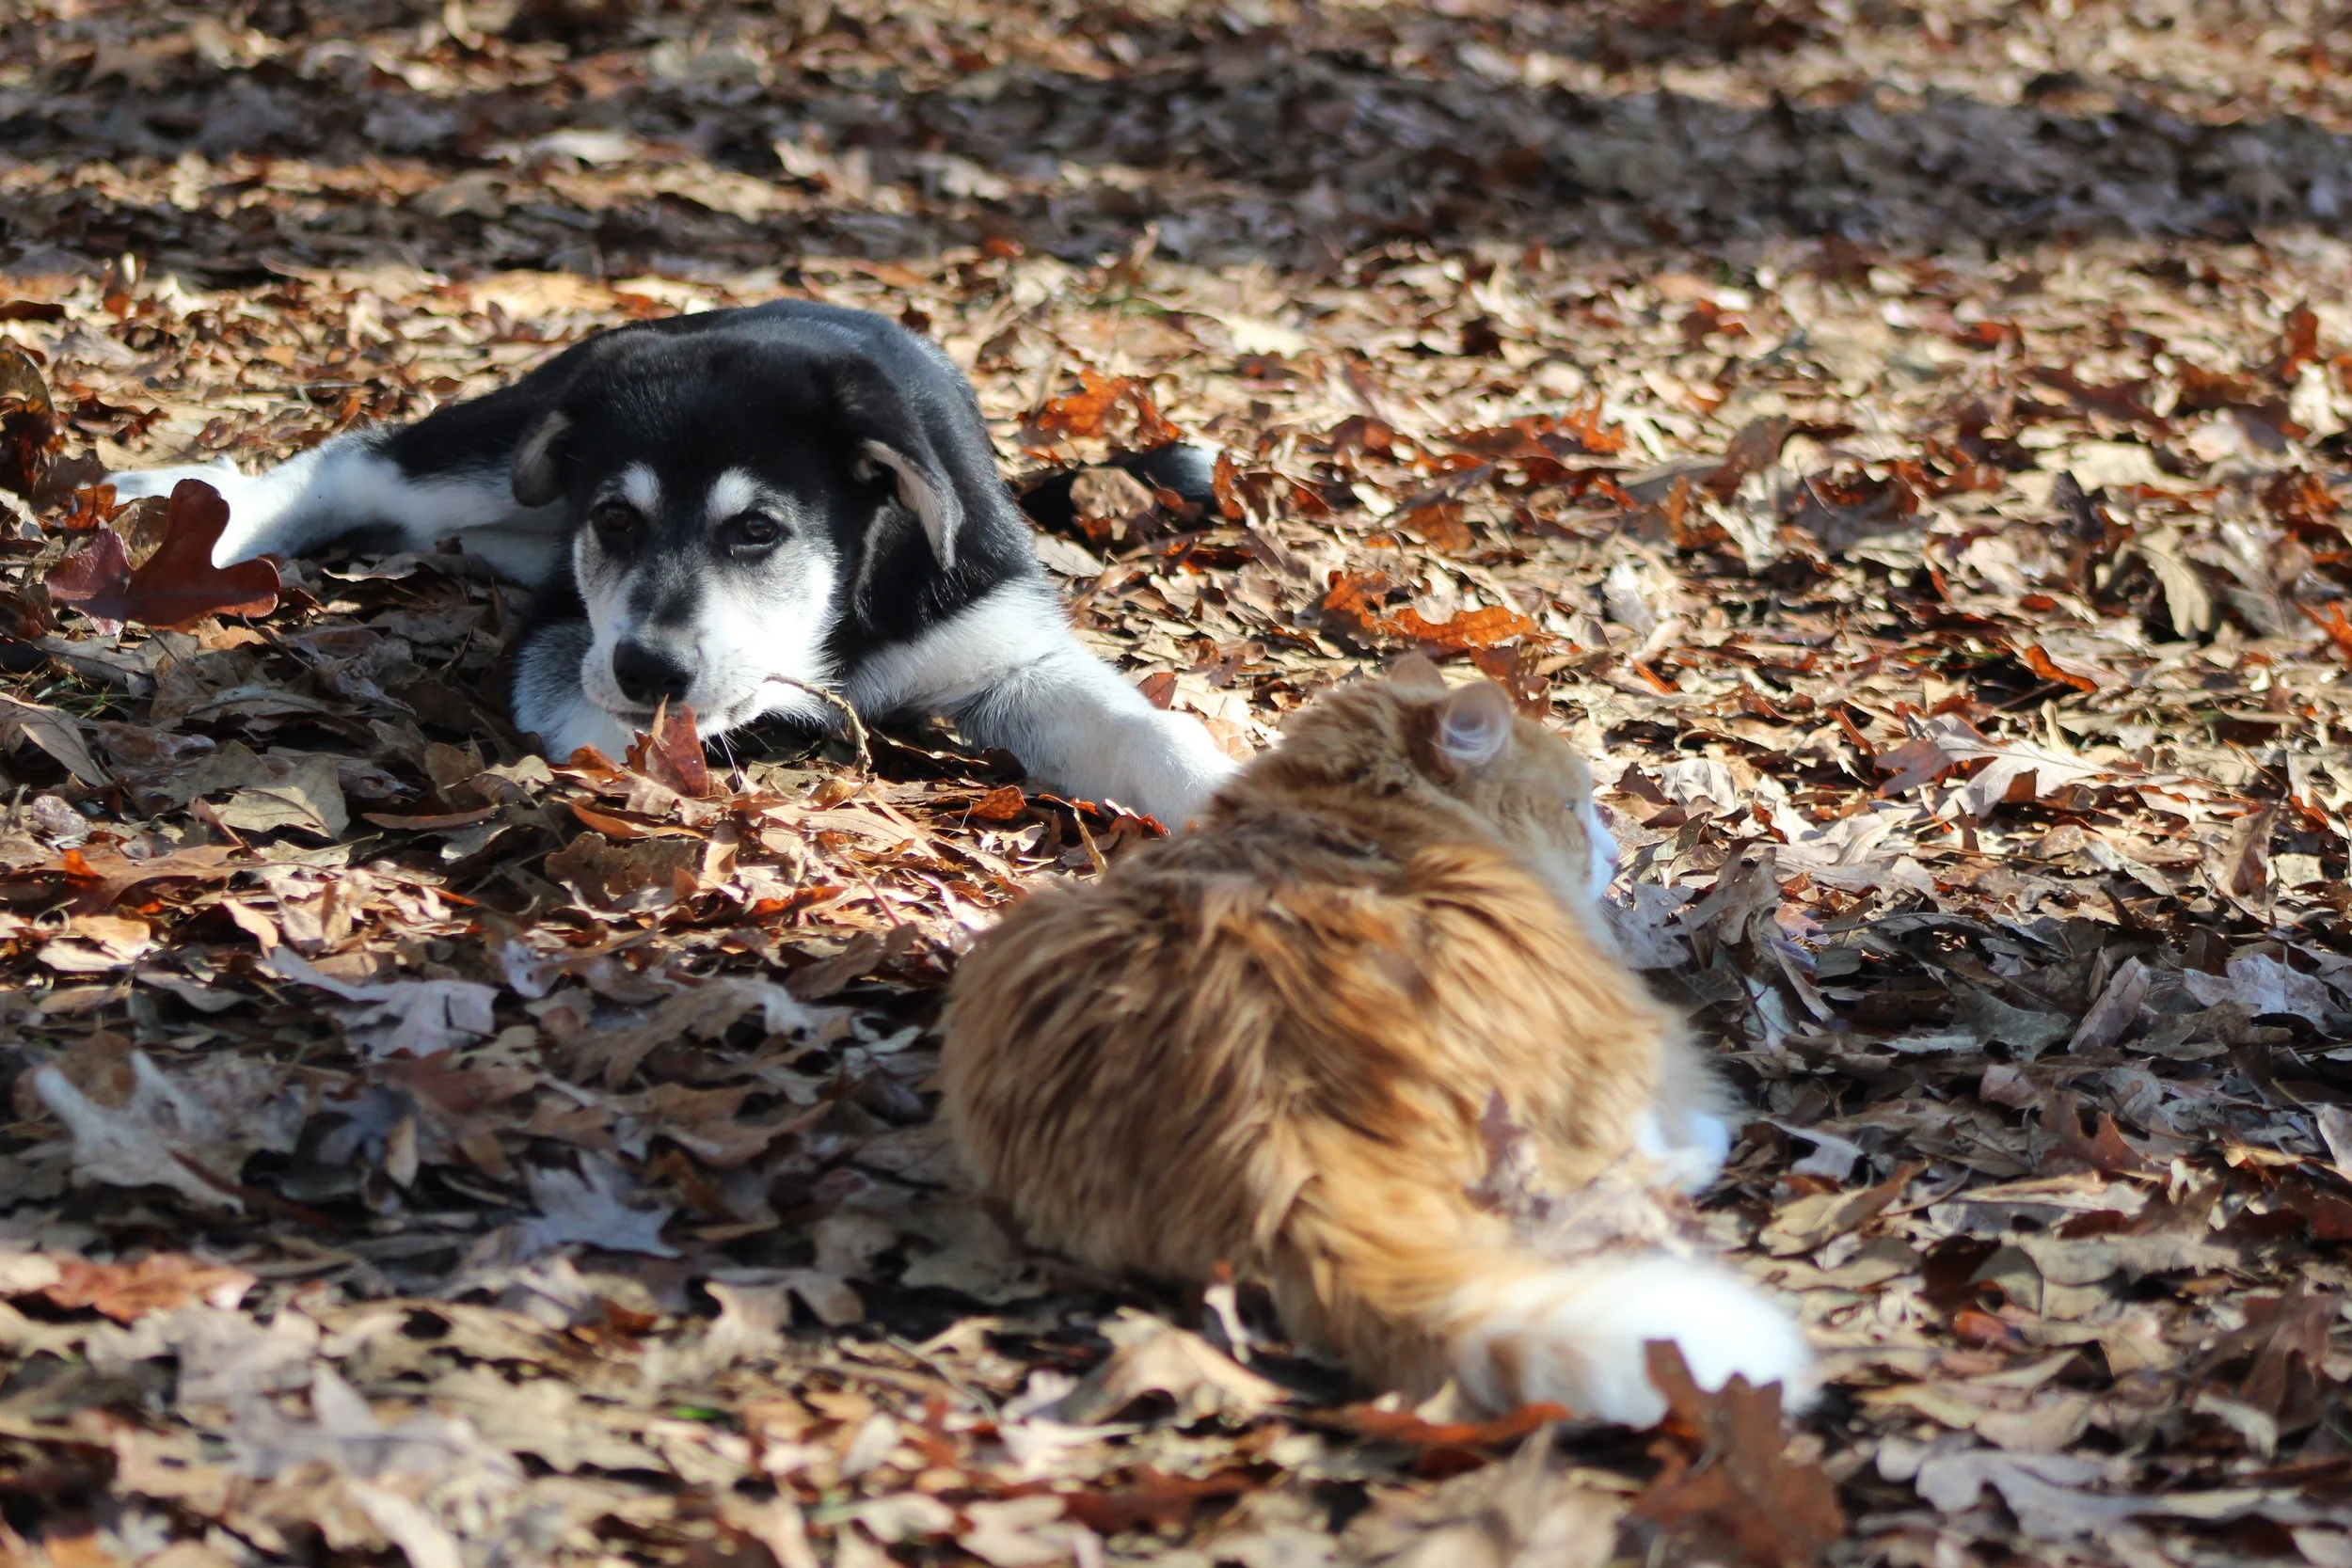
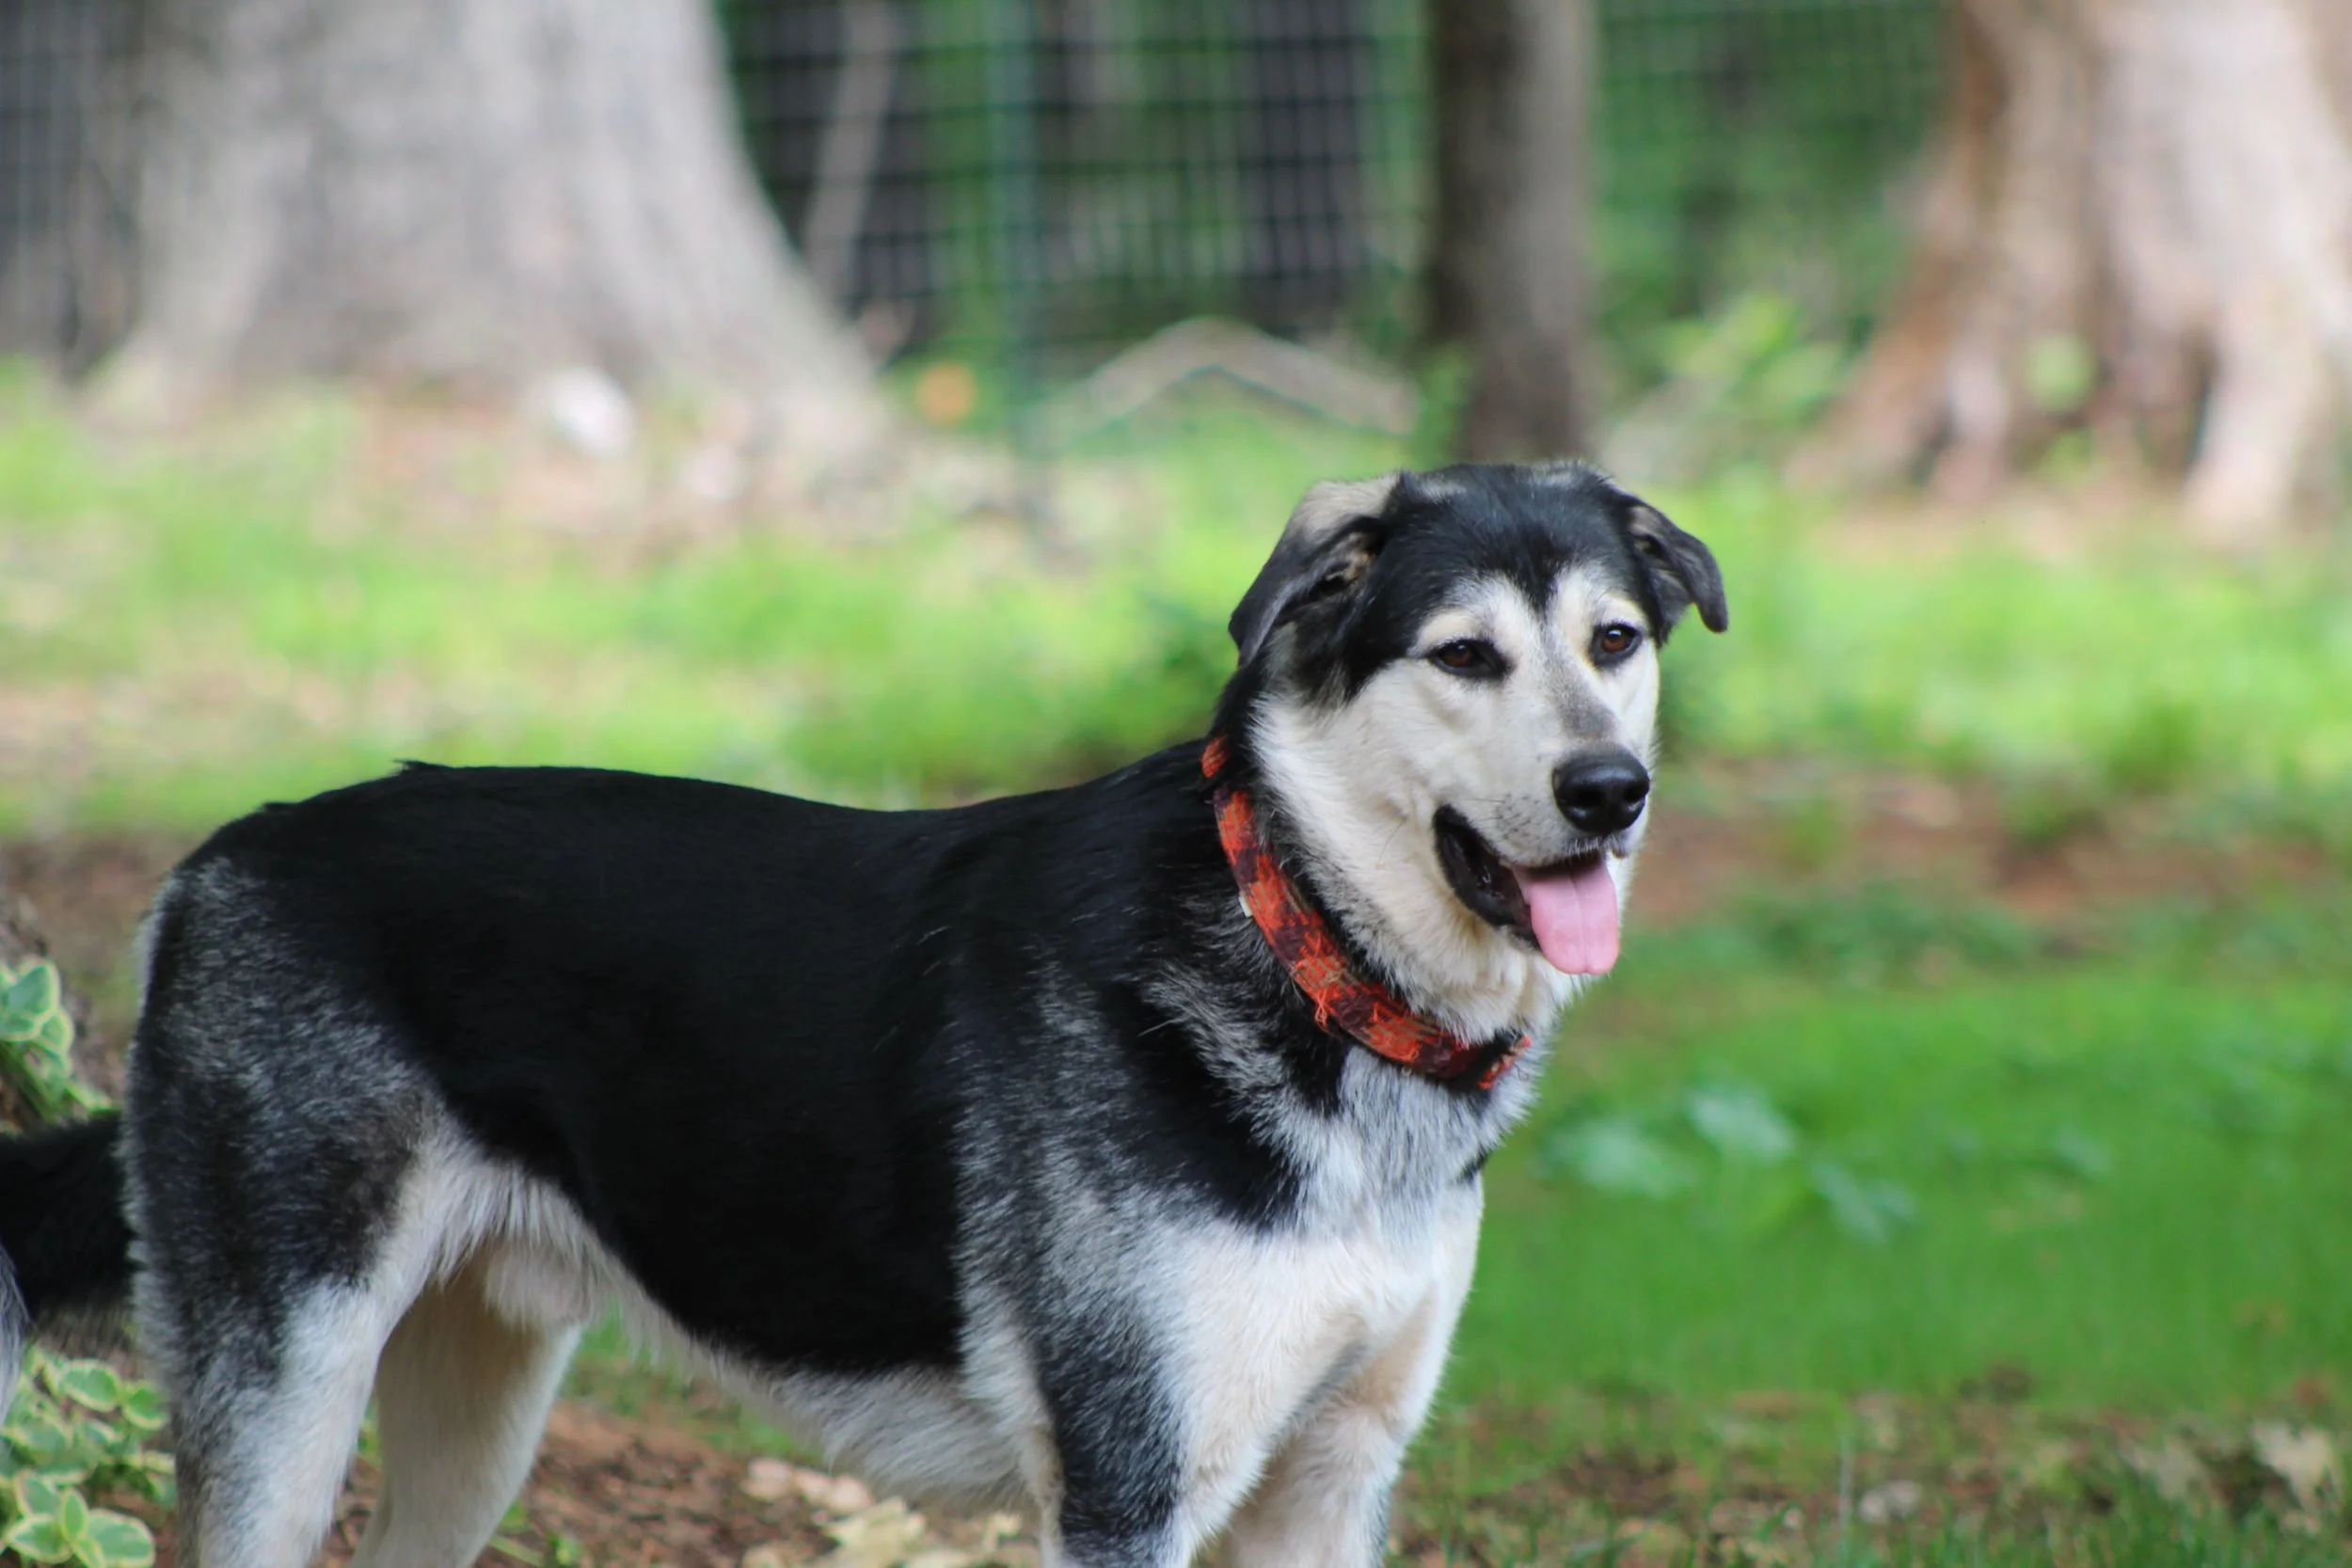
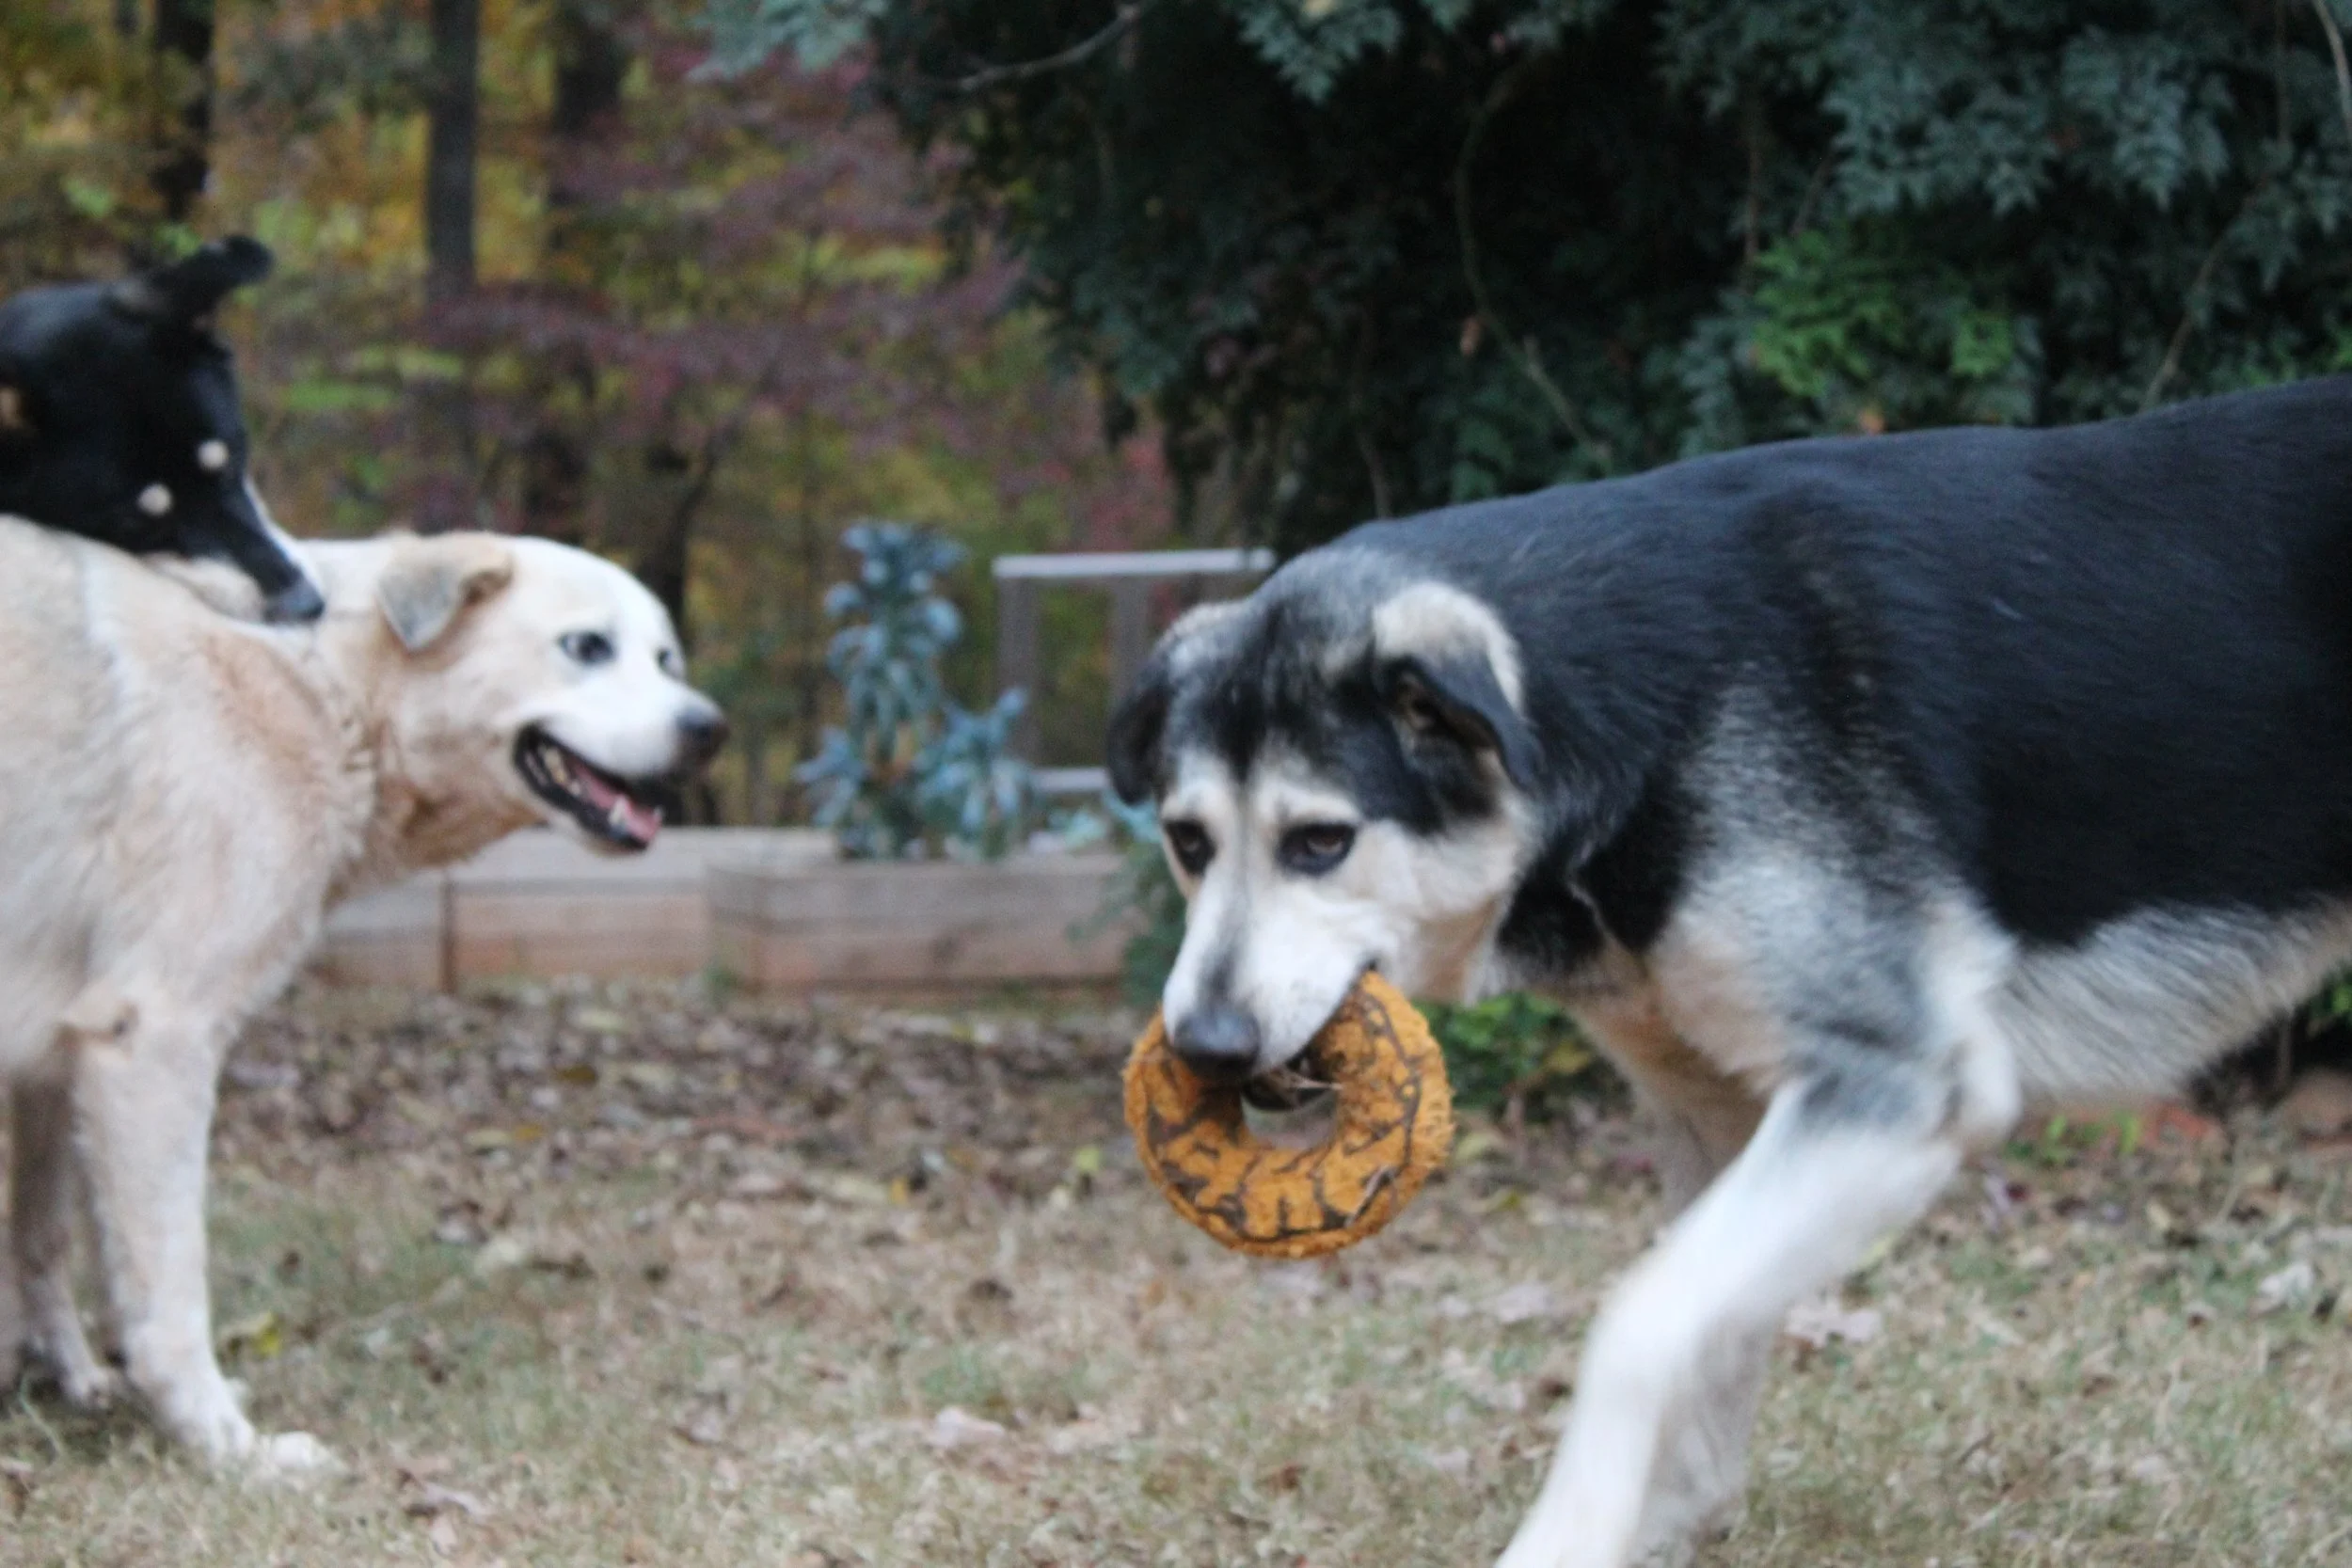
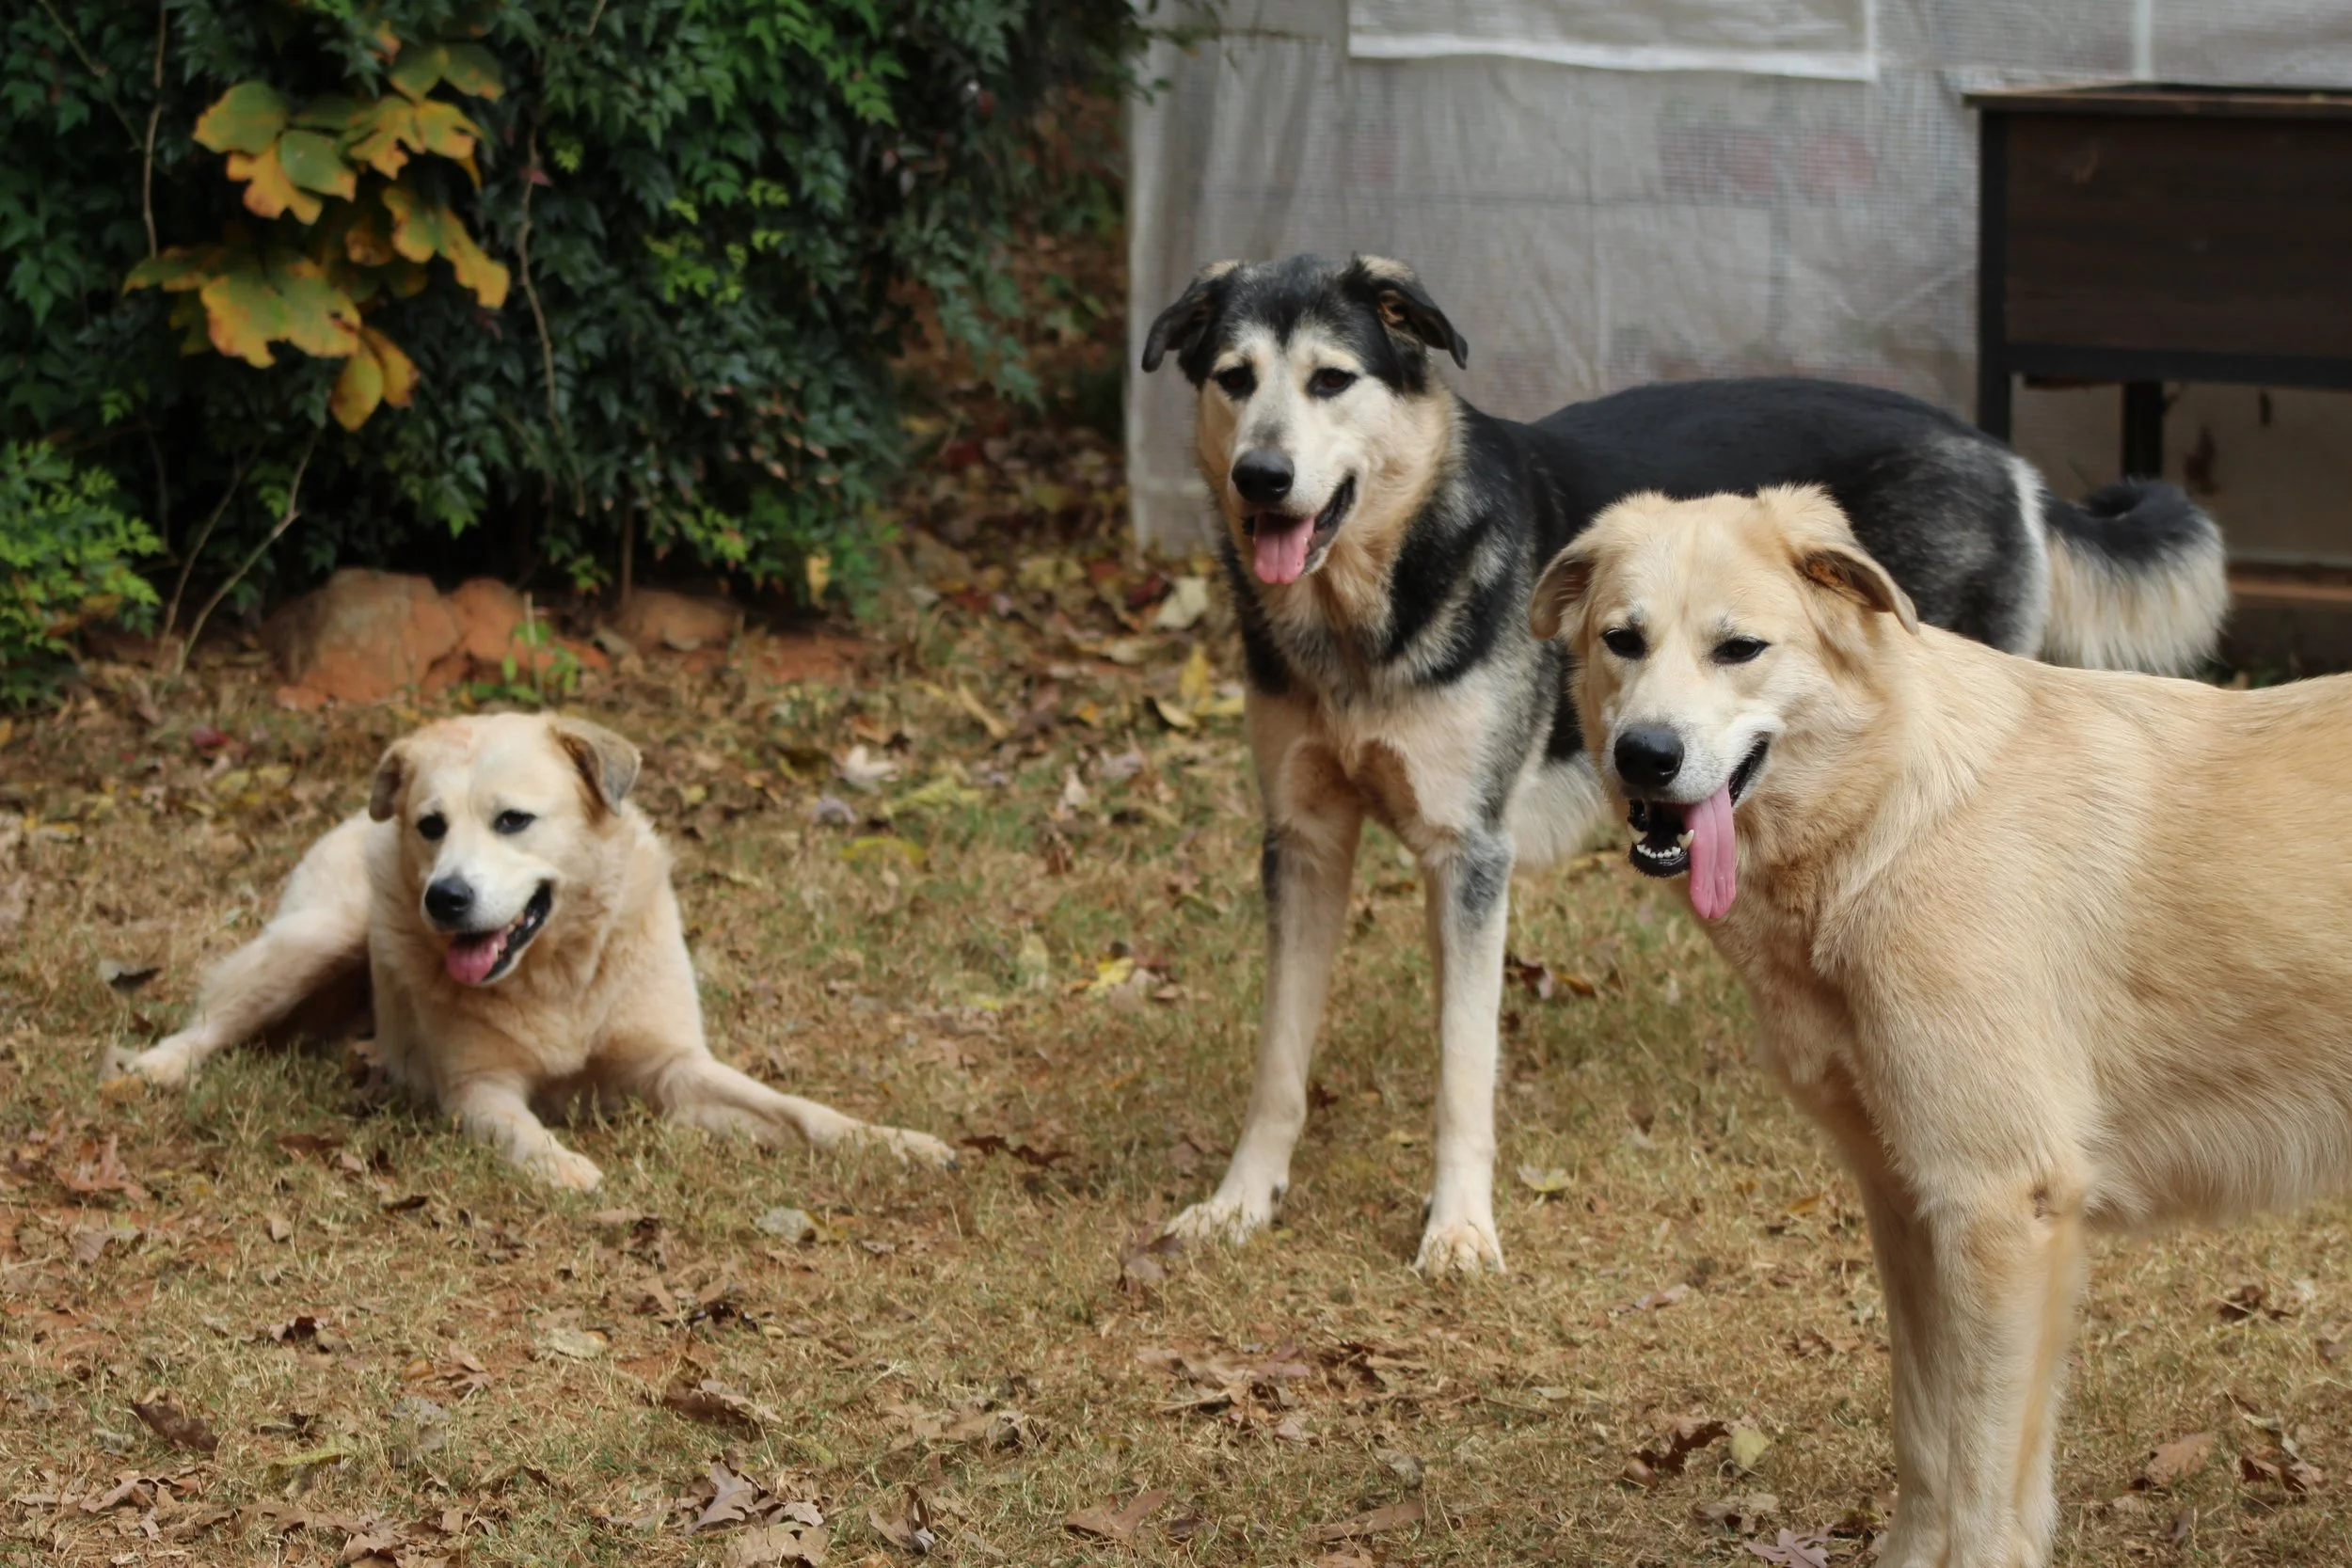
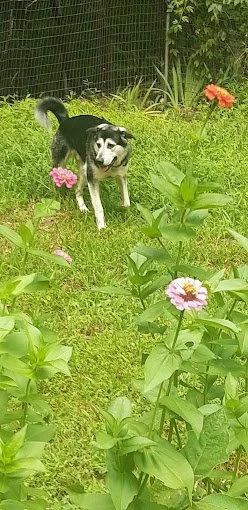
While I have so many great photos of our boy, as you can see above. There is one memory that I was always bummed that I couldn’t capture it in good photo…
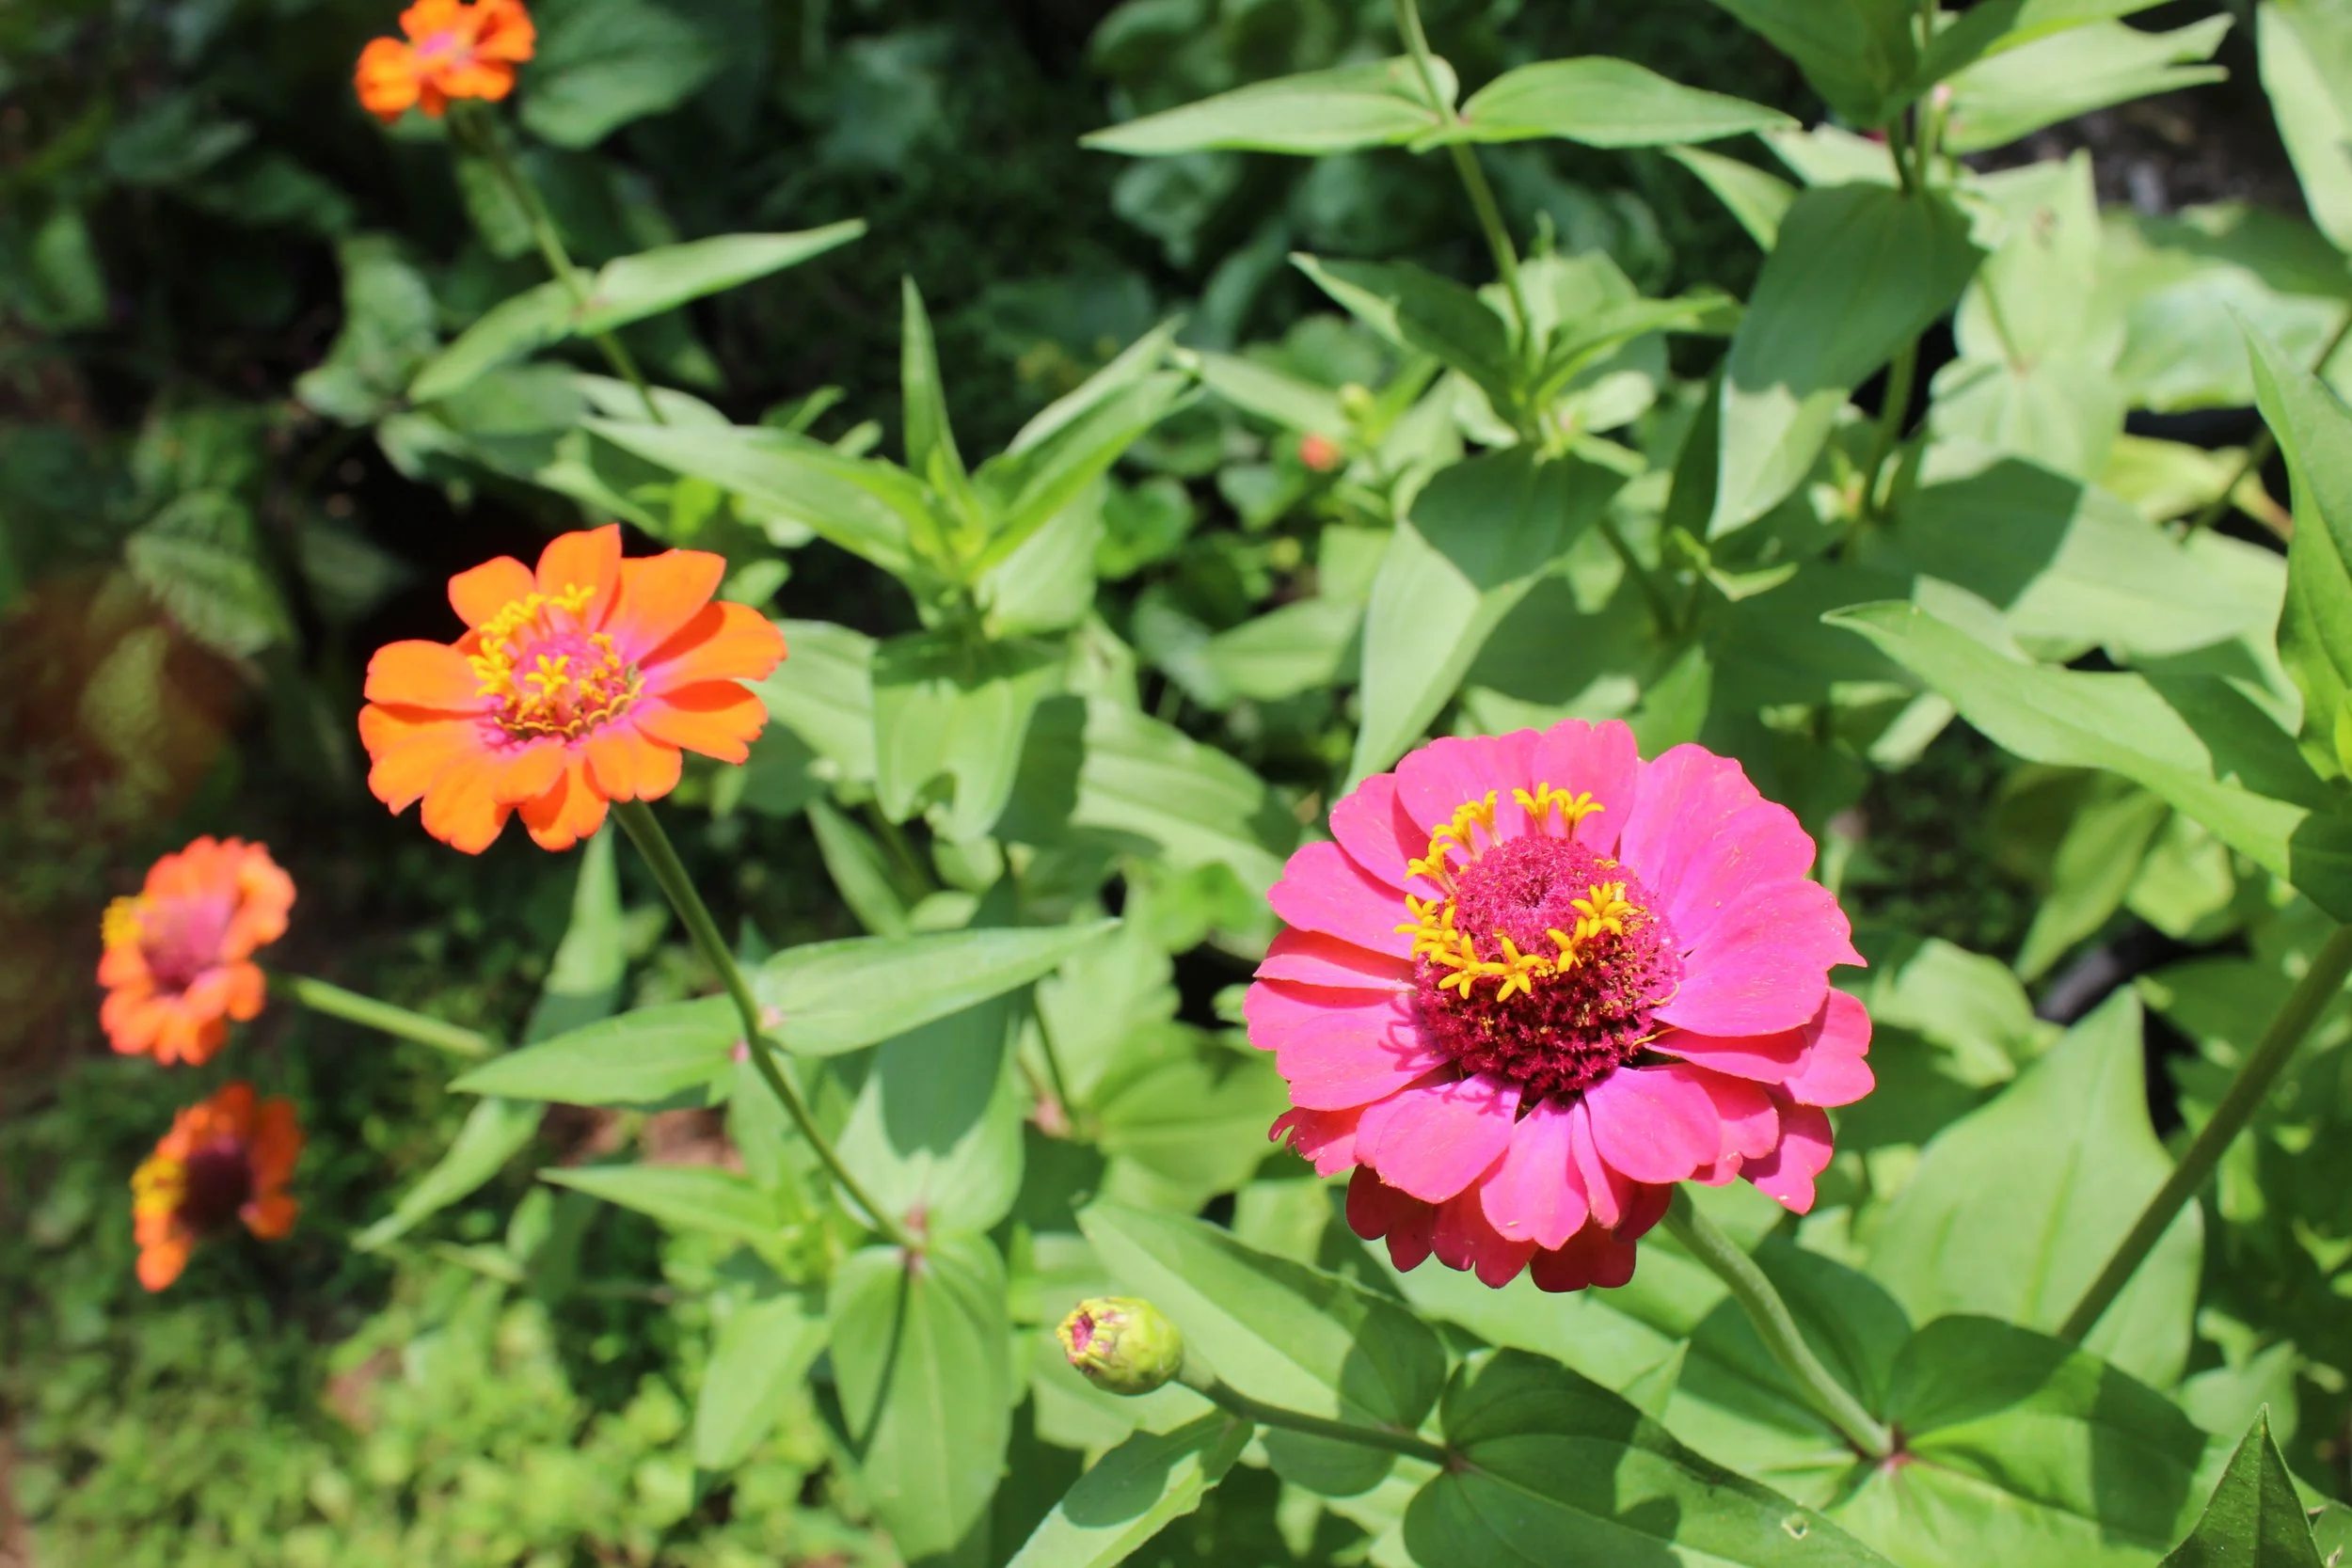
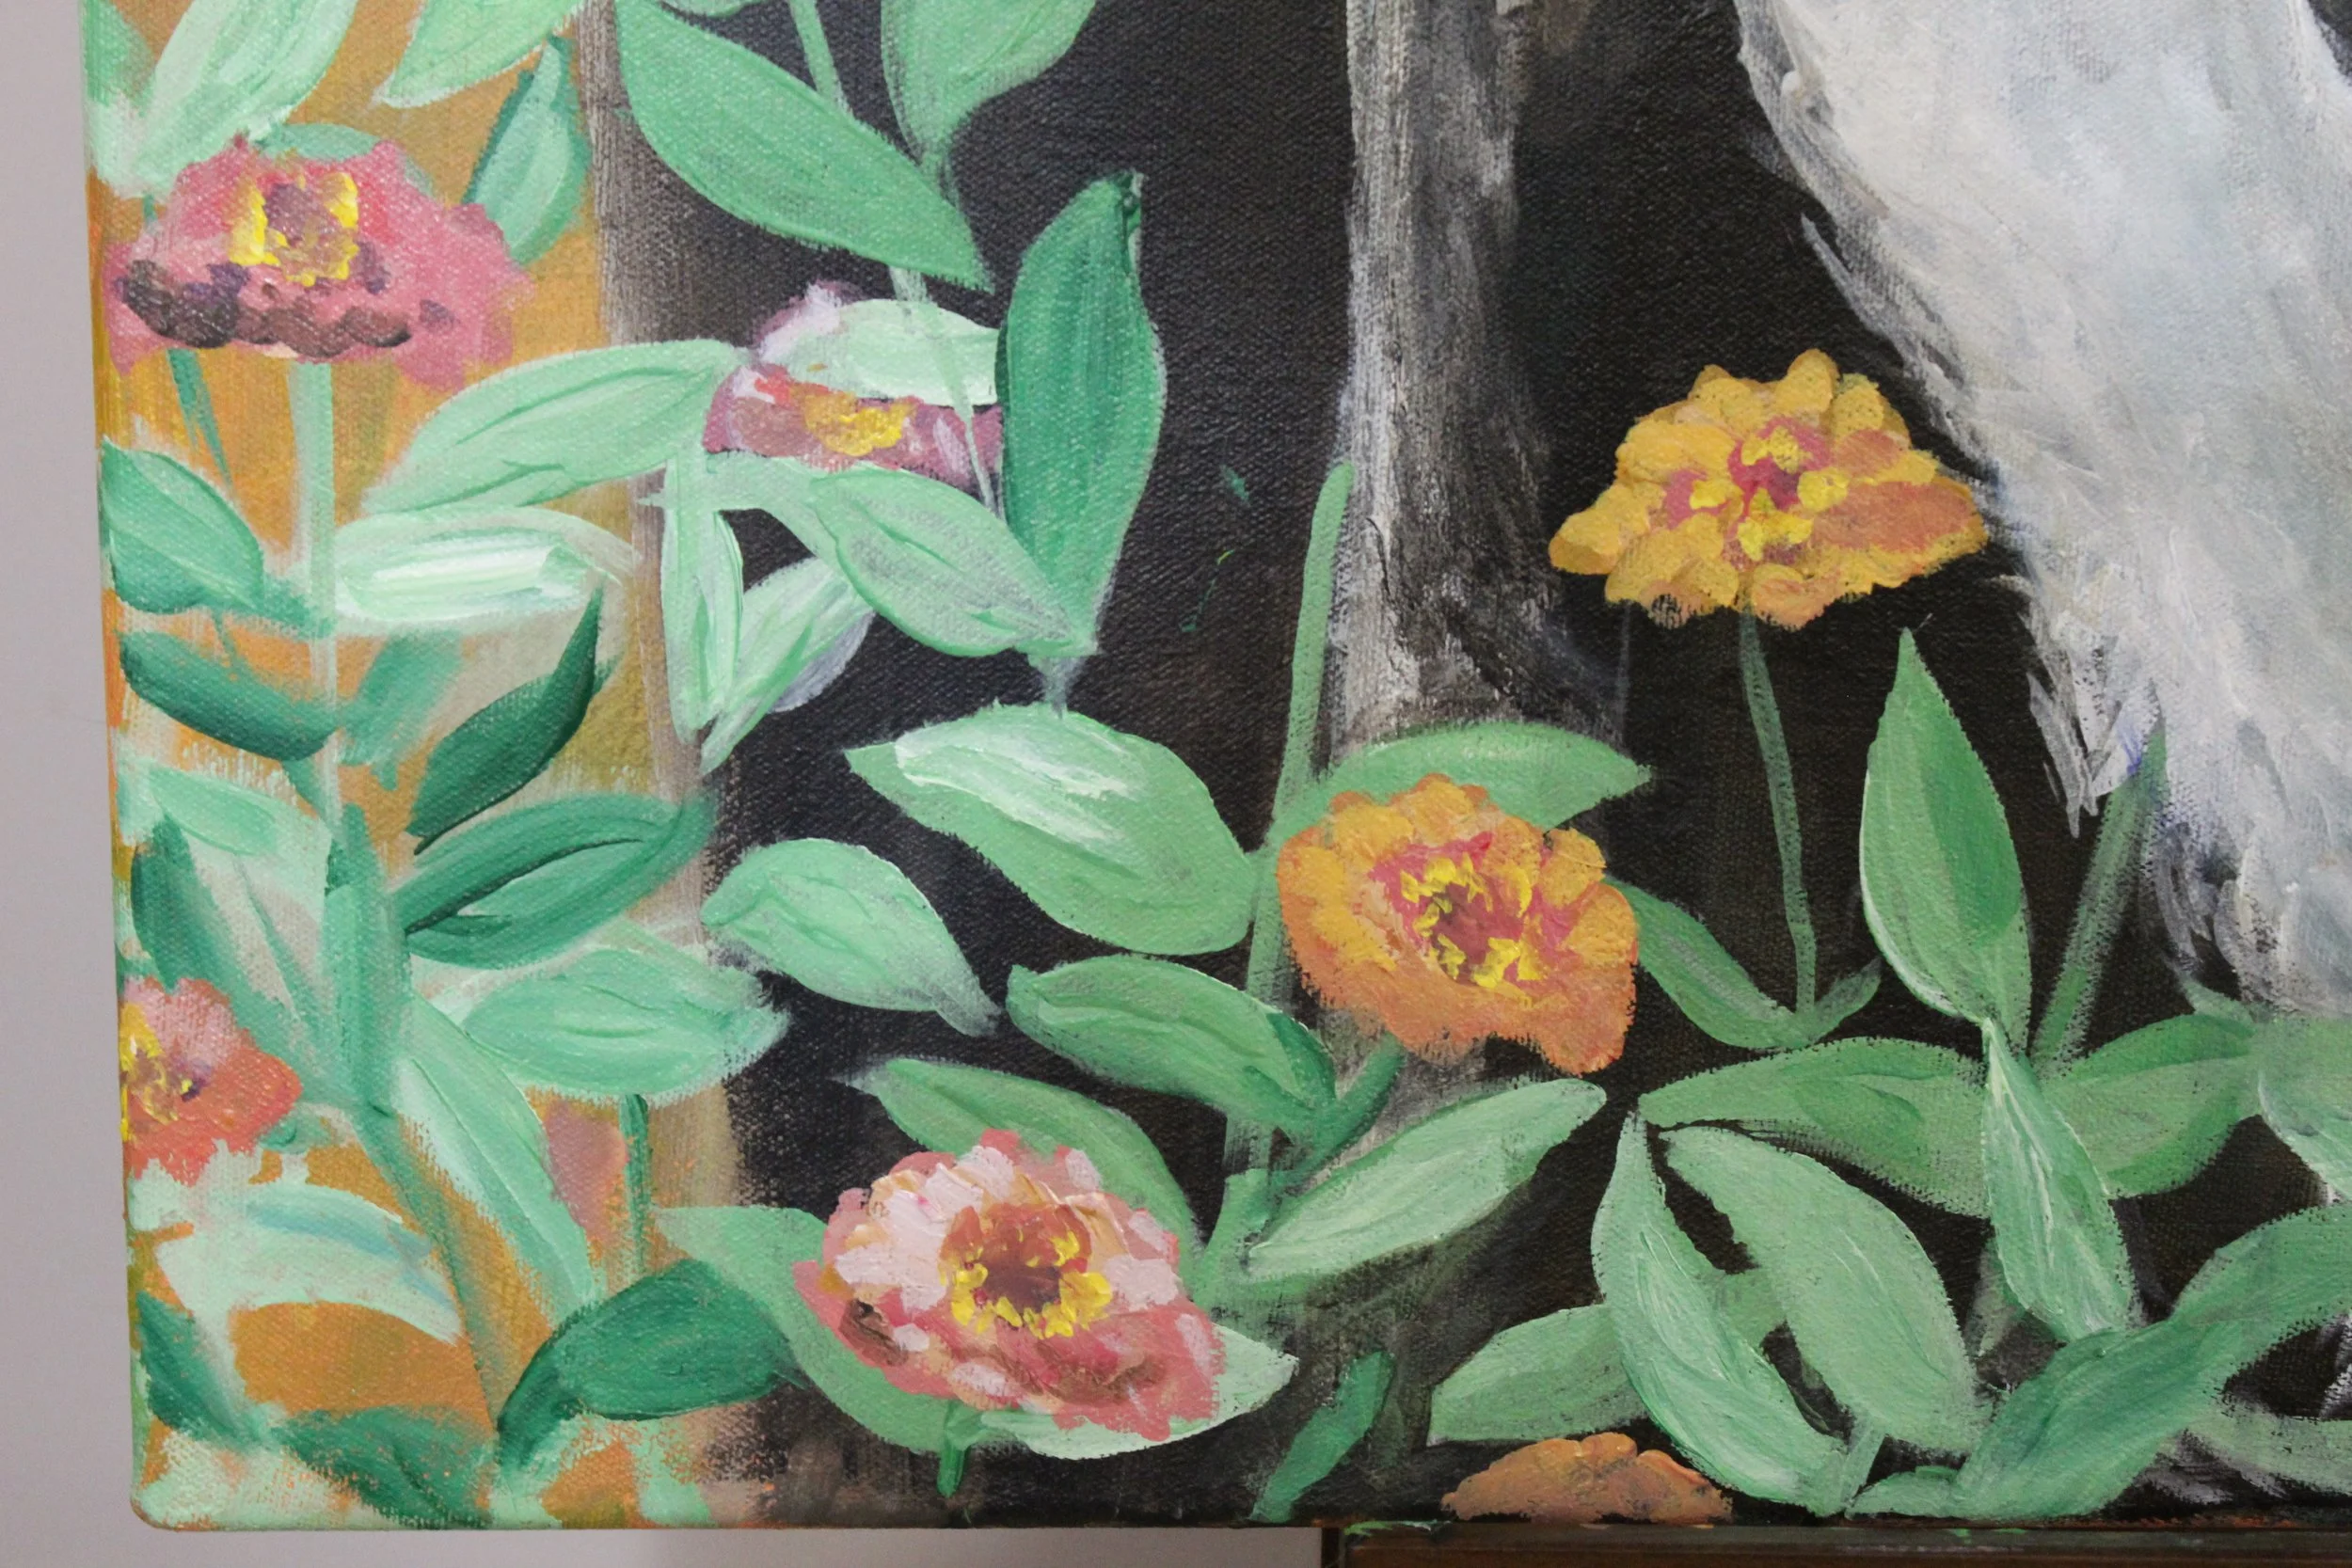
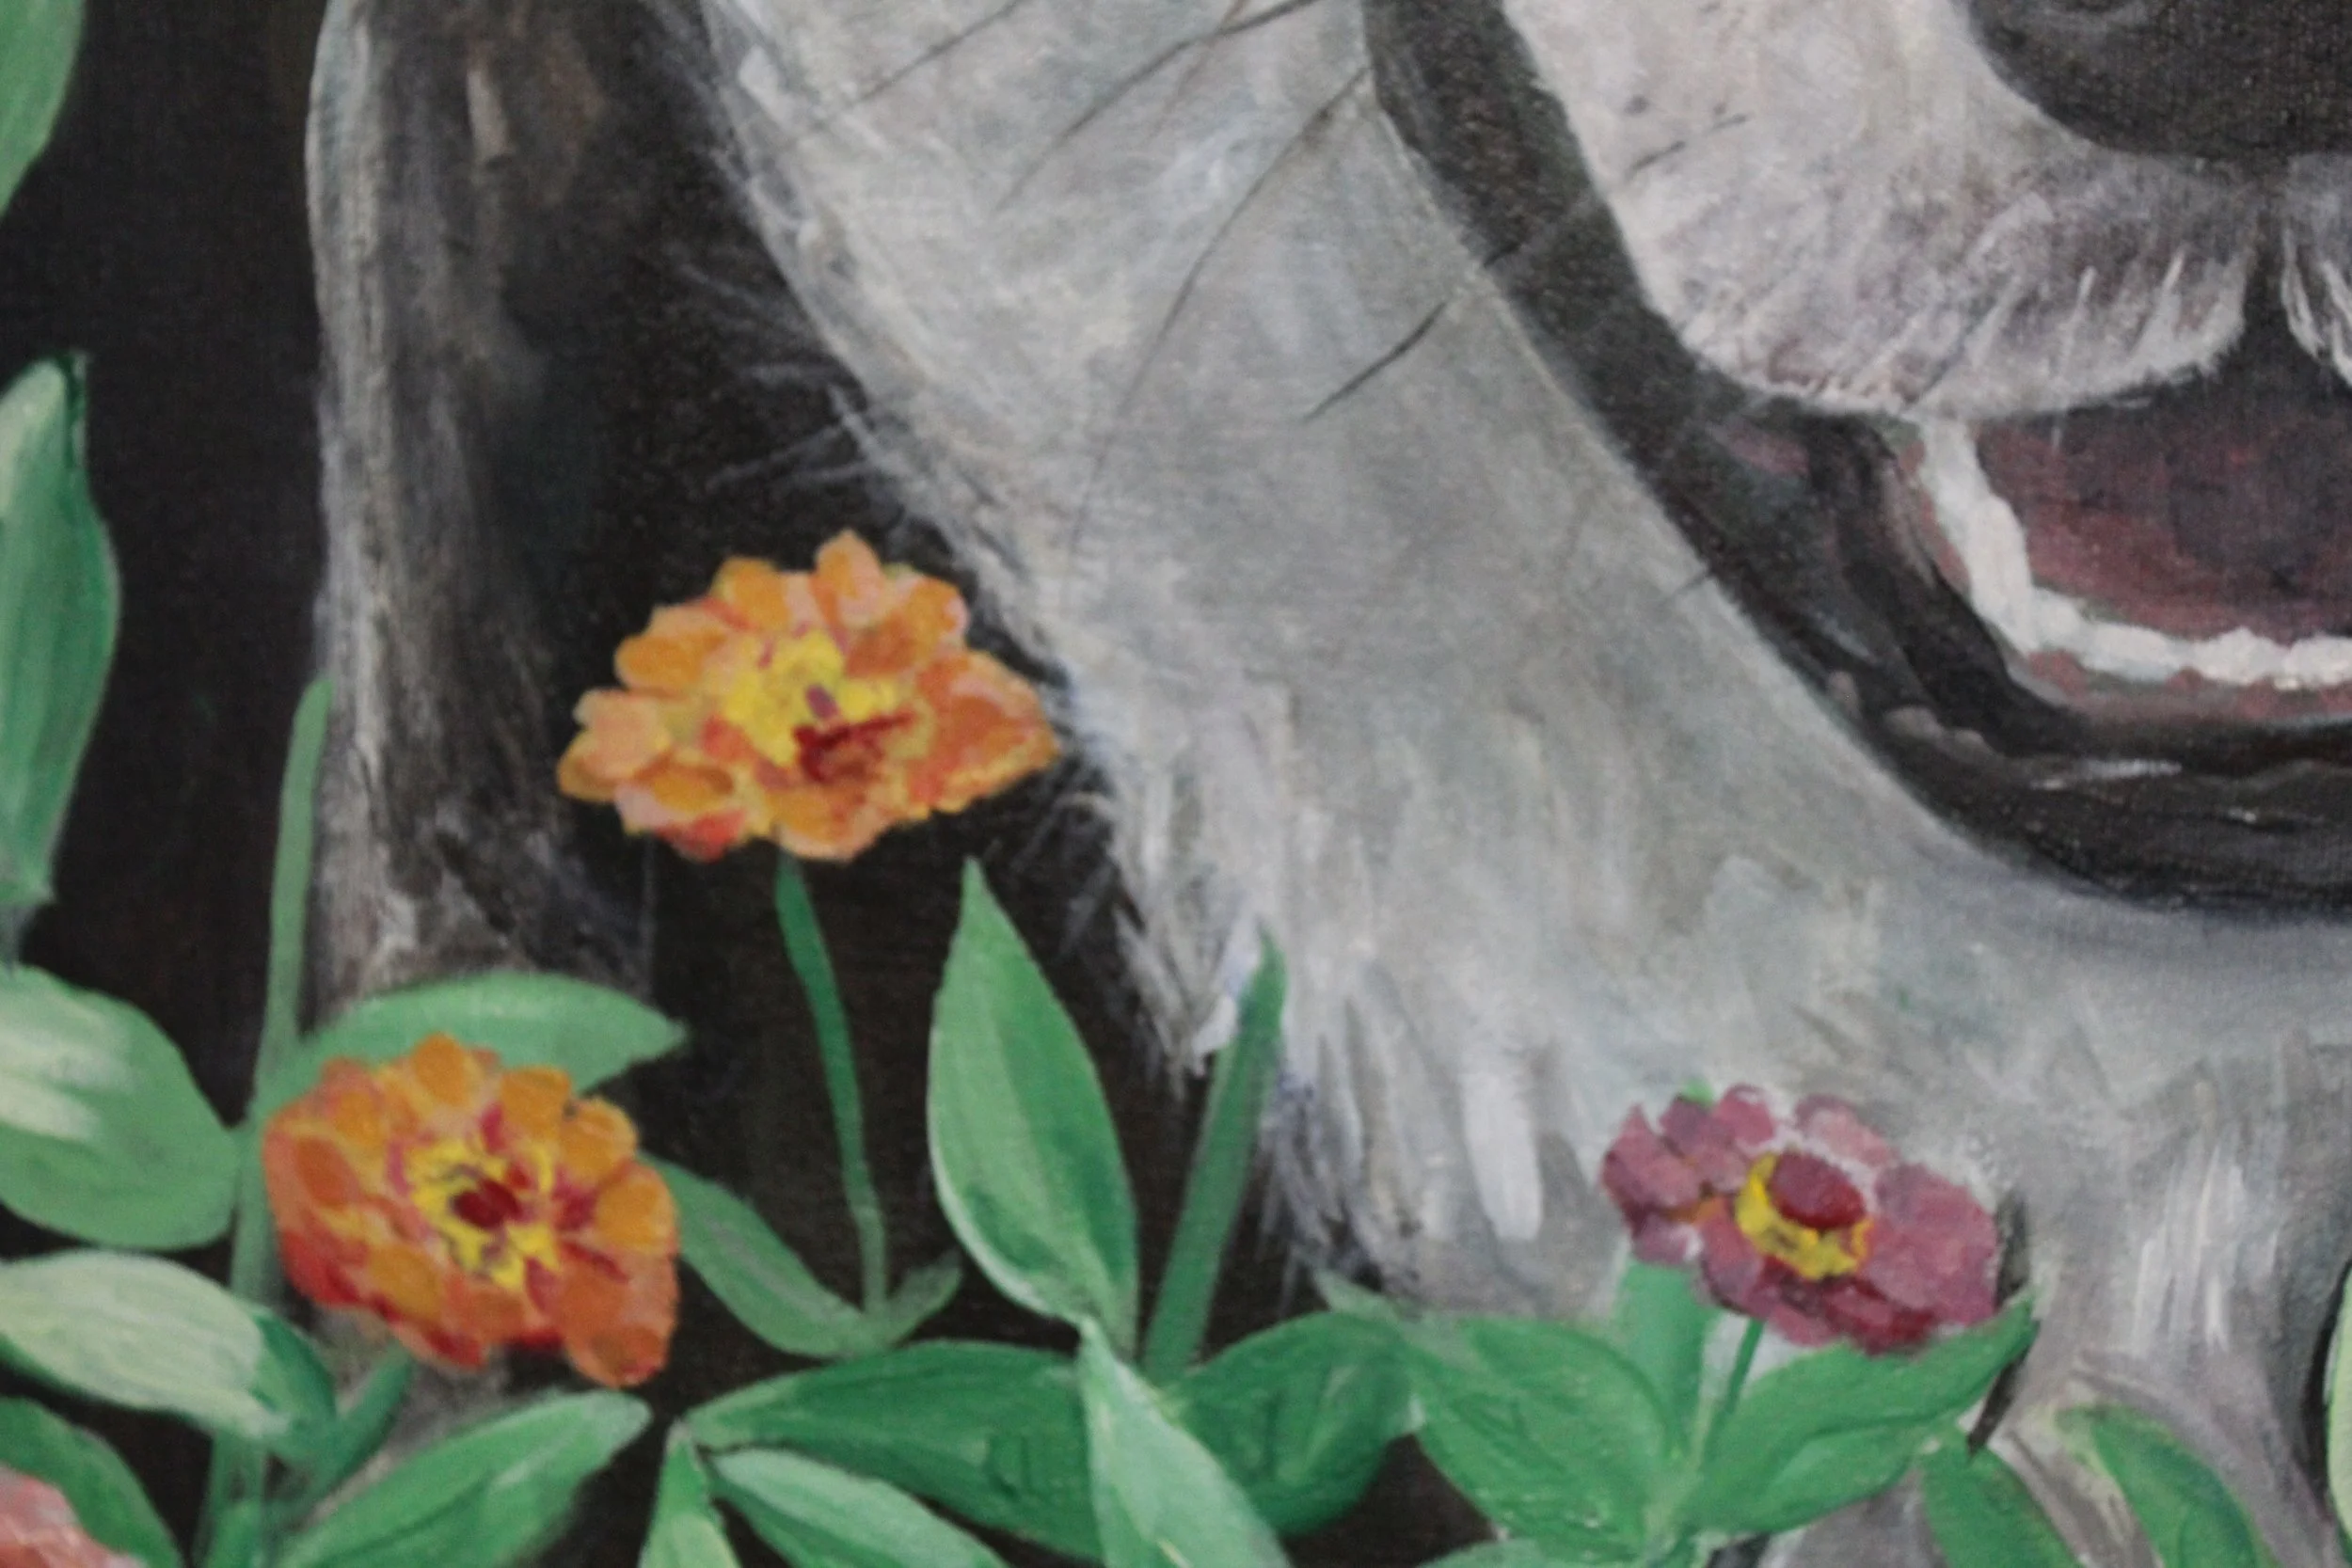
I remember growing zinnias in the summer of 2021 in grow bags, and Cadet often stopped by them to smell them. It was SO cute to see him enjoying the flowers.
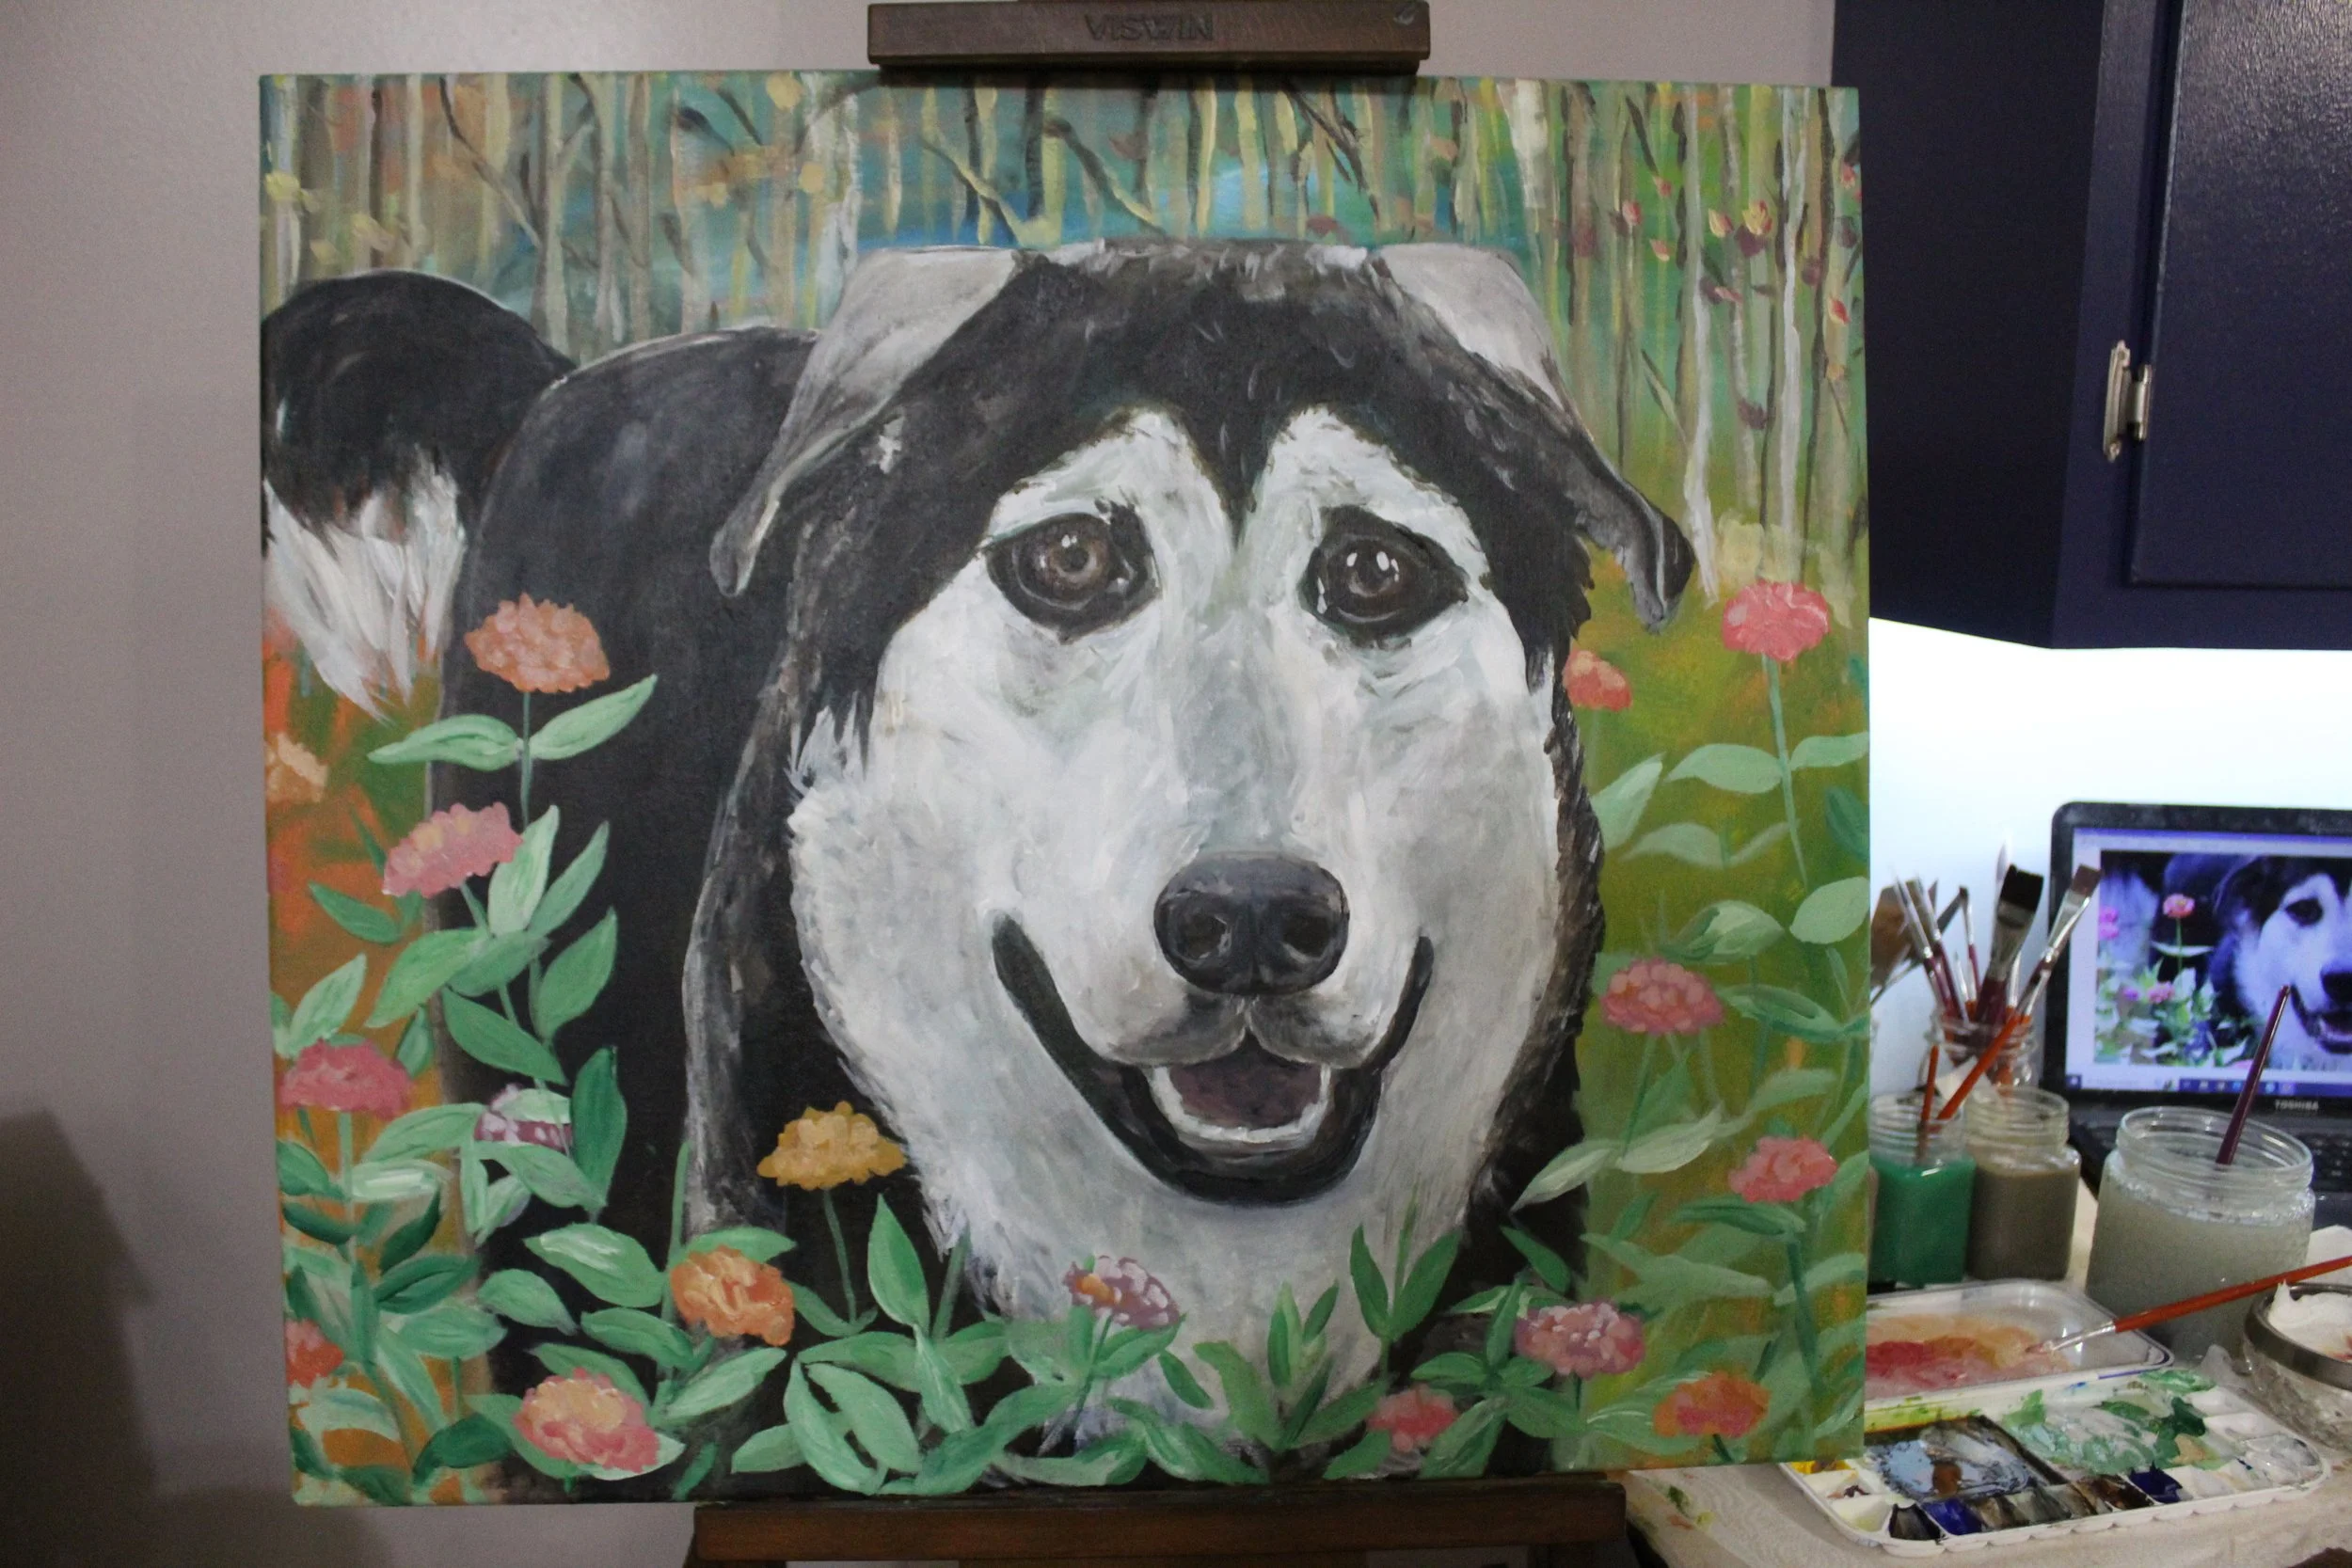
While I couldn’t manage to snap a photo in the act, luckily, I did have some photos I could use for reference to create a beautiful painting.
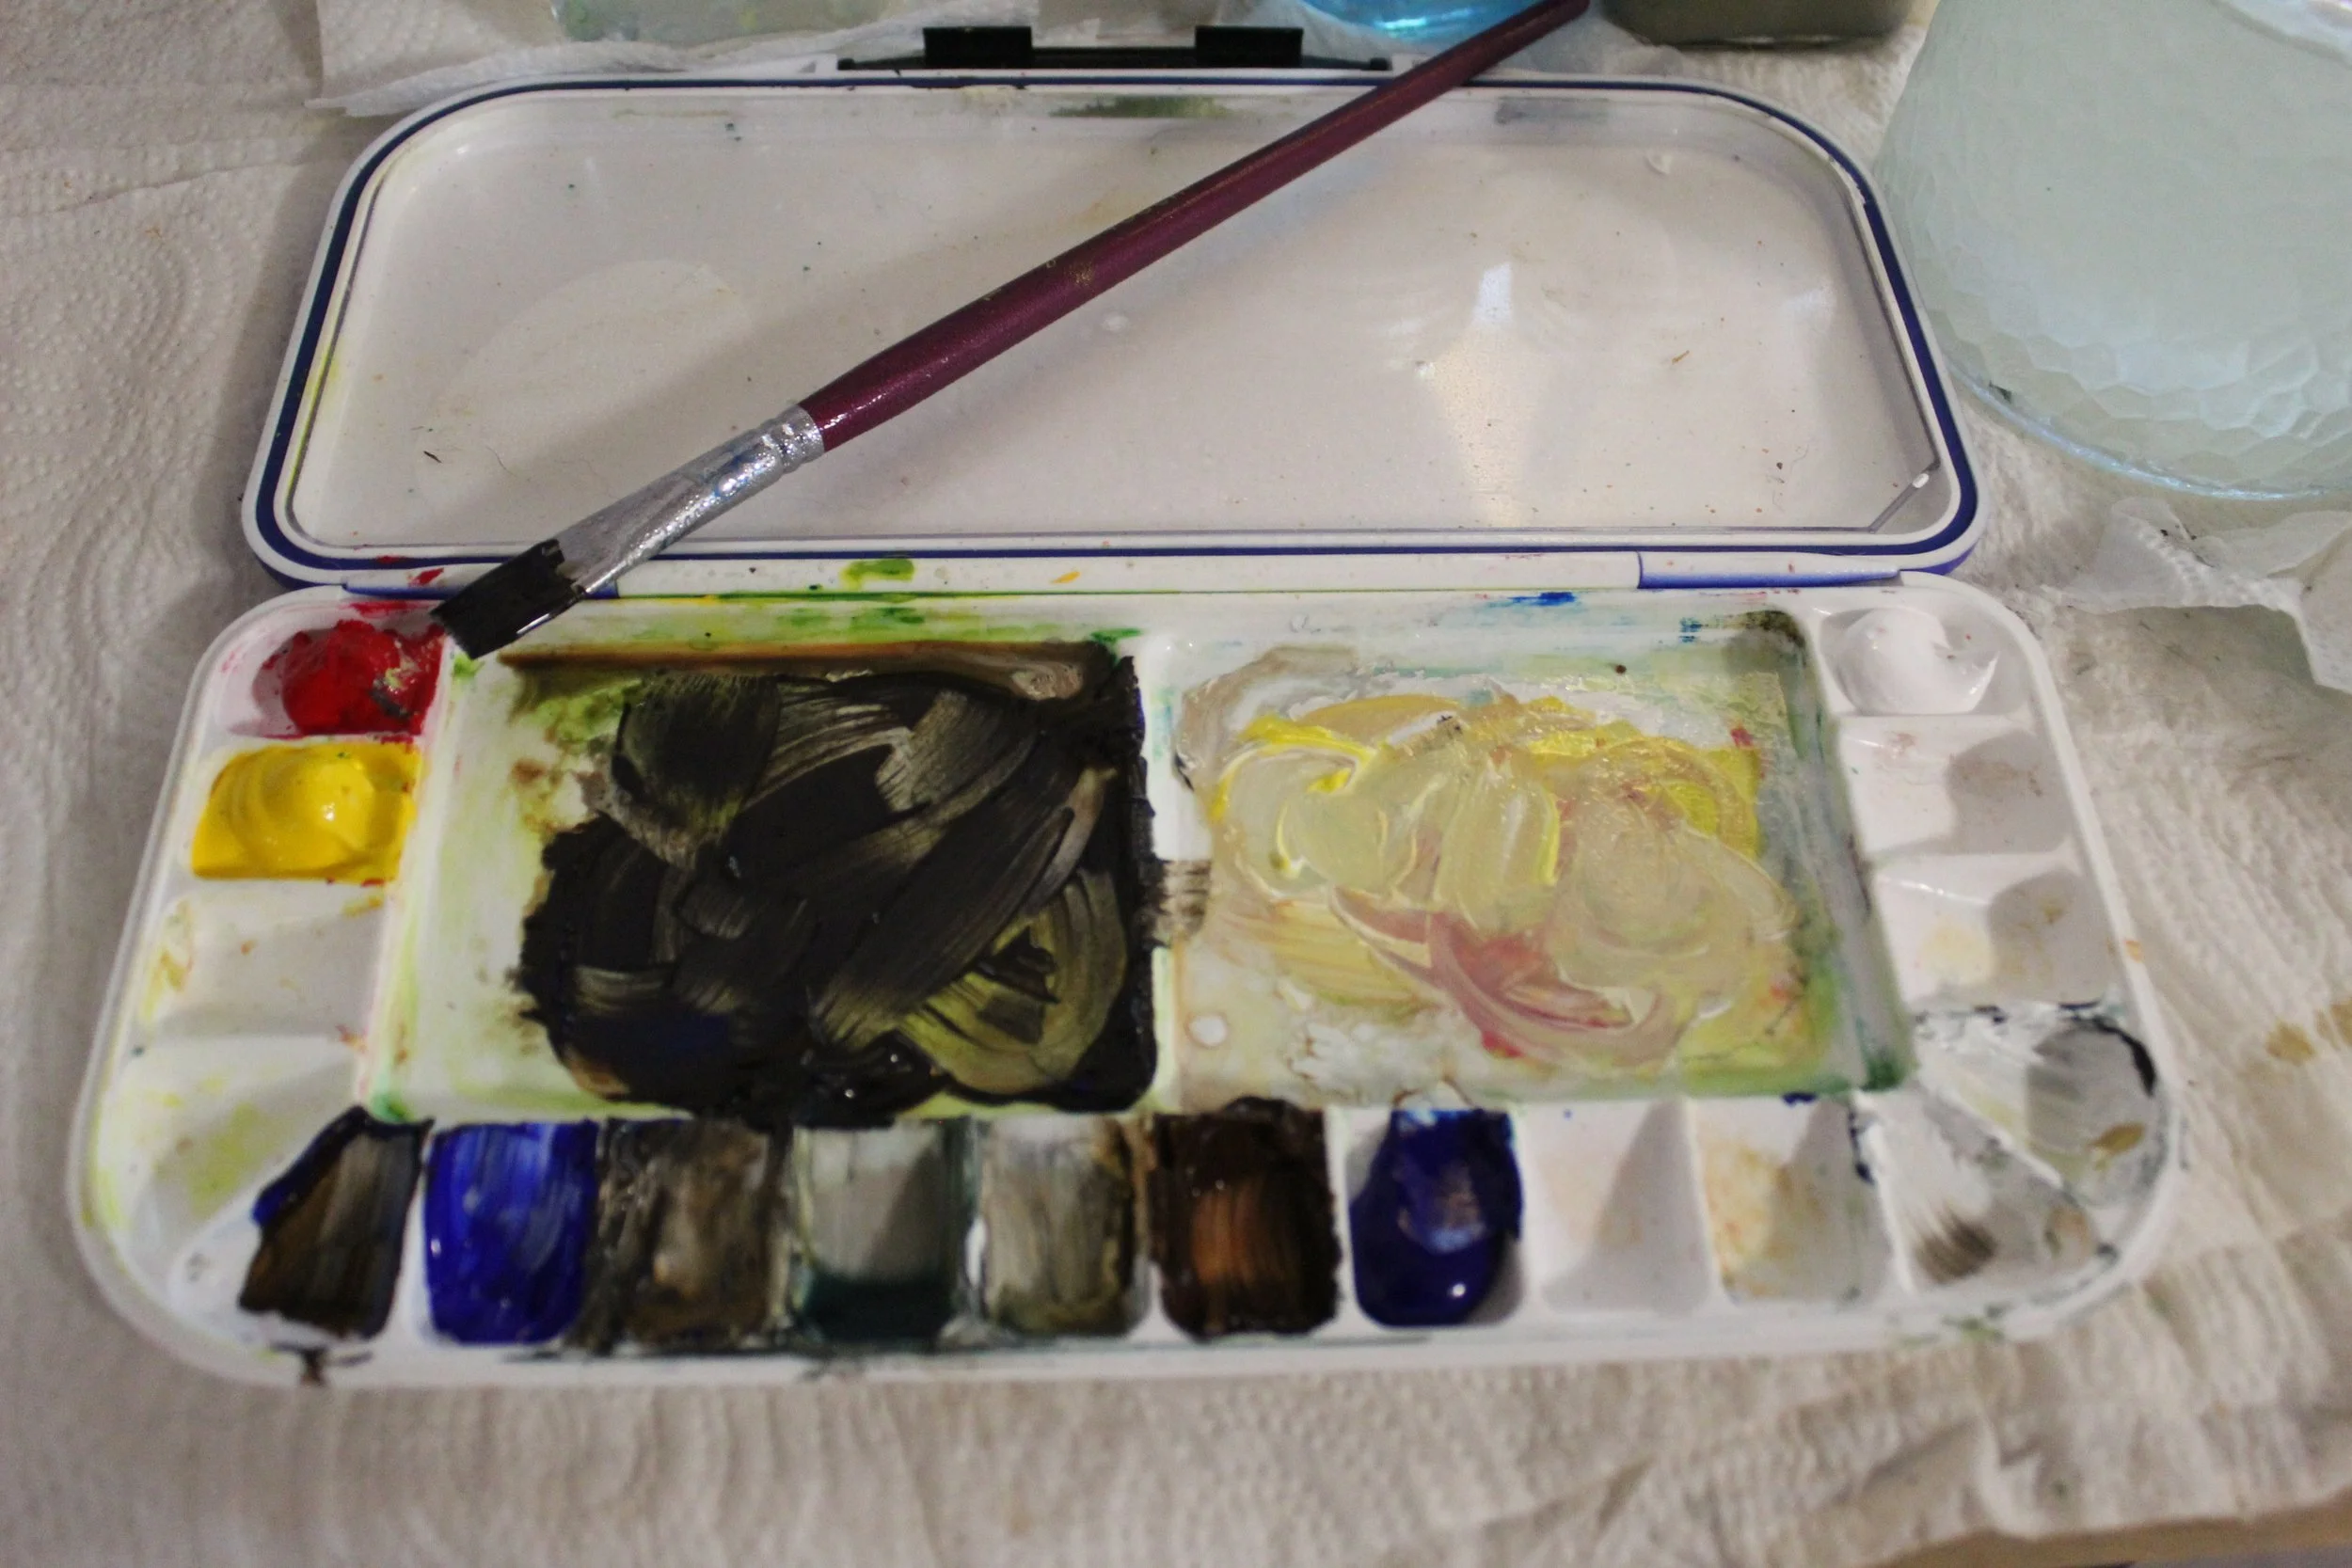
With the photo references ready, acrylics on hand, and a gessoed canvas: I had everything I needed to start painting!
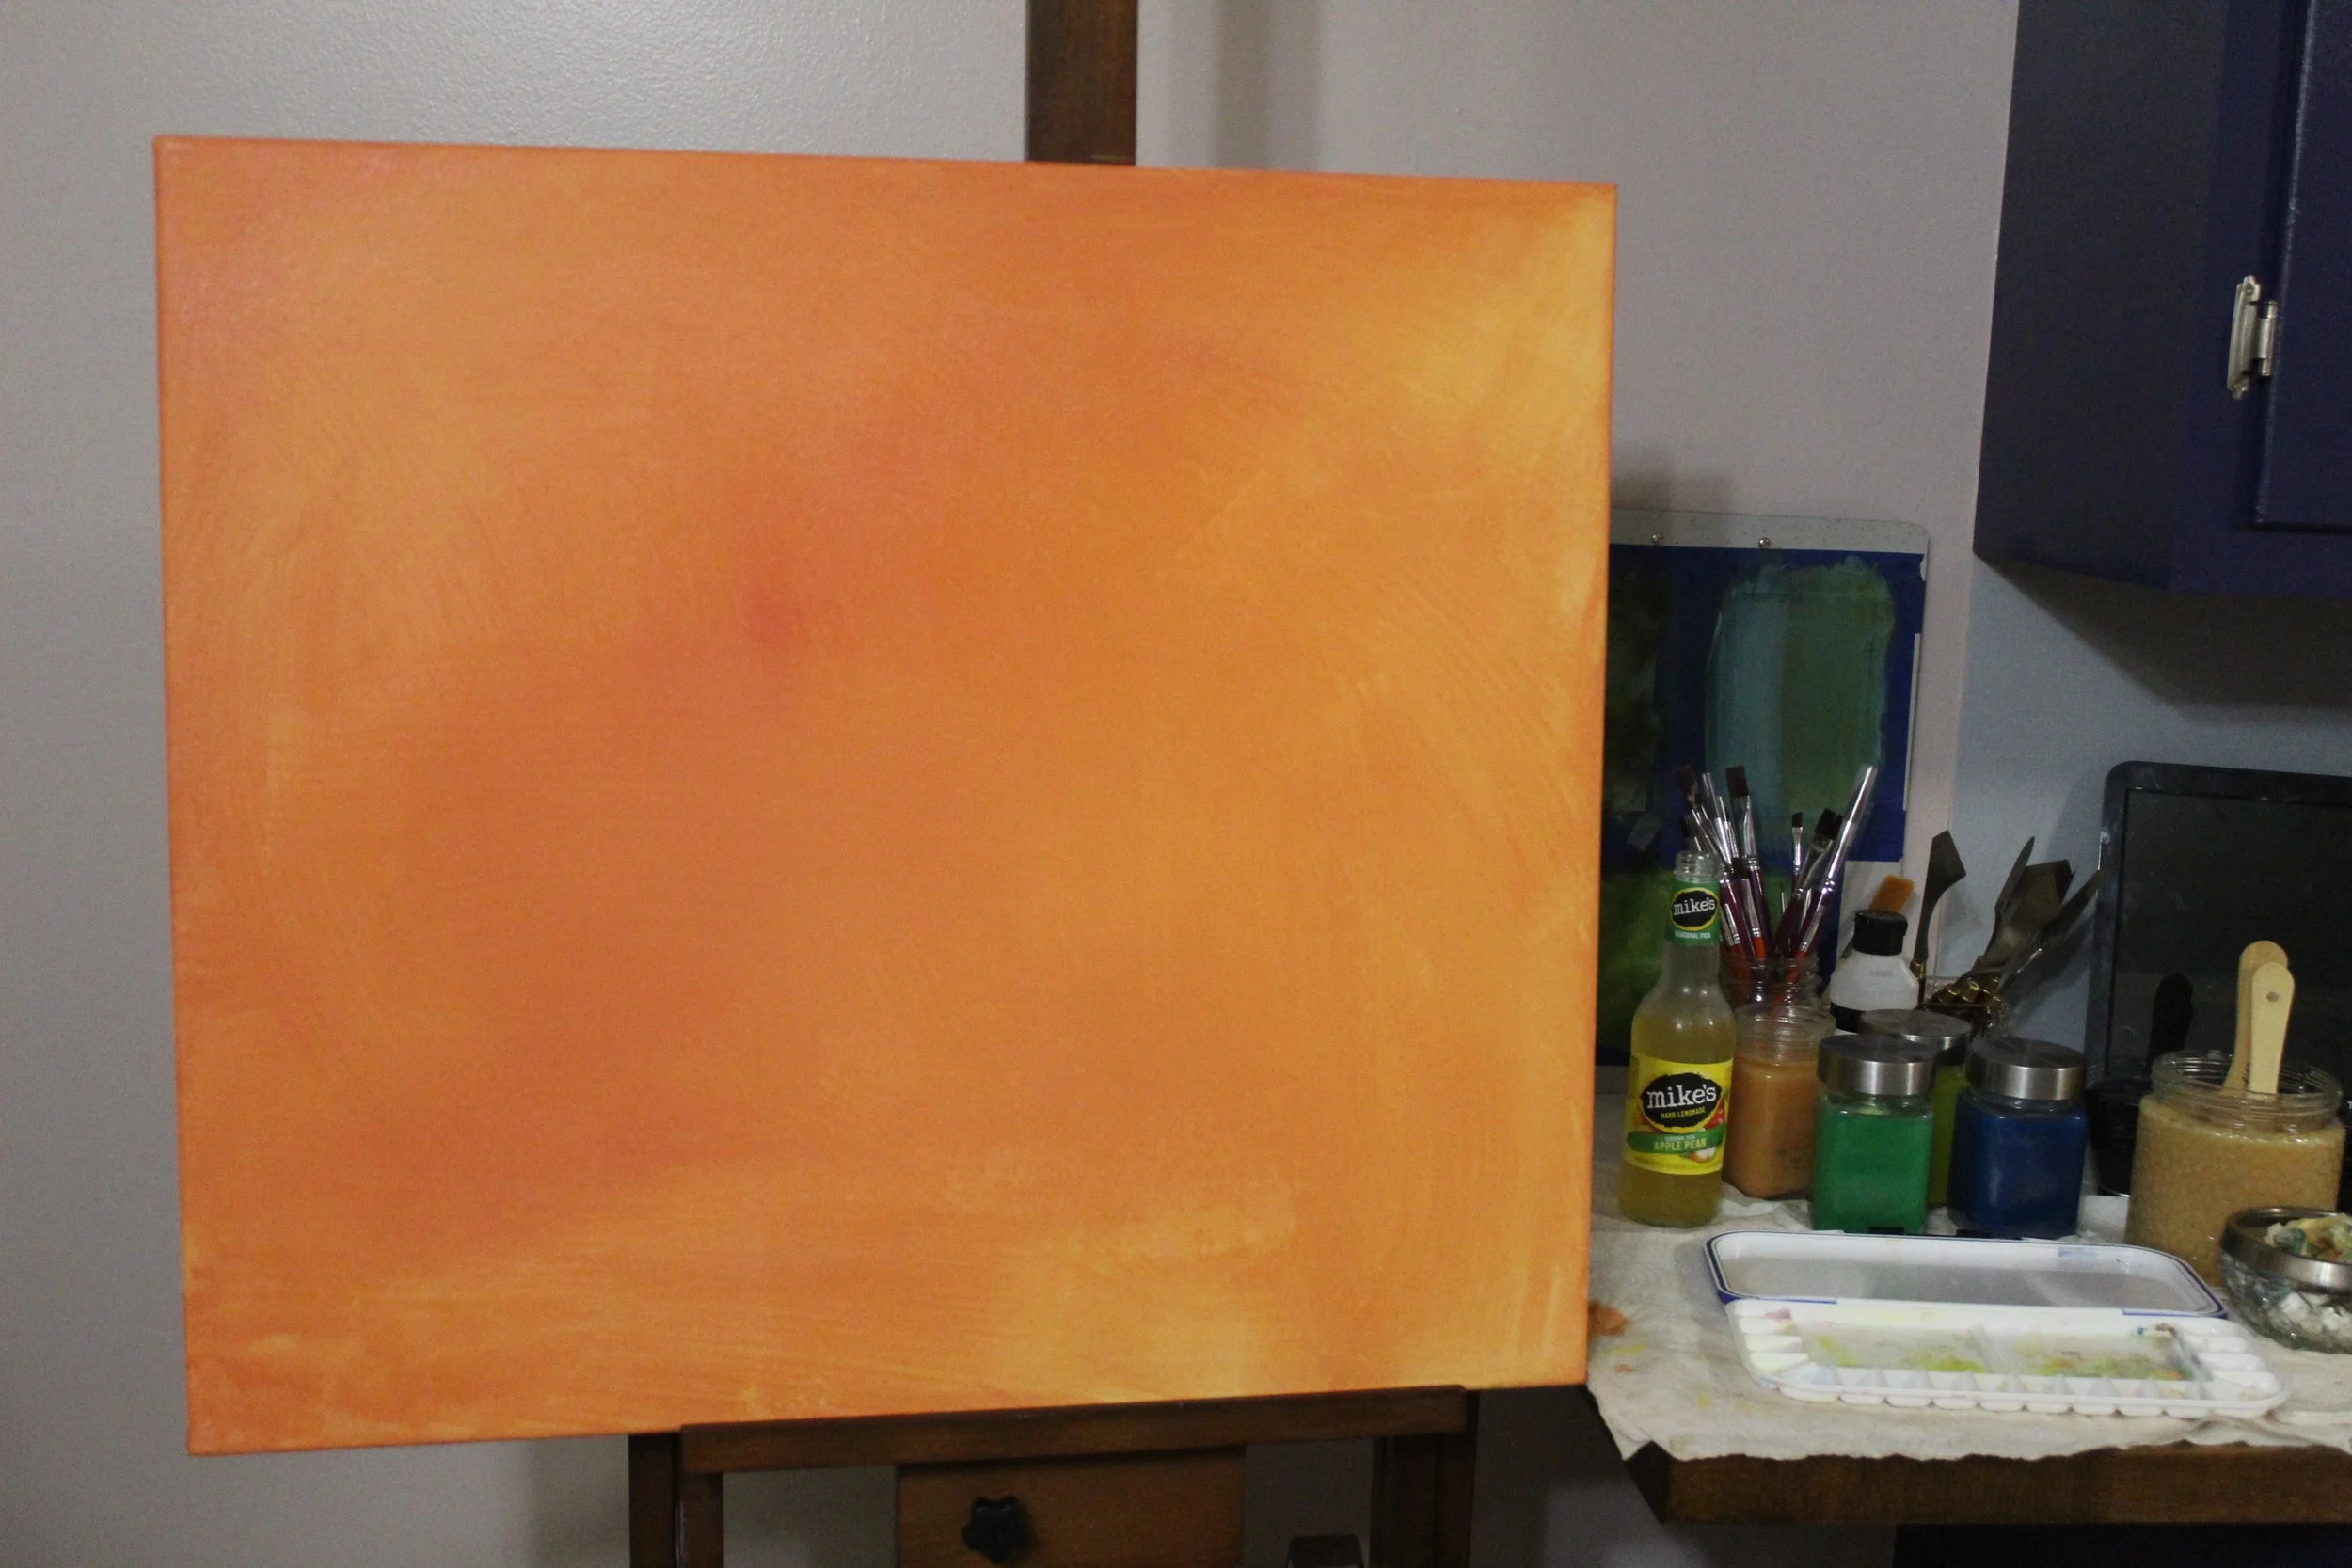
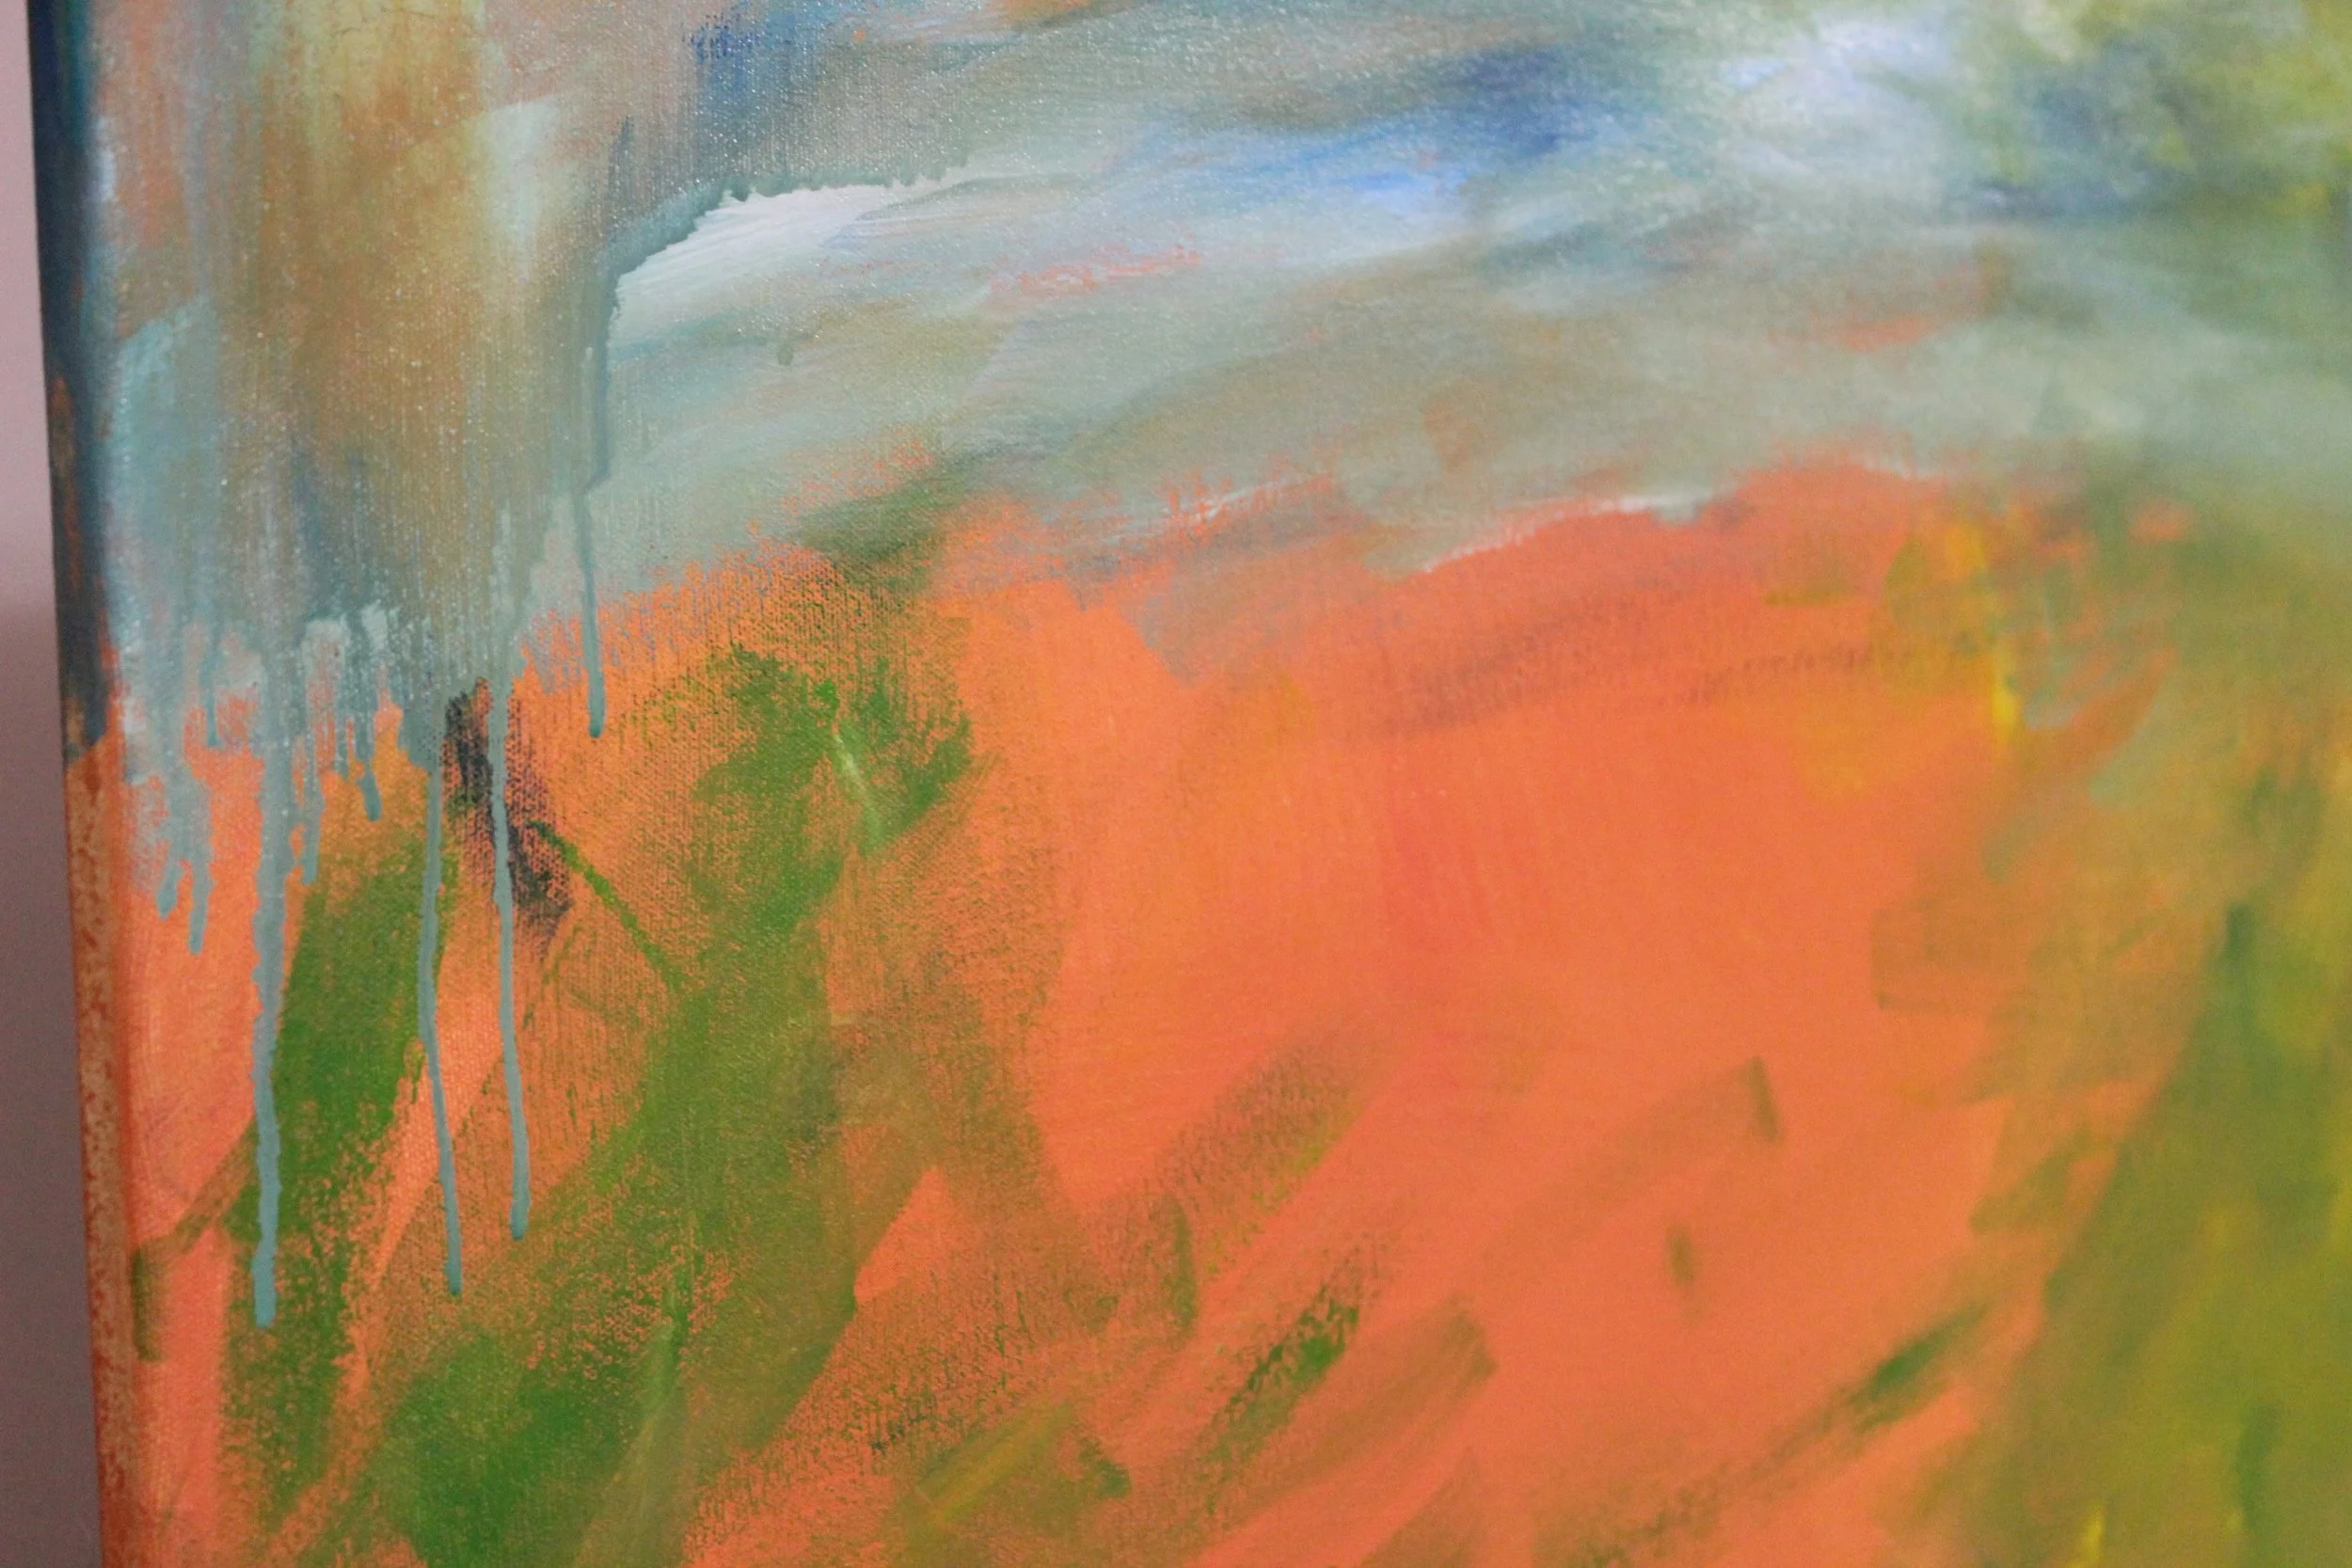
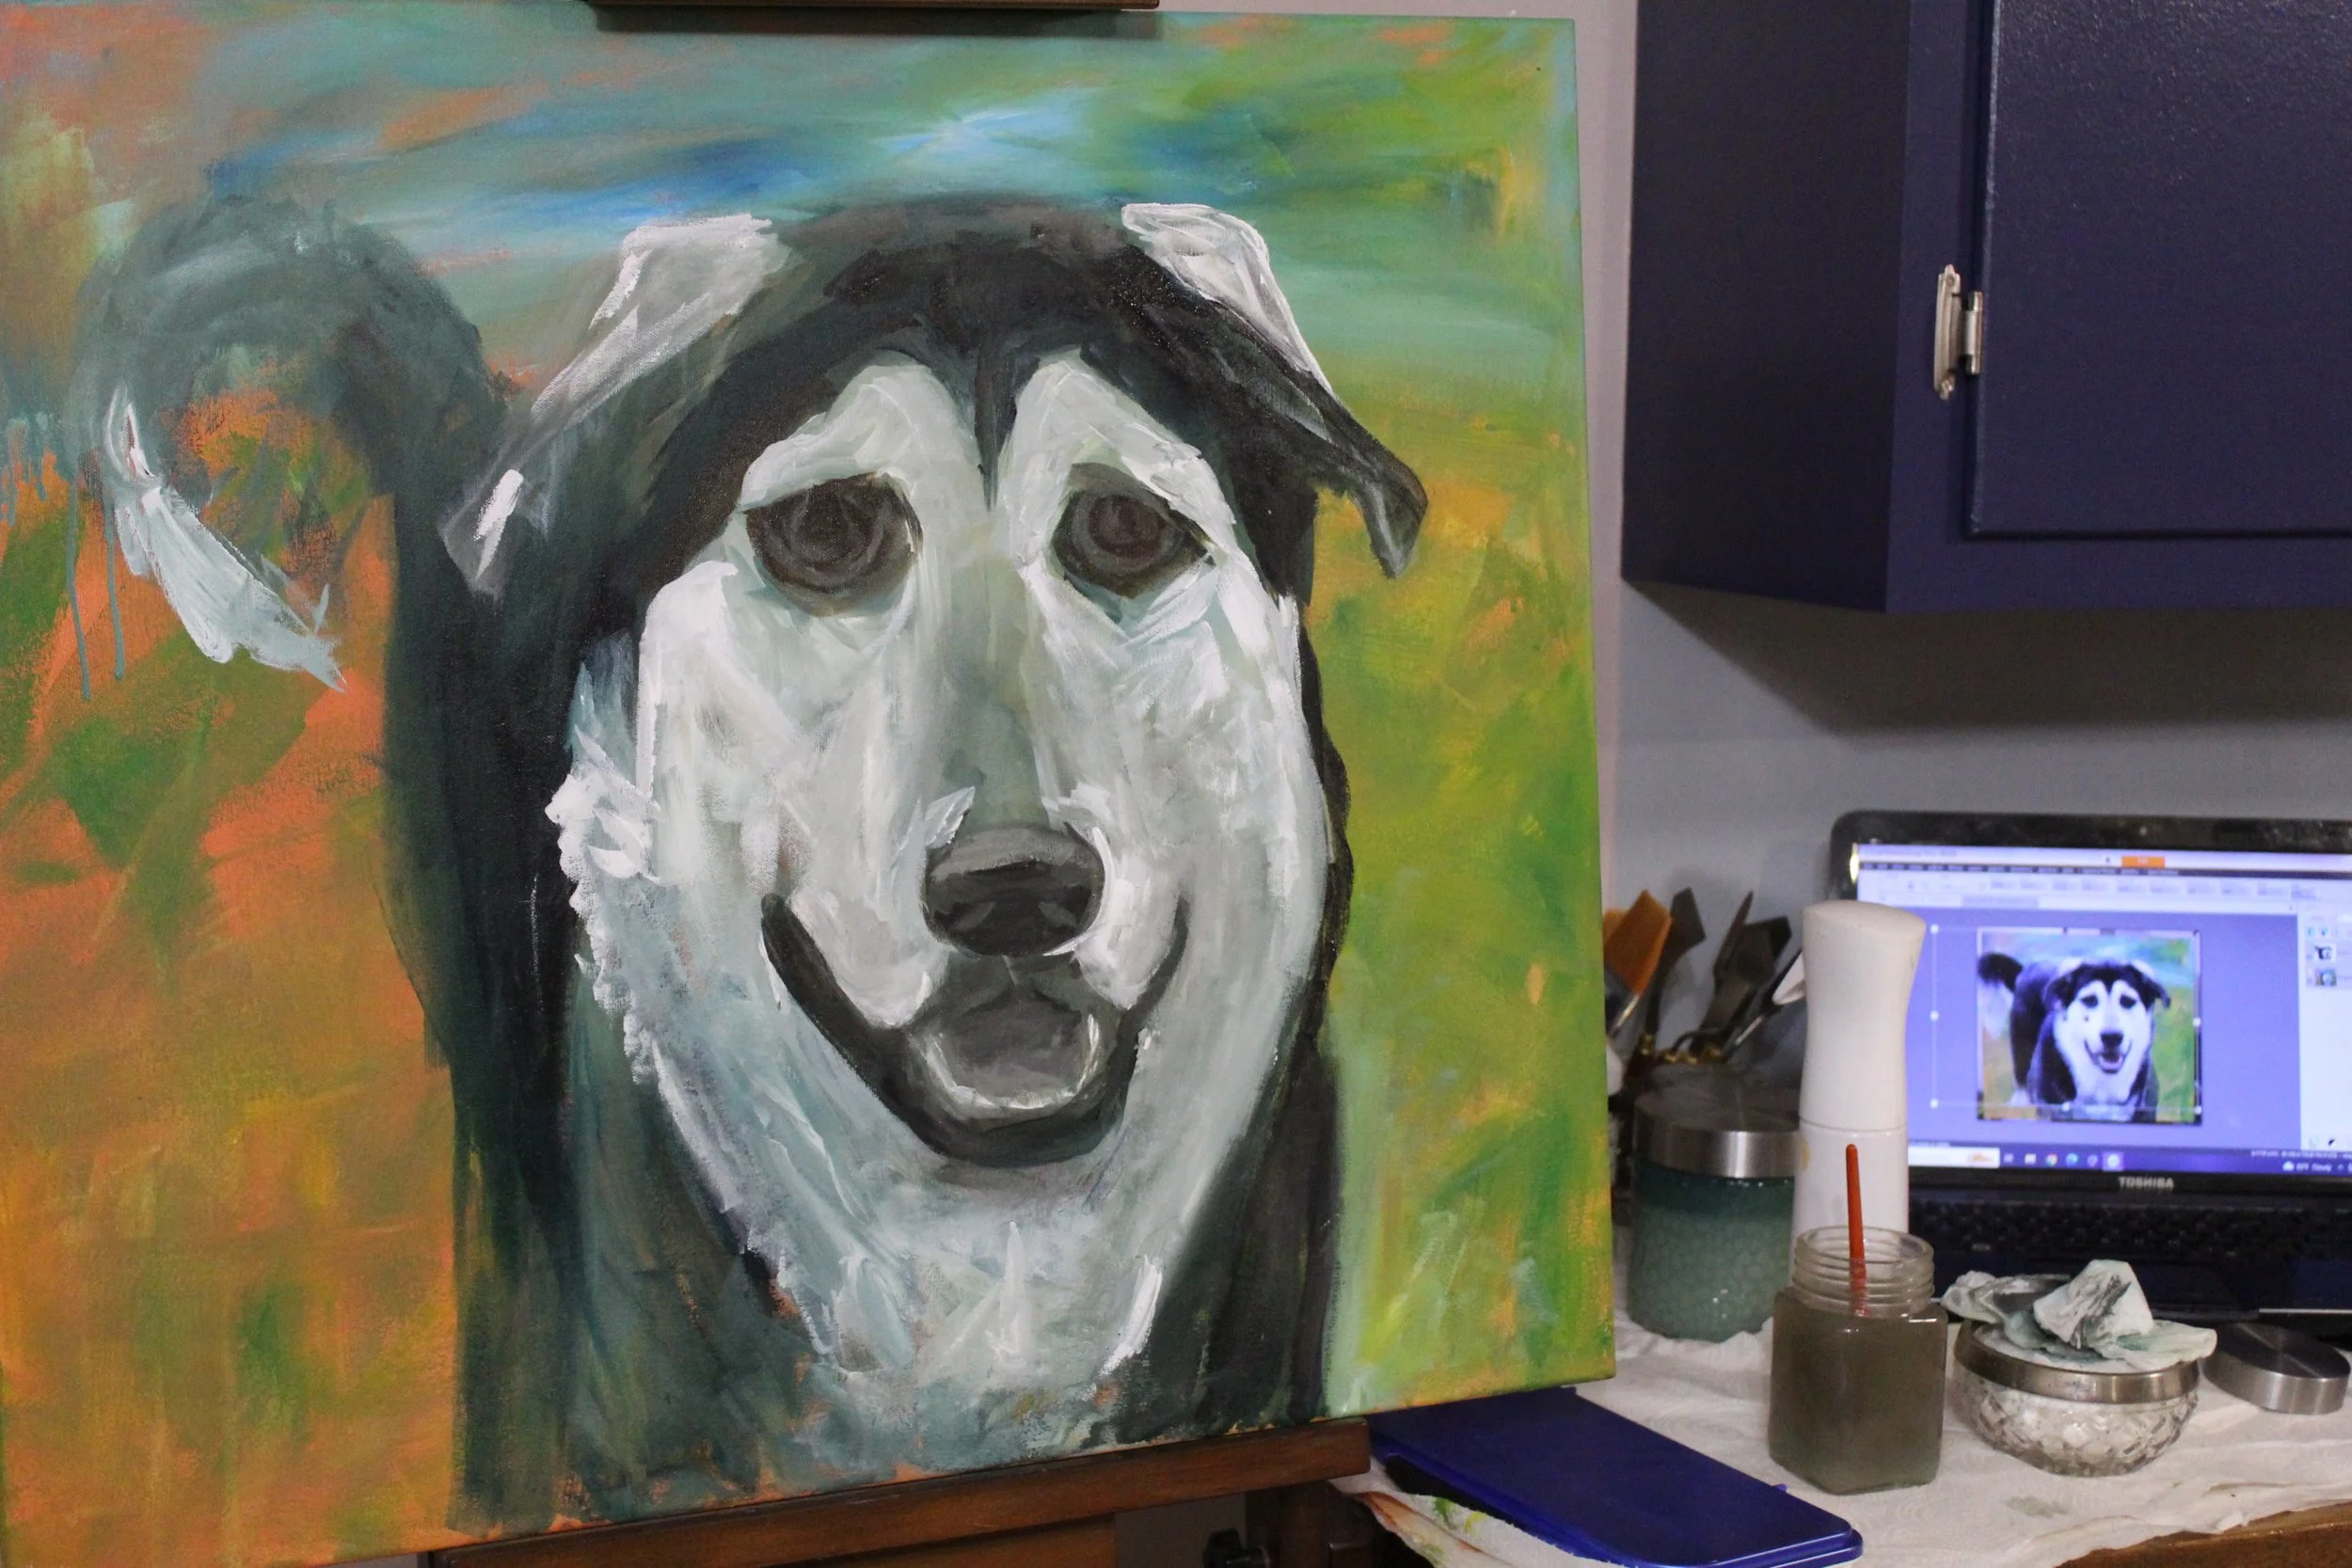
I tend to enjoy starting my paintings with an backwash. It is a low stress way to get paint on the canvas, plus it serves the painting in many ways.
Doing a layer of color in the back prevents white bits of canvas from popping through in the painting
Choosing a bright color for the wash helps to brighten the painting. A bright color can be used to let the light shine through from the background of the painting.
A single color wash in the back of the painting helps the painting to appear more uniformed.
I chose to a bright peachy orange as the wash. The color reminds me of the light that hits when the sun is setting, and will add to the overall mood of the painting.
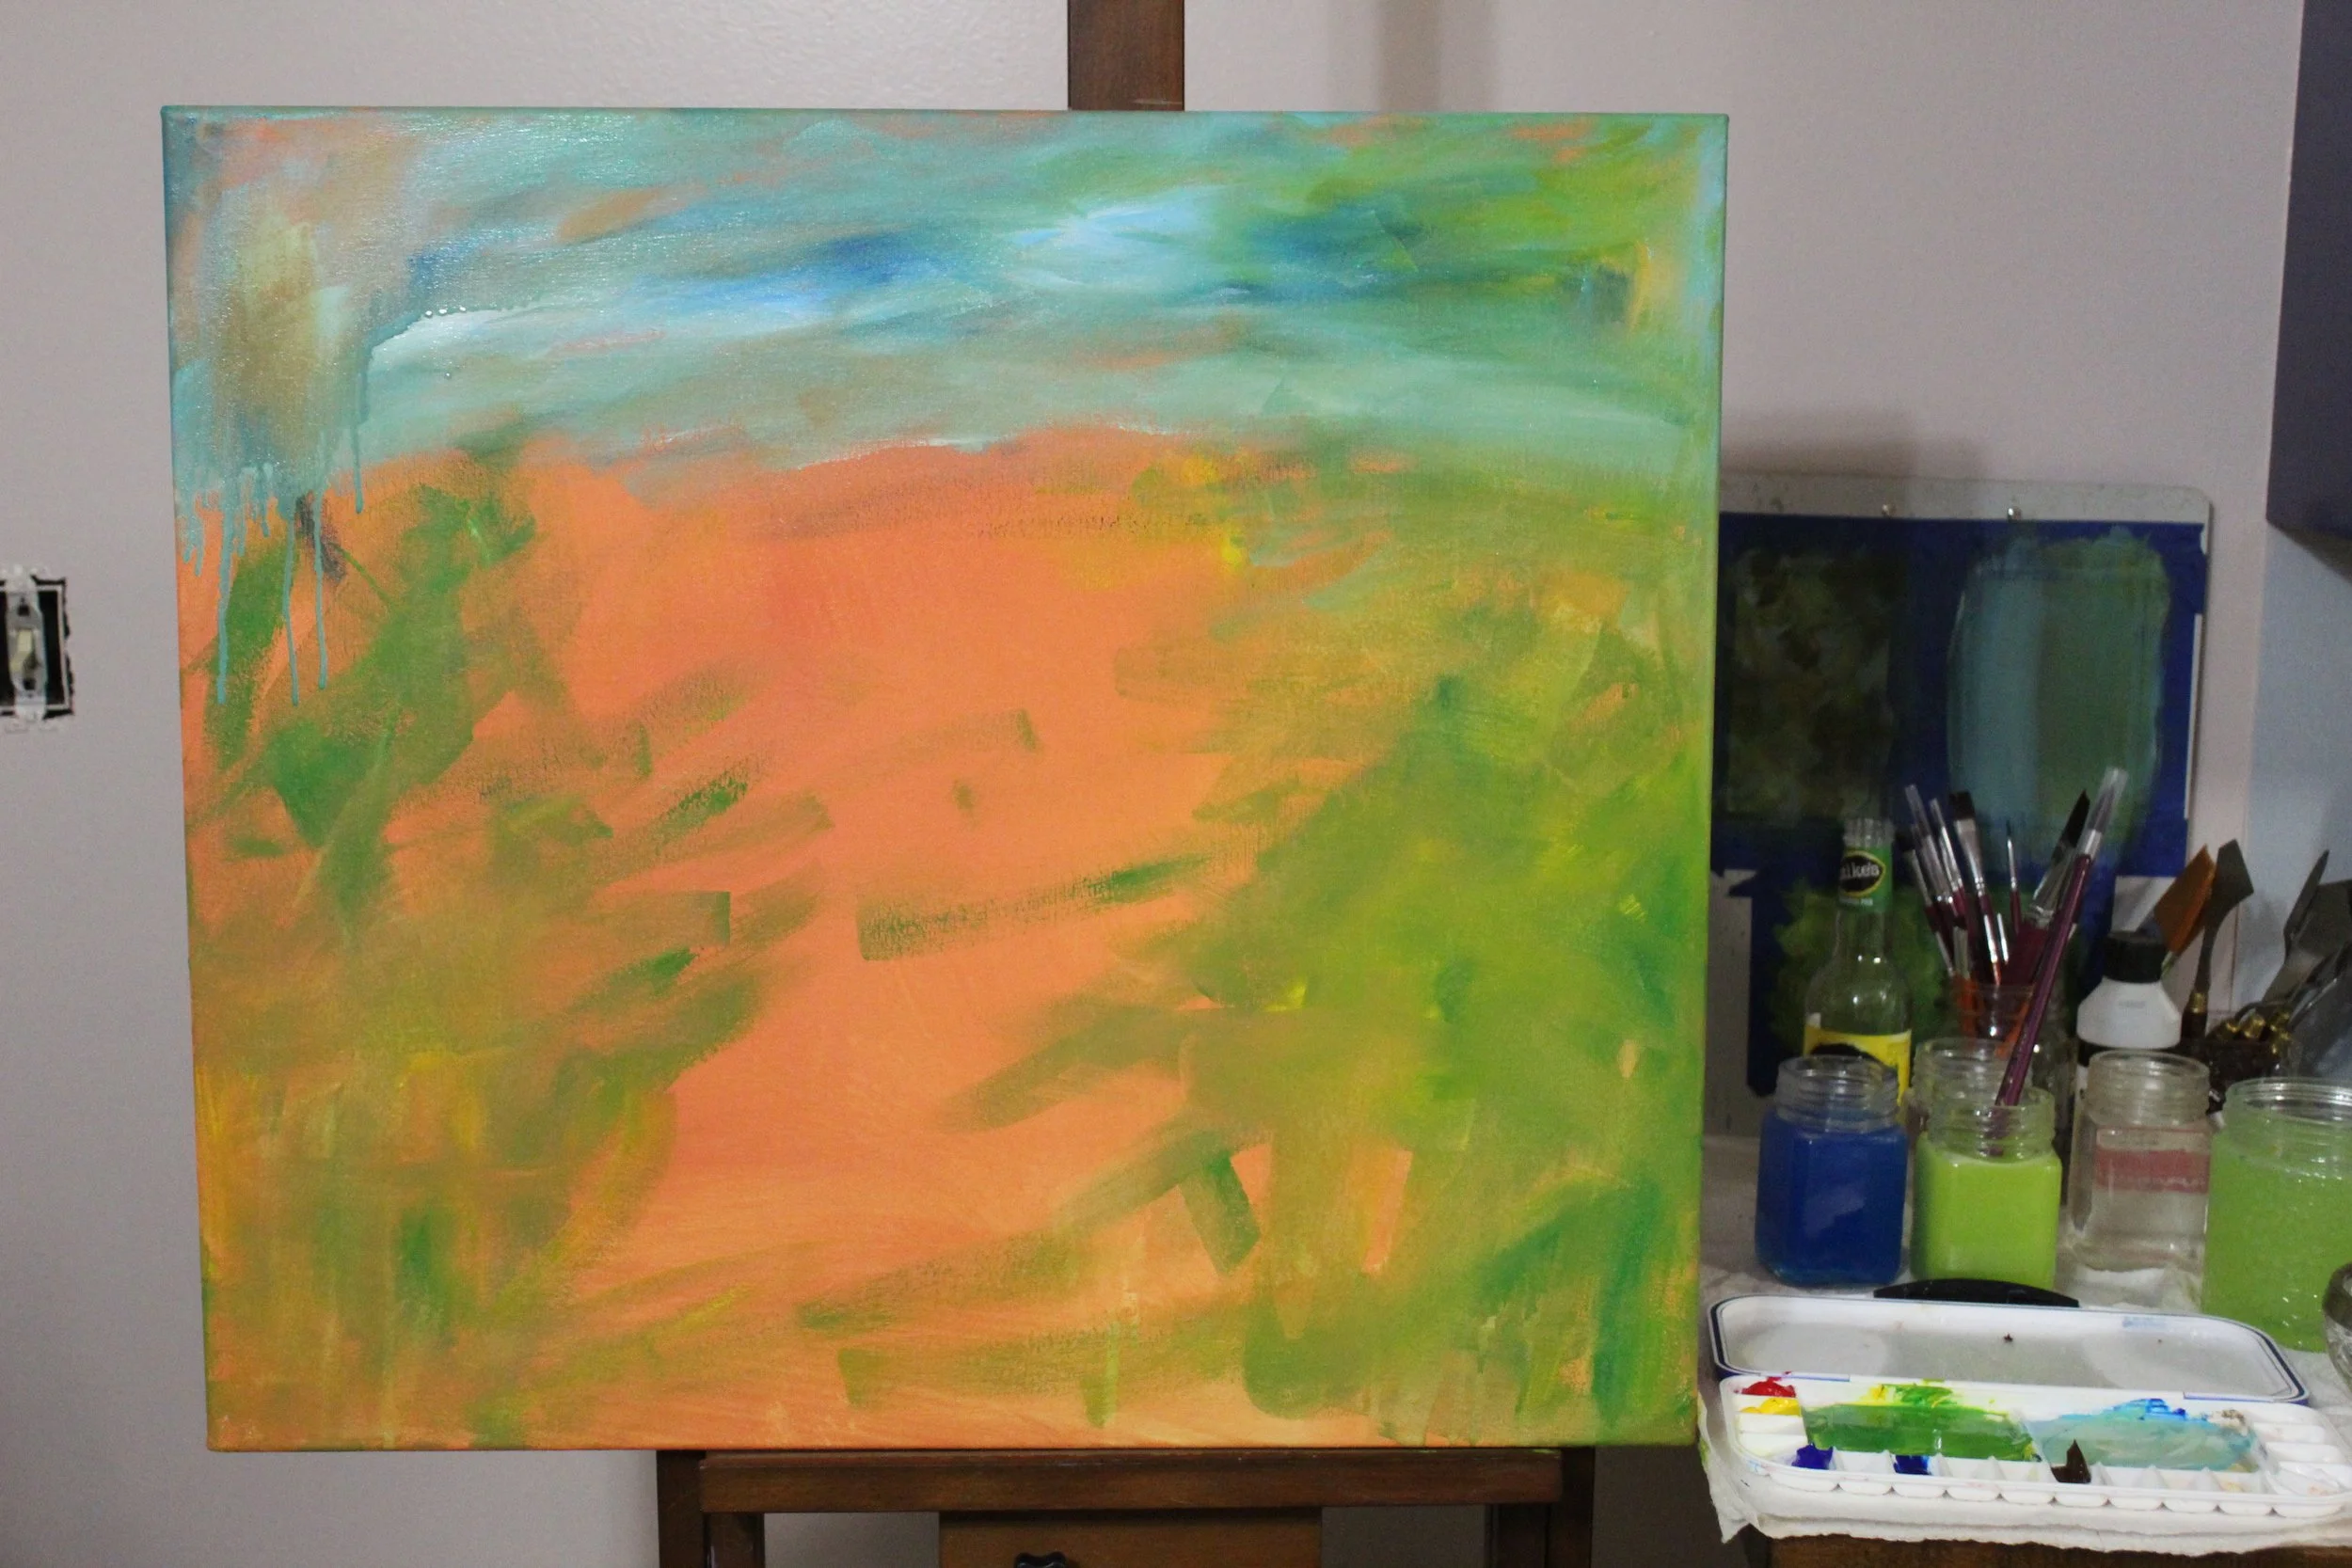
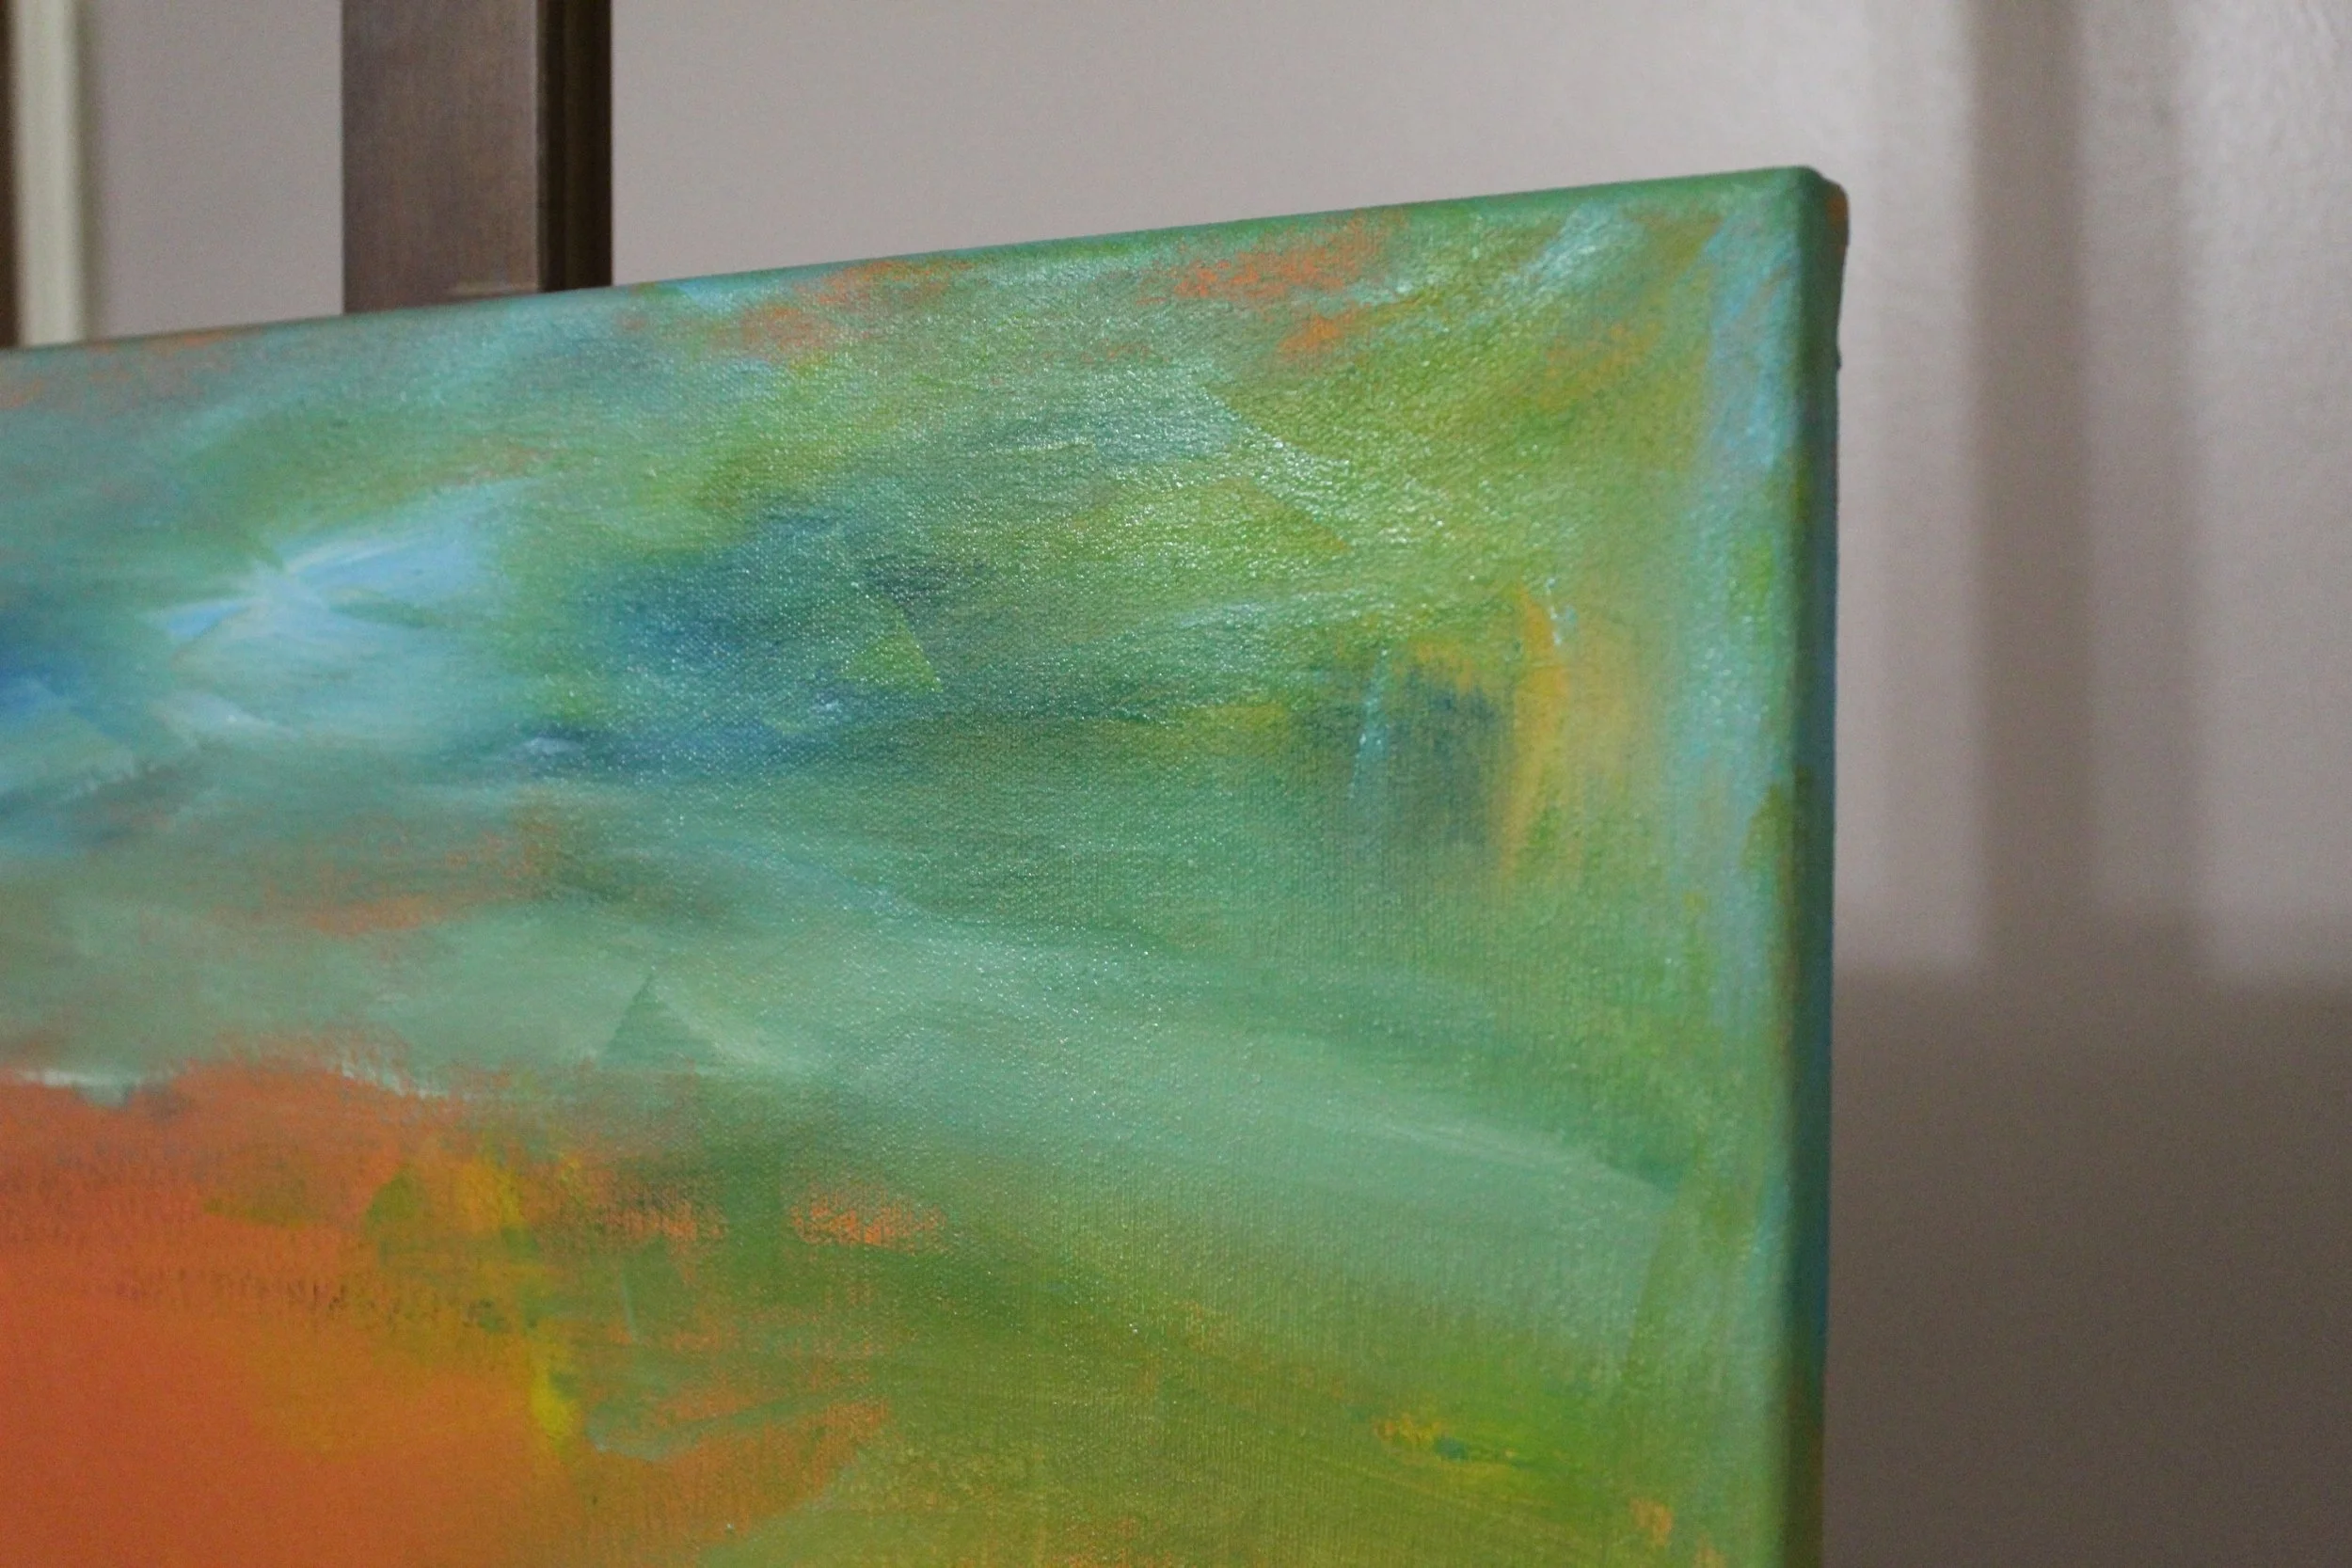
After the backwash, I started to map out the landscape of the painting with bold strokes of color. Again, I chose bright colors, so that the light will shine through the background.
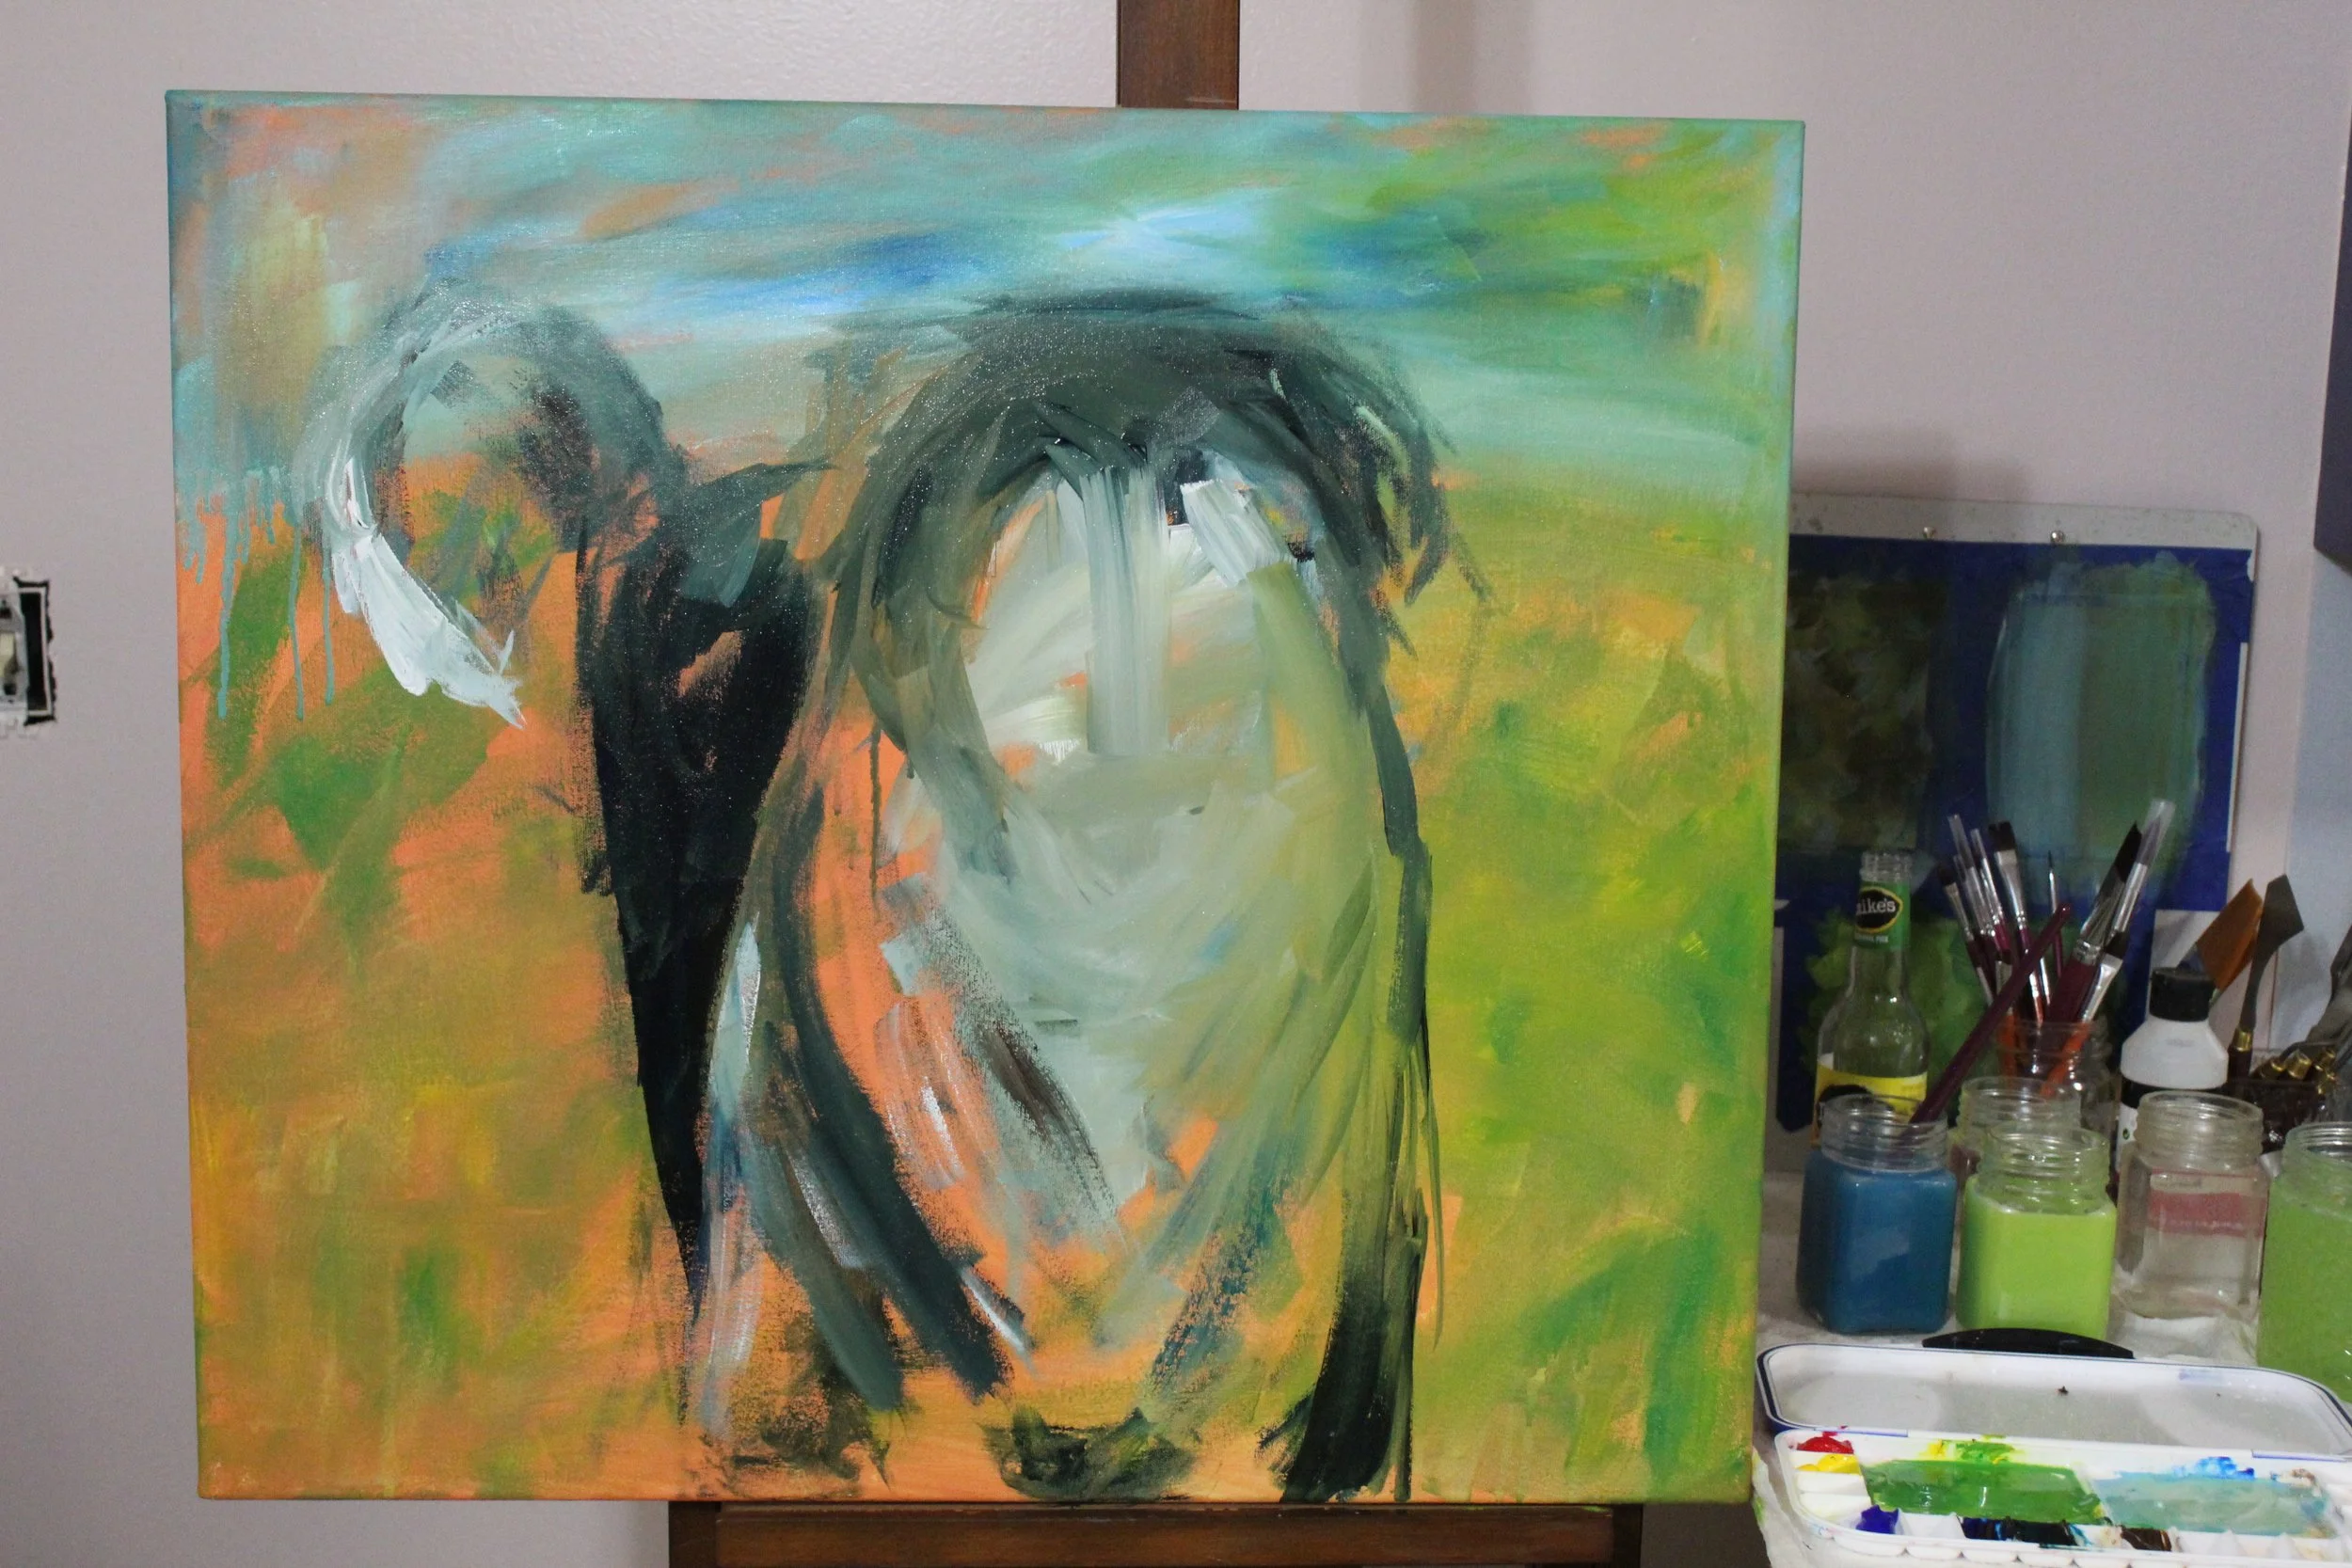
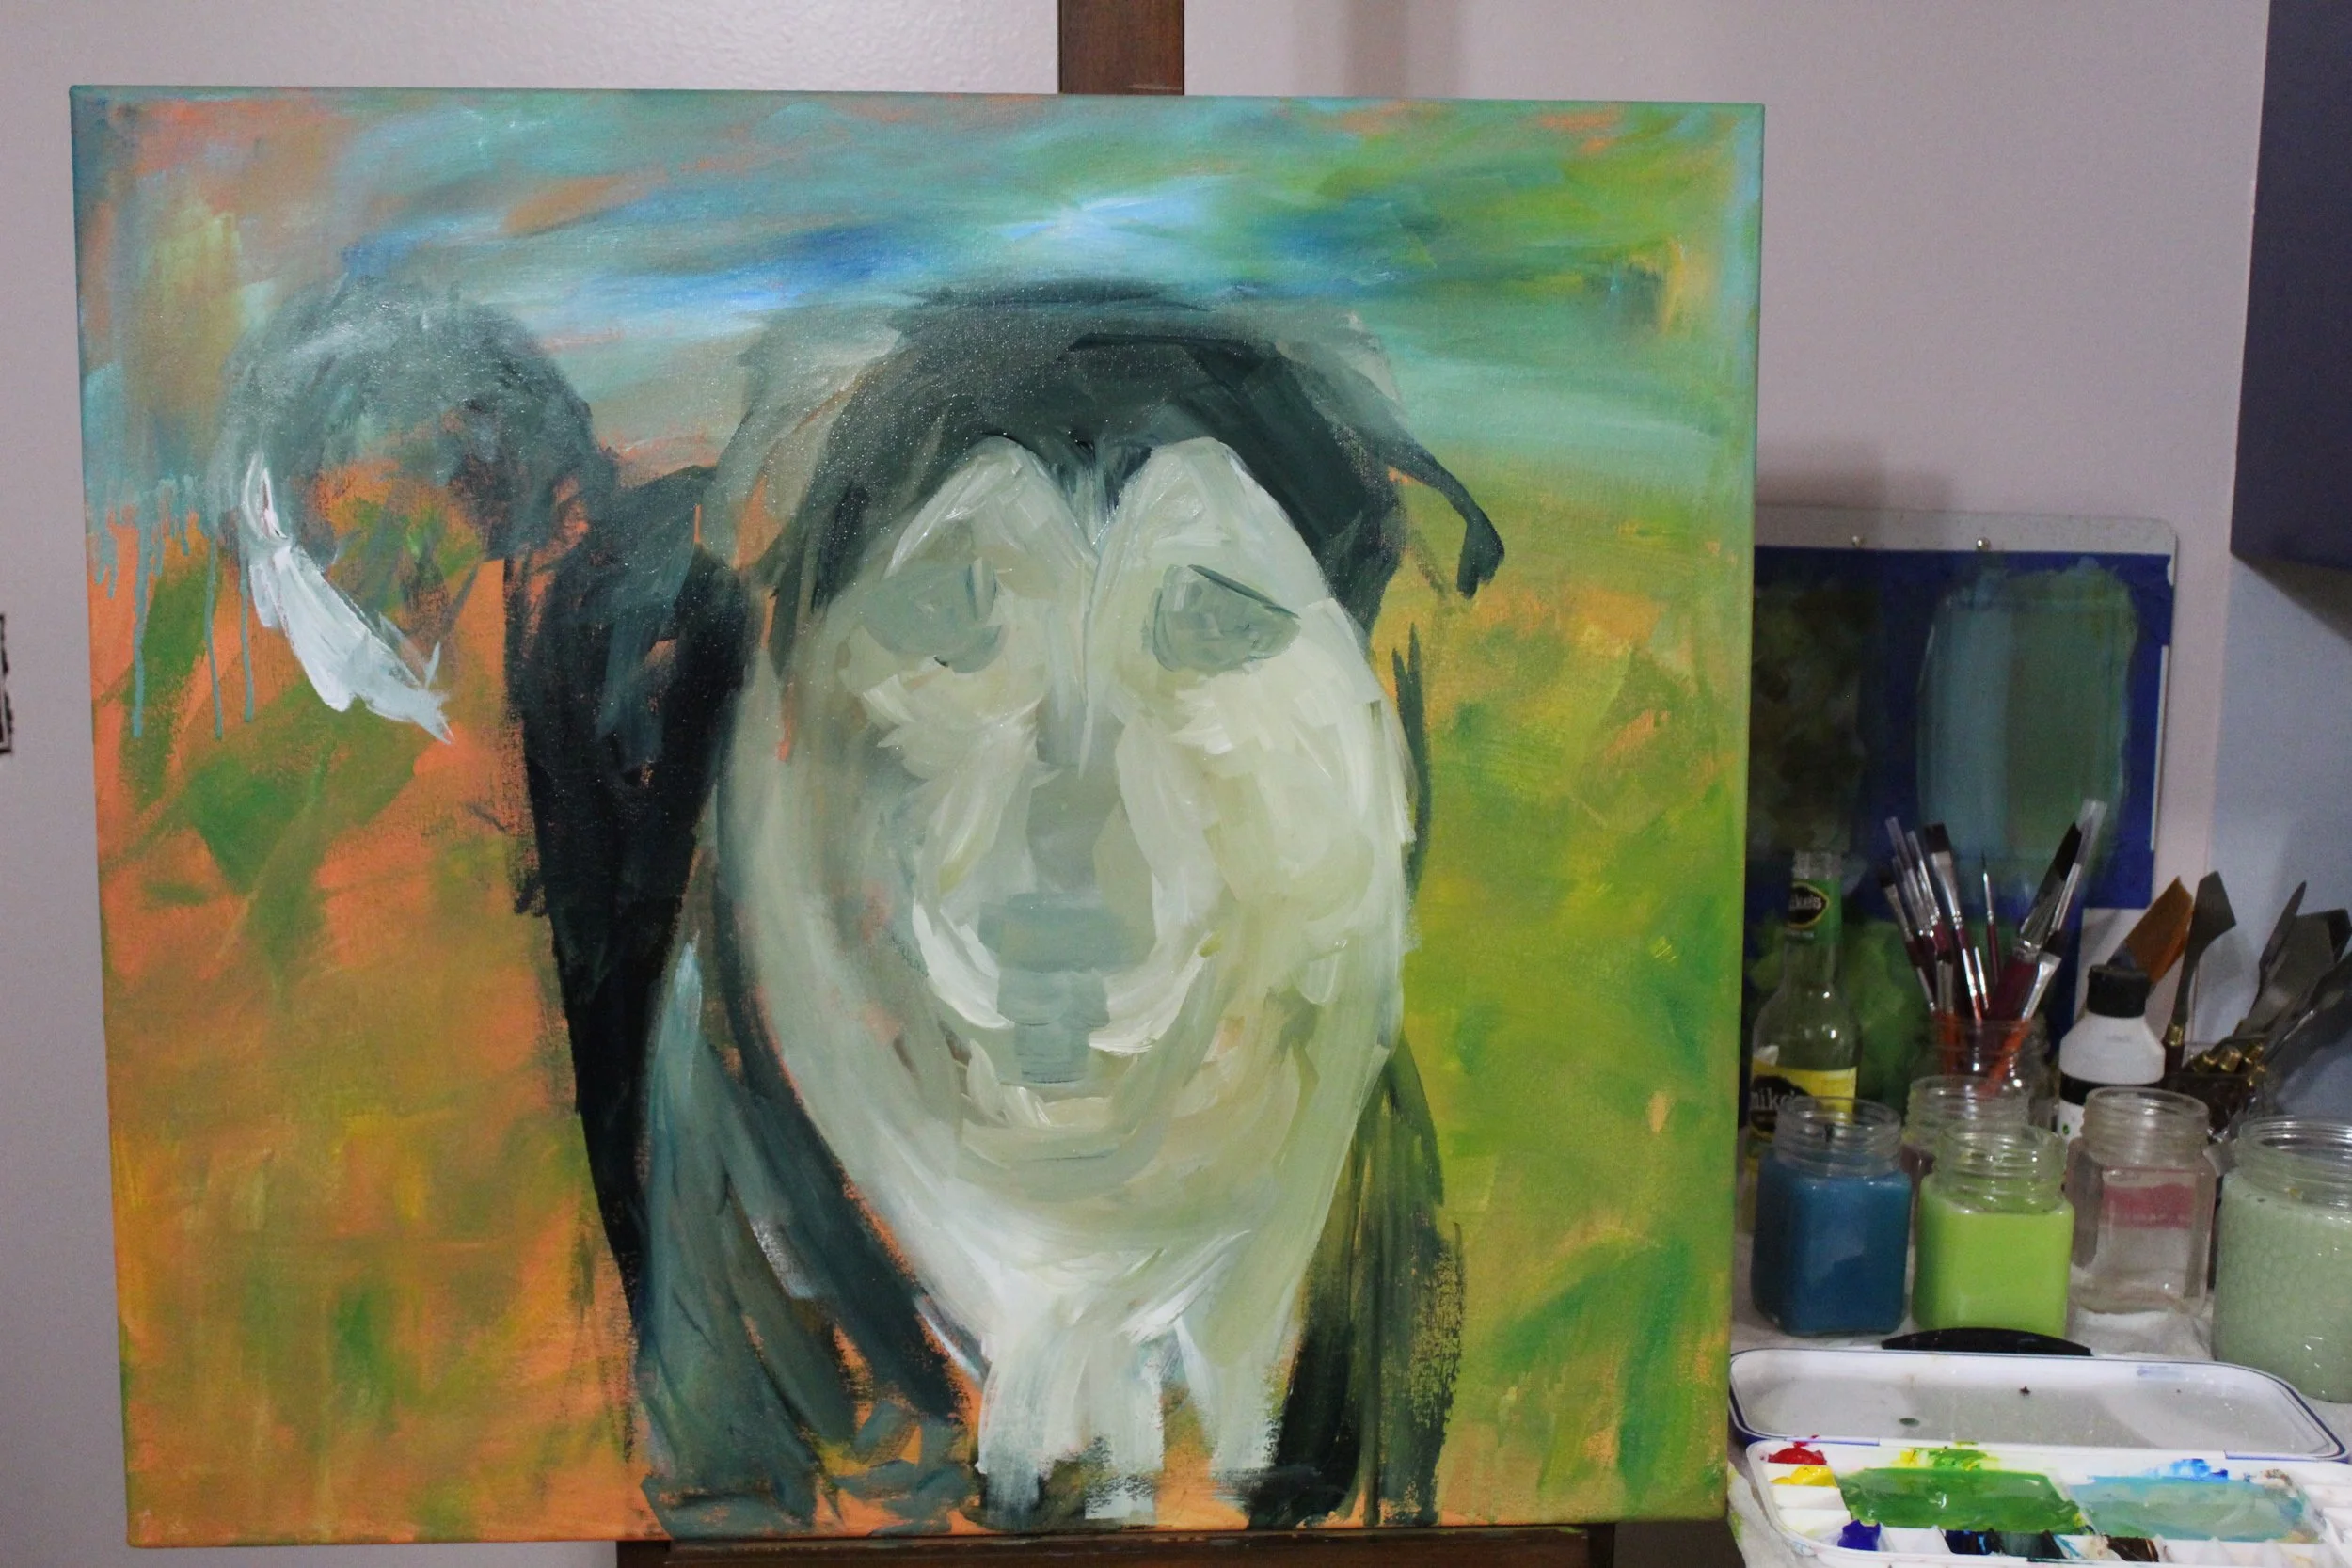
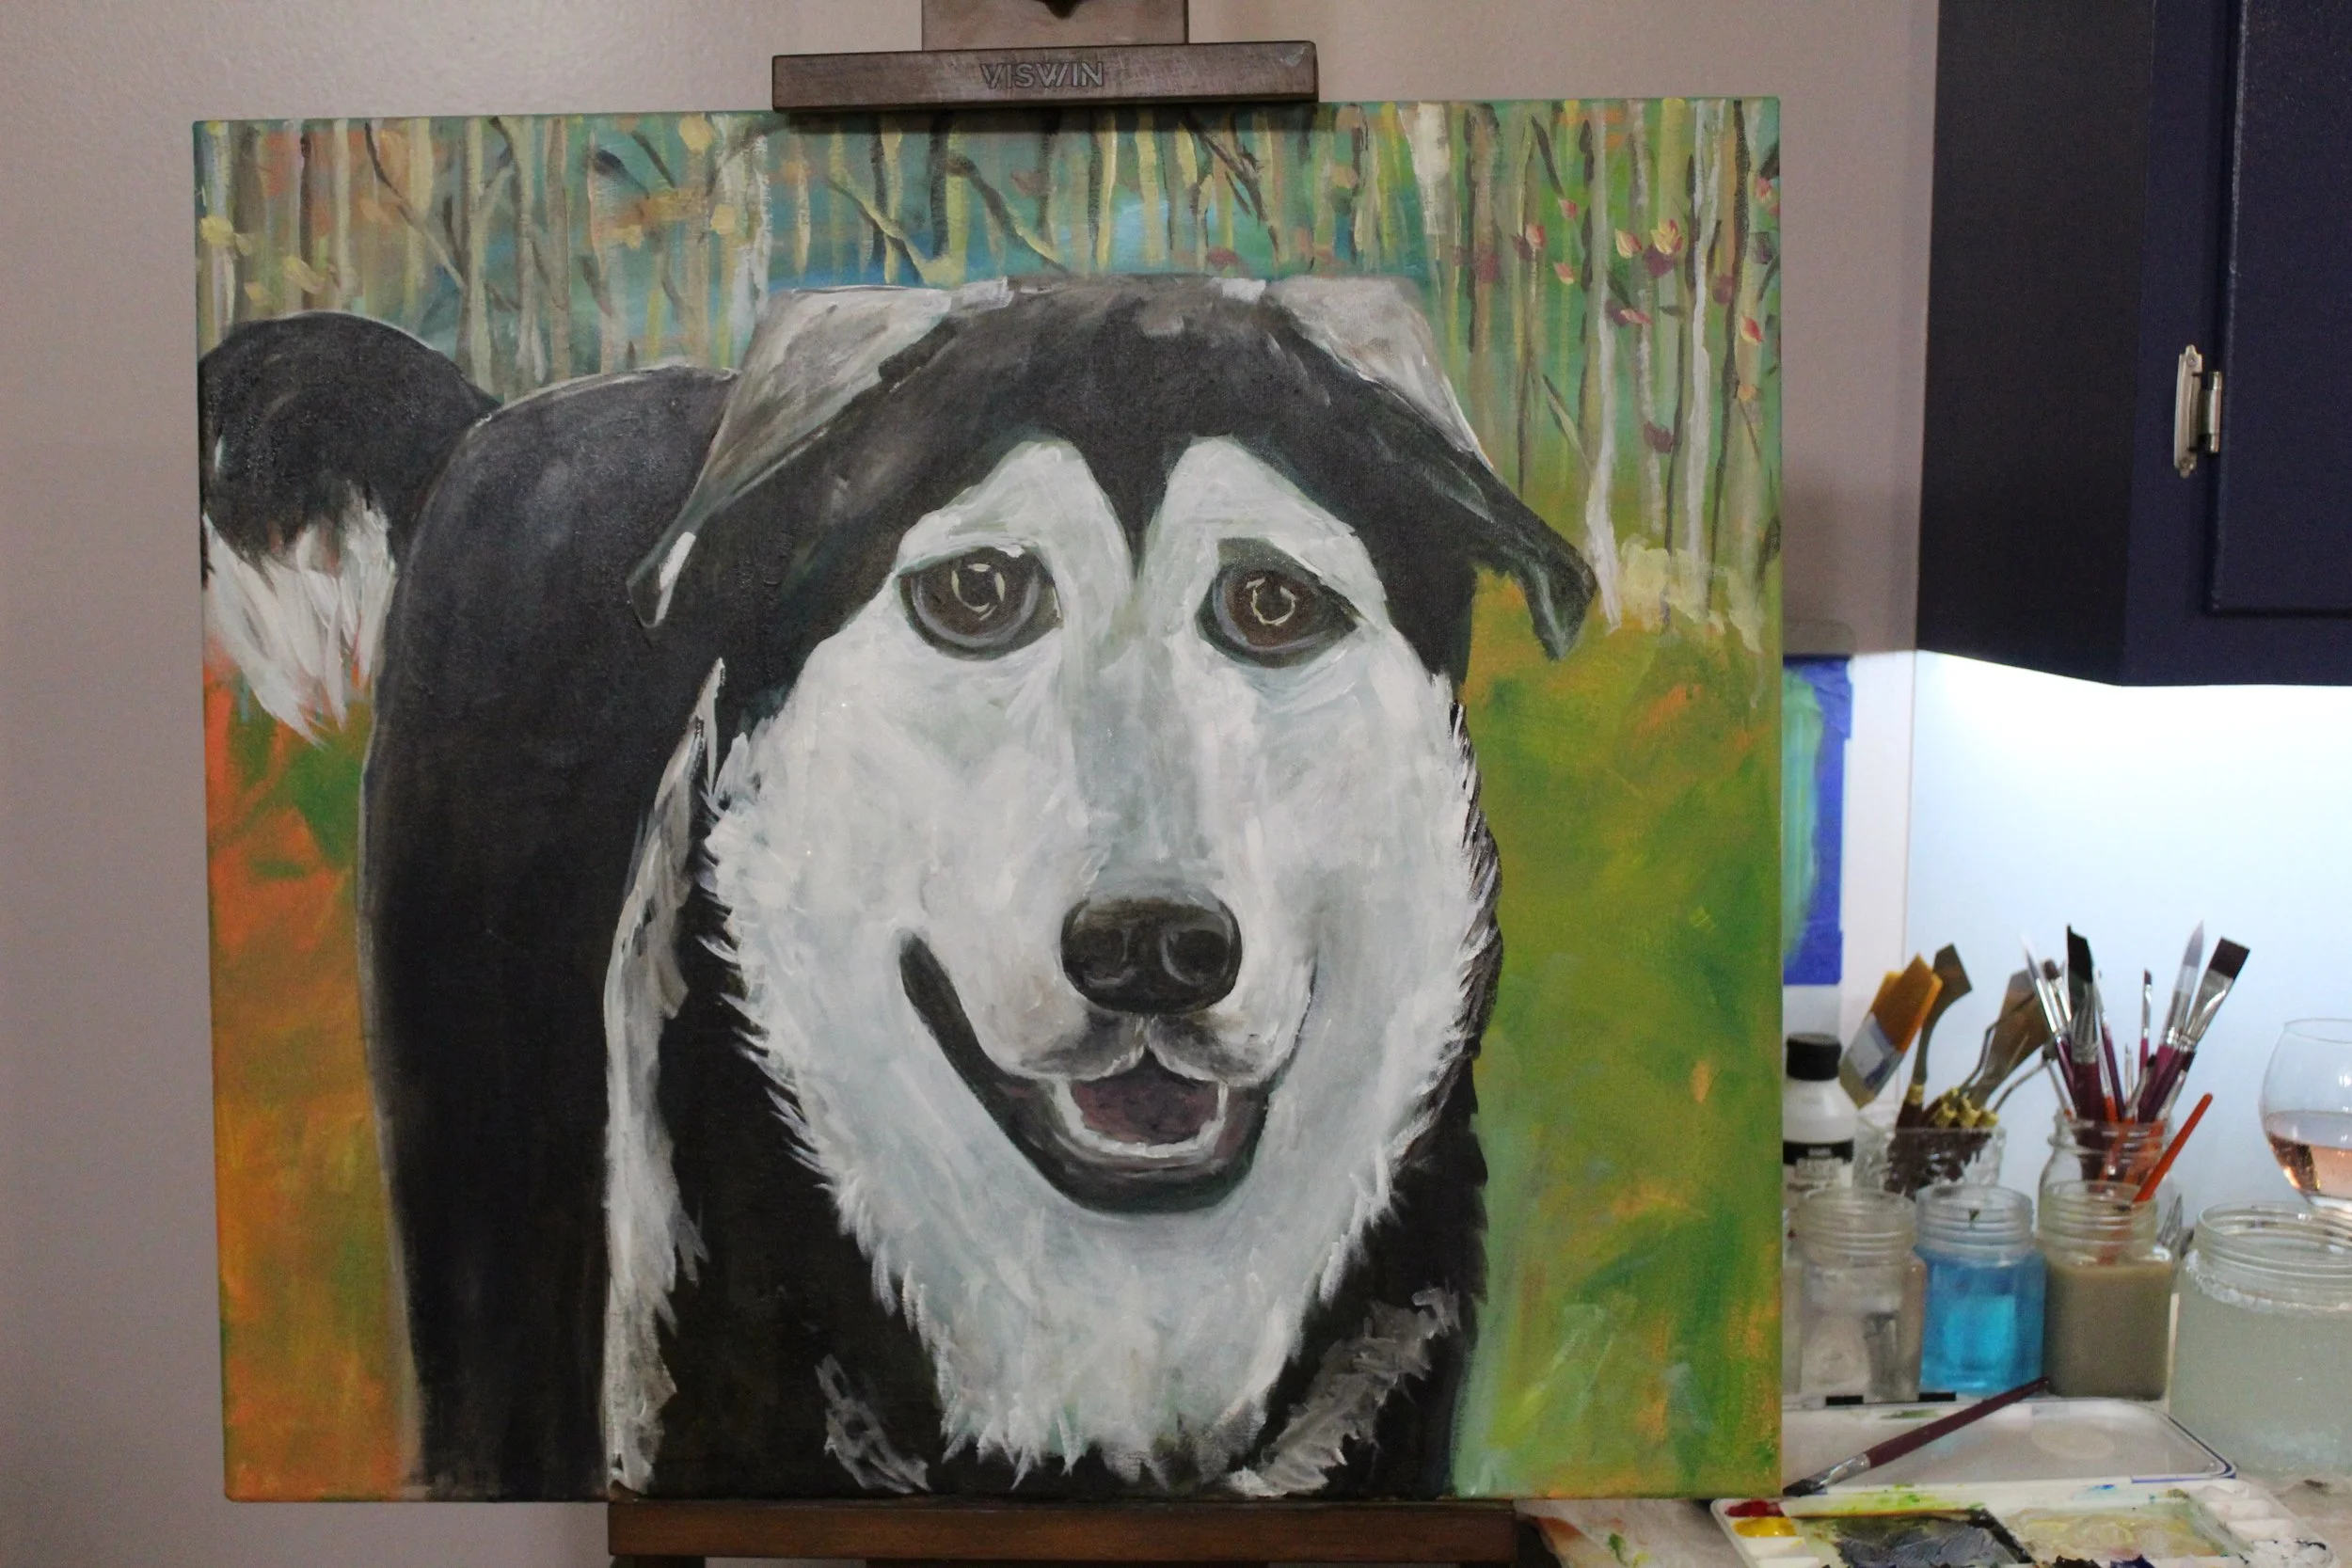
Now that I had the base of the painting, I started to mark the overall shape of Cadet into the painting. At this point in the process, I am not worrying about all the fine details such as the eyes/nose/teeth.
Focusing on the large shapes first allows me to start to find the overall composition of the painting without misplacing critical elements too close or too far from each other (which REALLY helps with things like faces, which can be difficult to get just right).
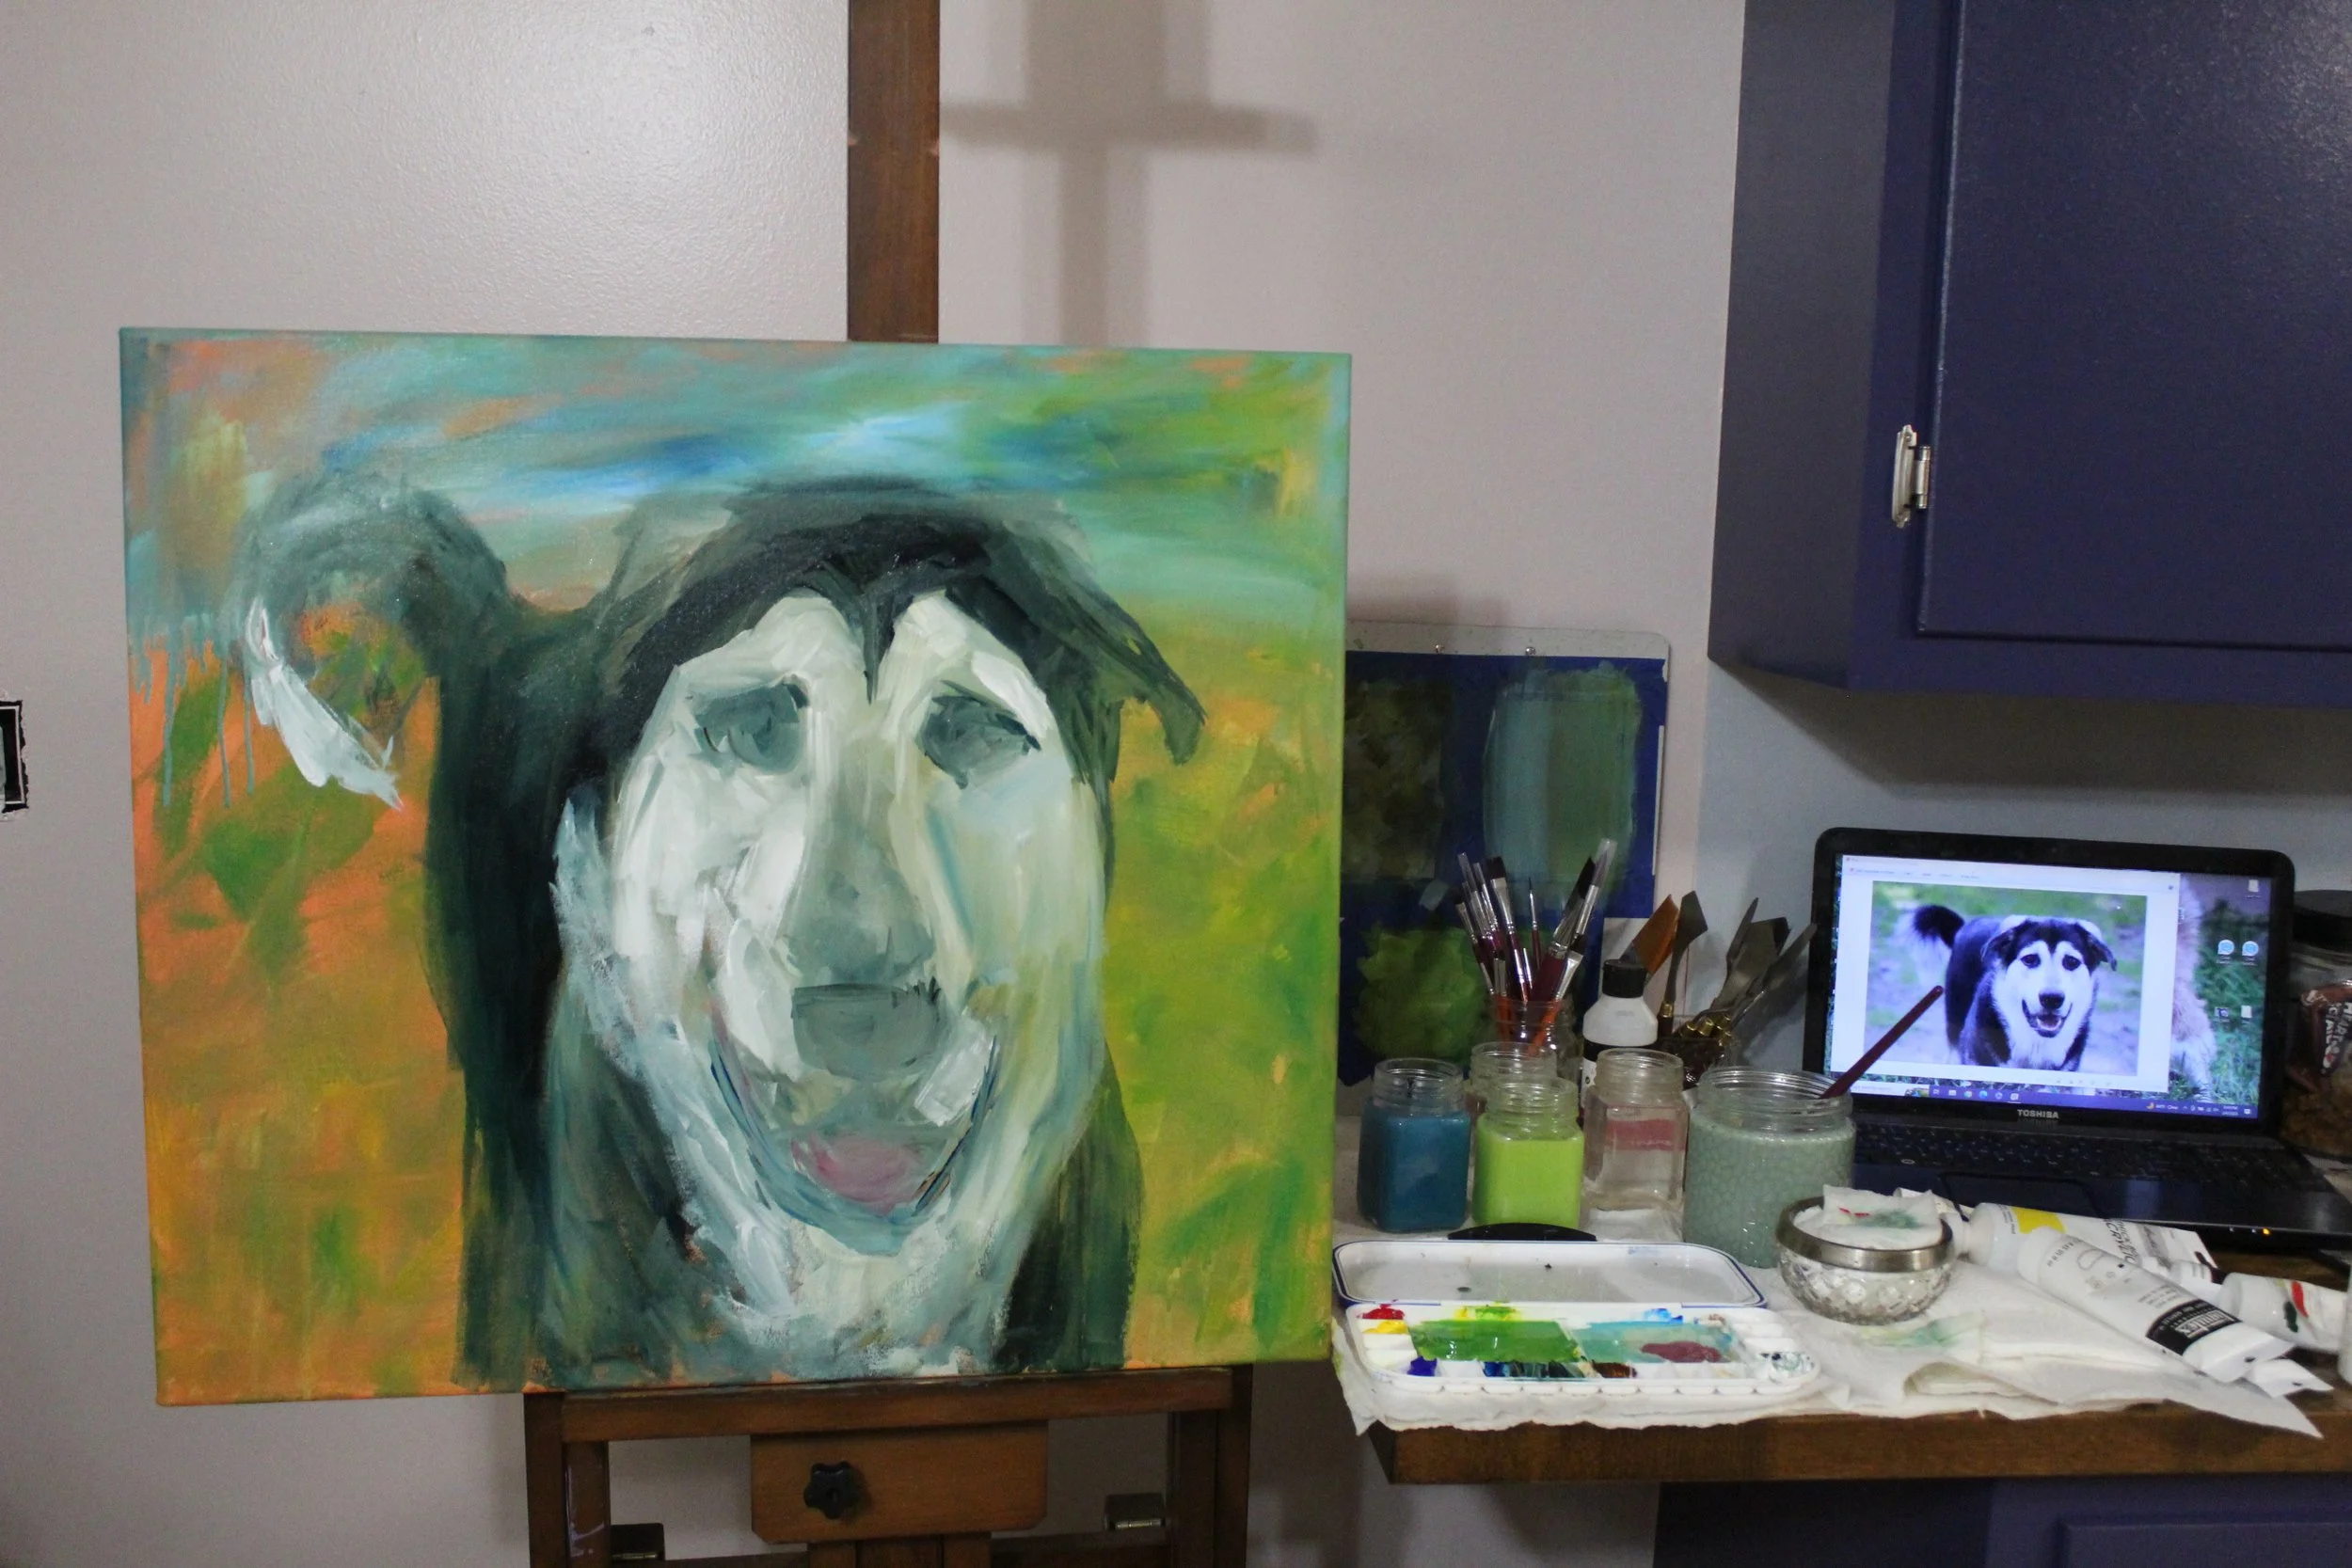
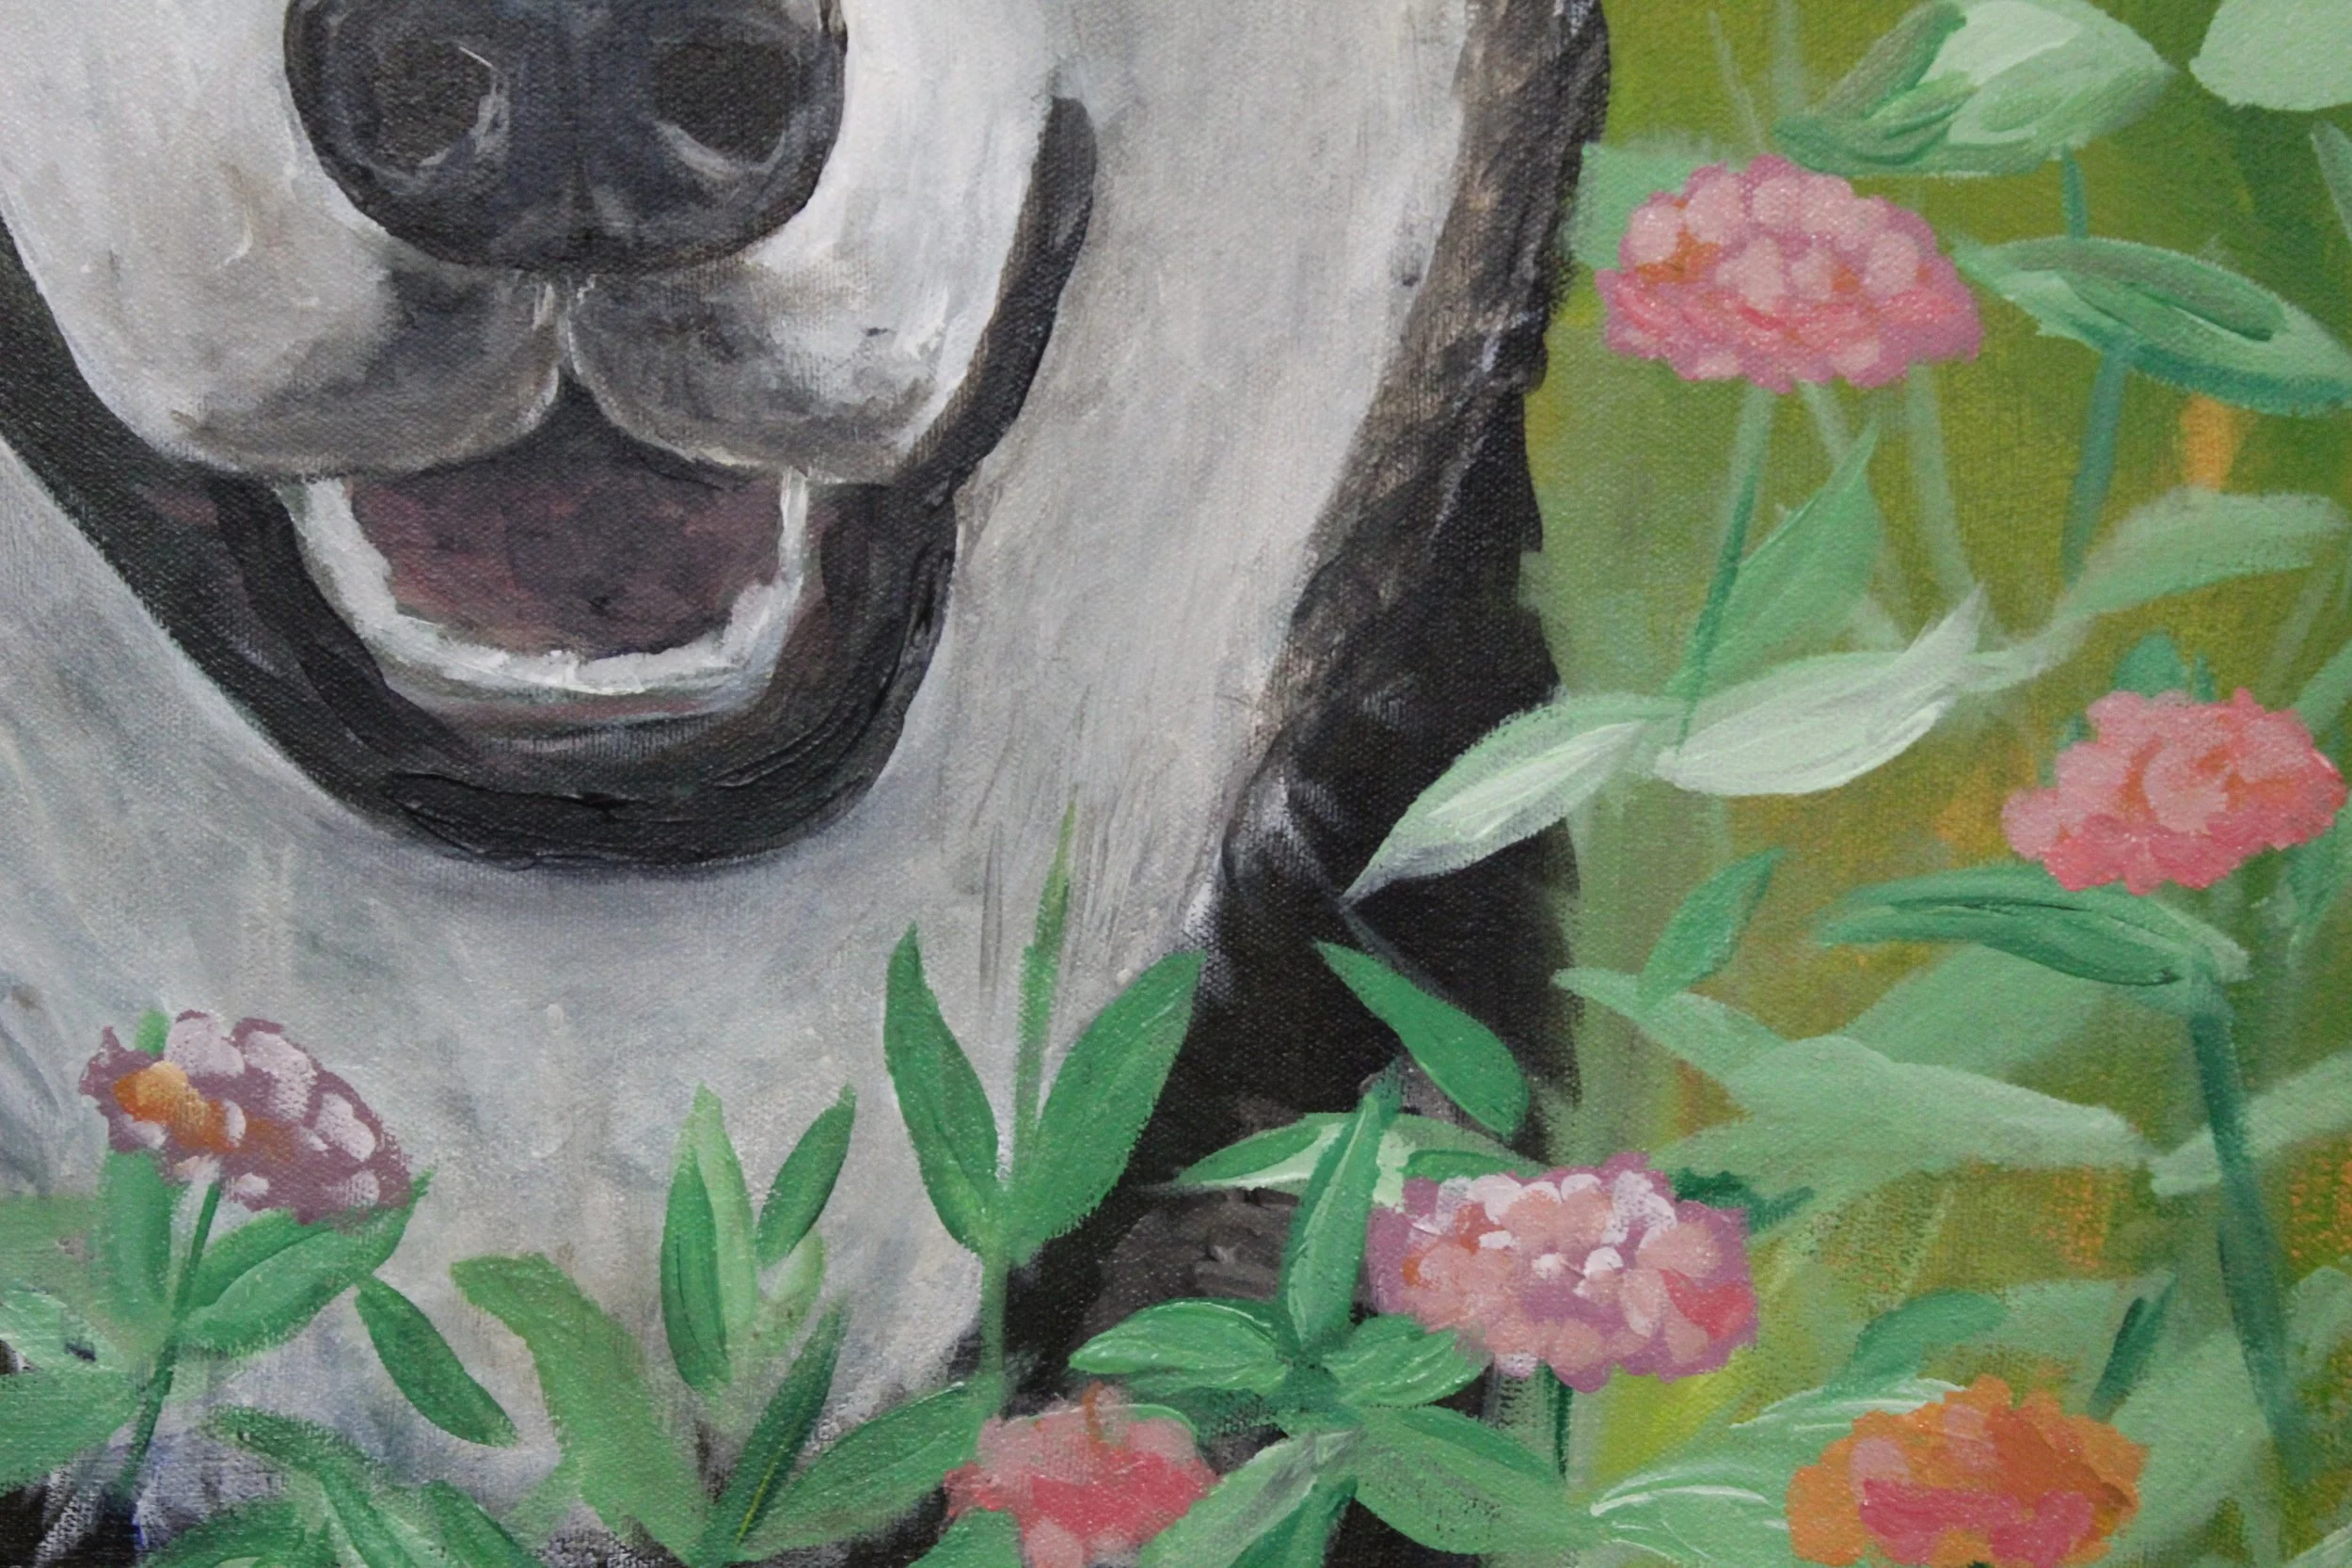
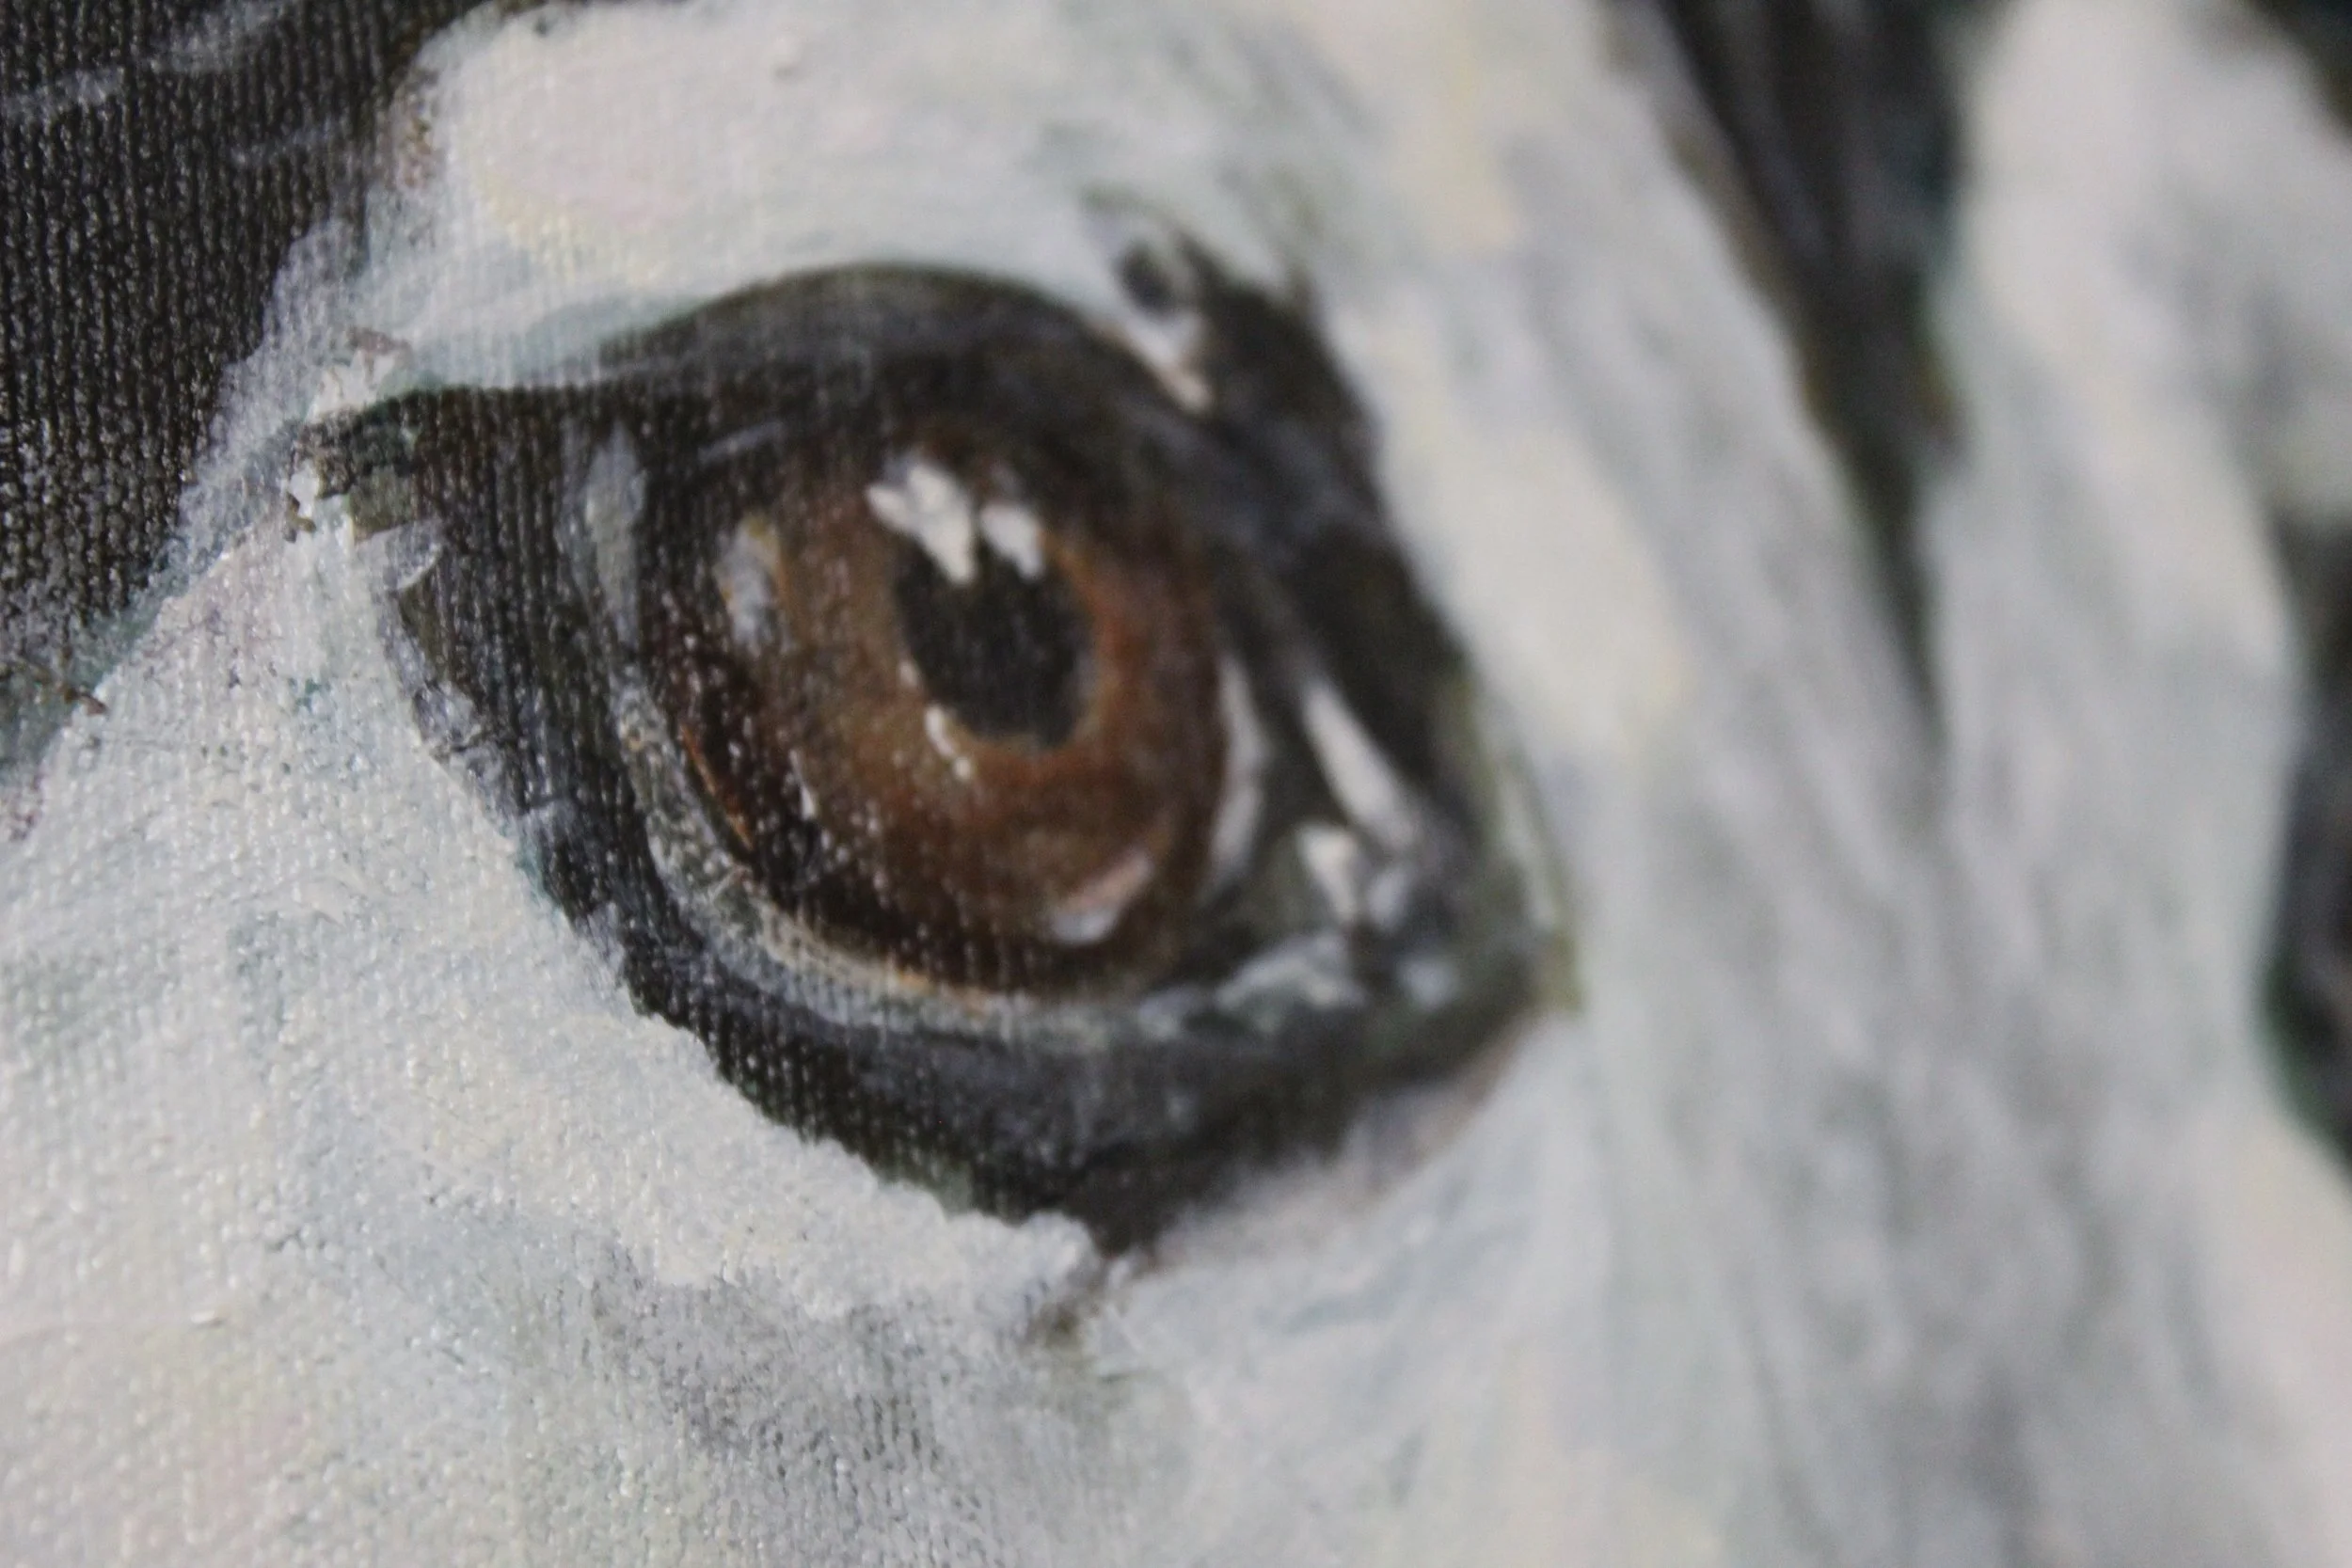
After I had the main shapes mapped out, I was able to use my photo of cadet as a reference to paint in Cadet’s face.
Using lighter/watered down paint colors to paint in details, I was able to adjust the locations of the different elements as I went with everything able to blend in easily as I went.
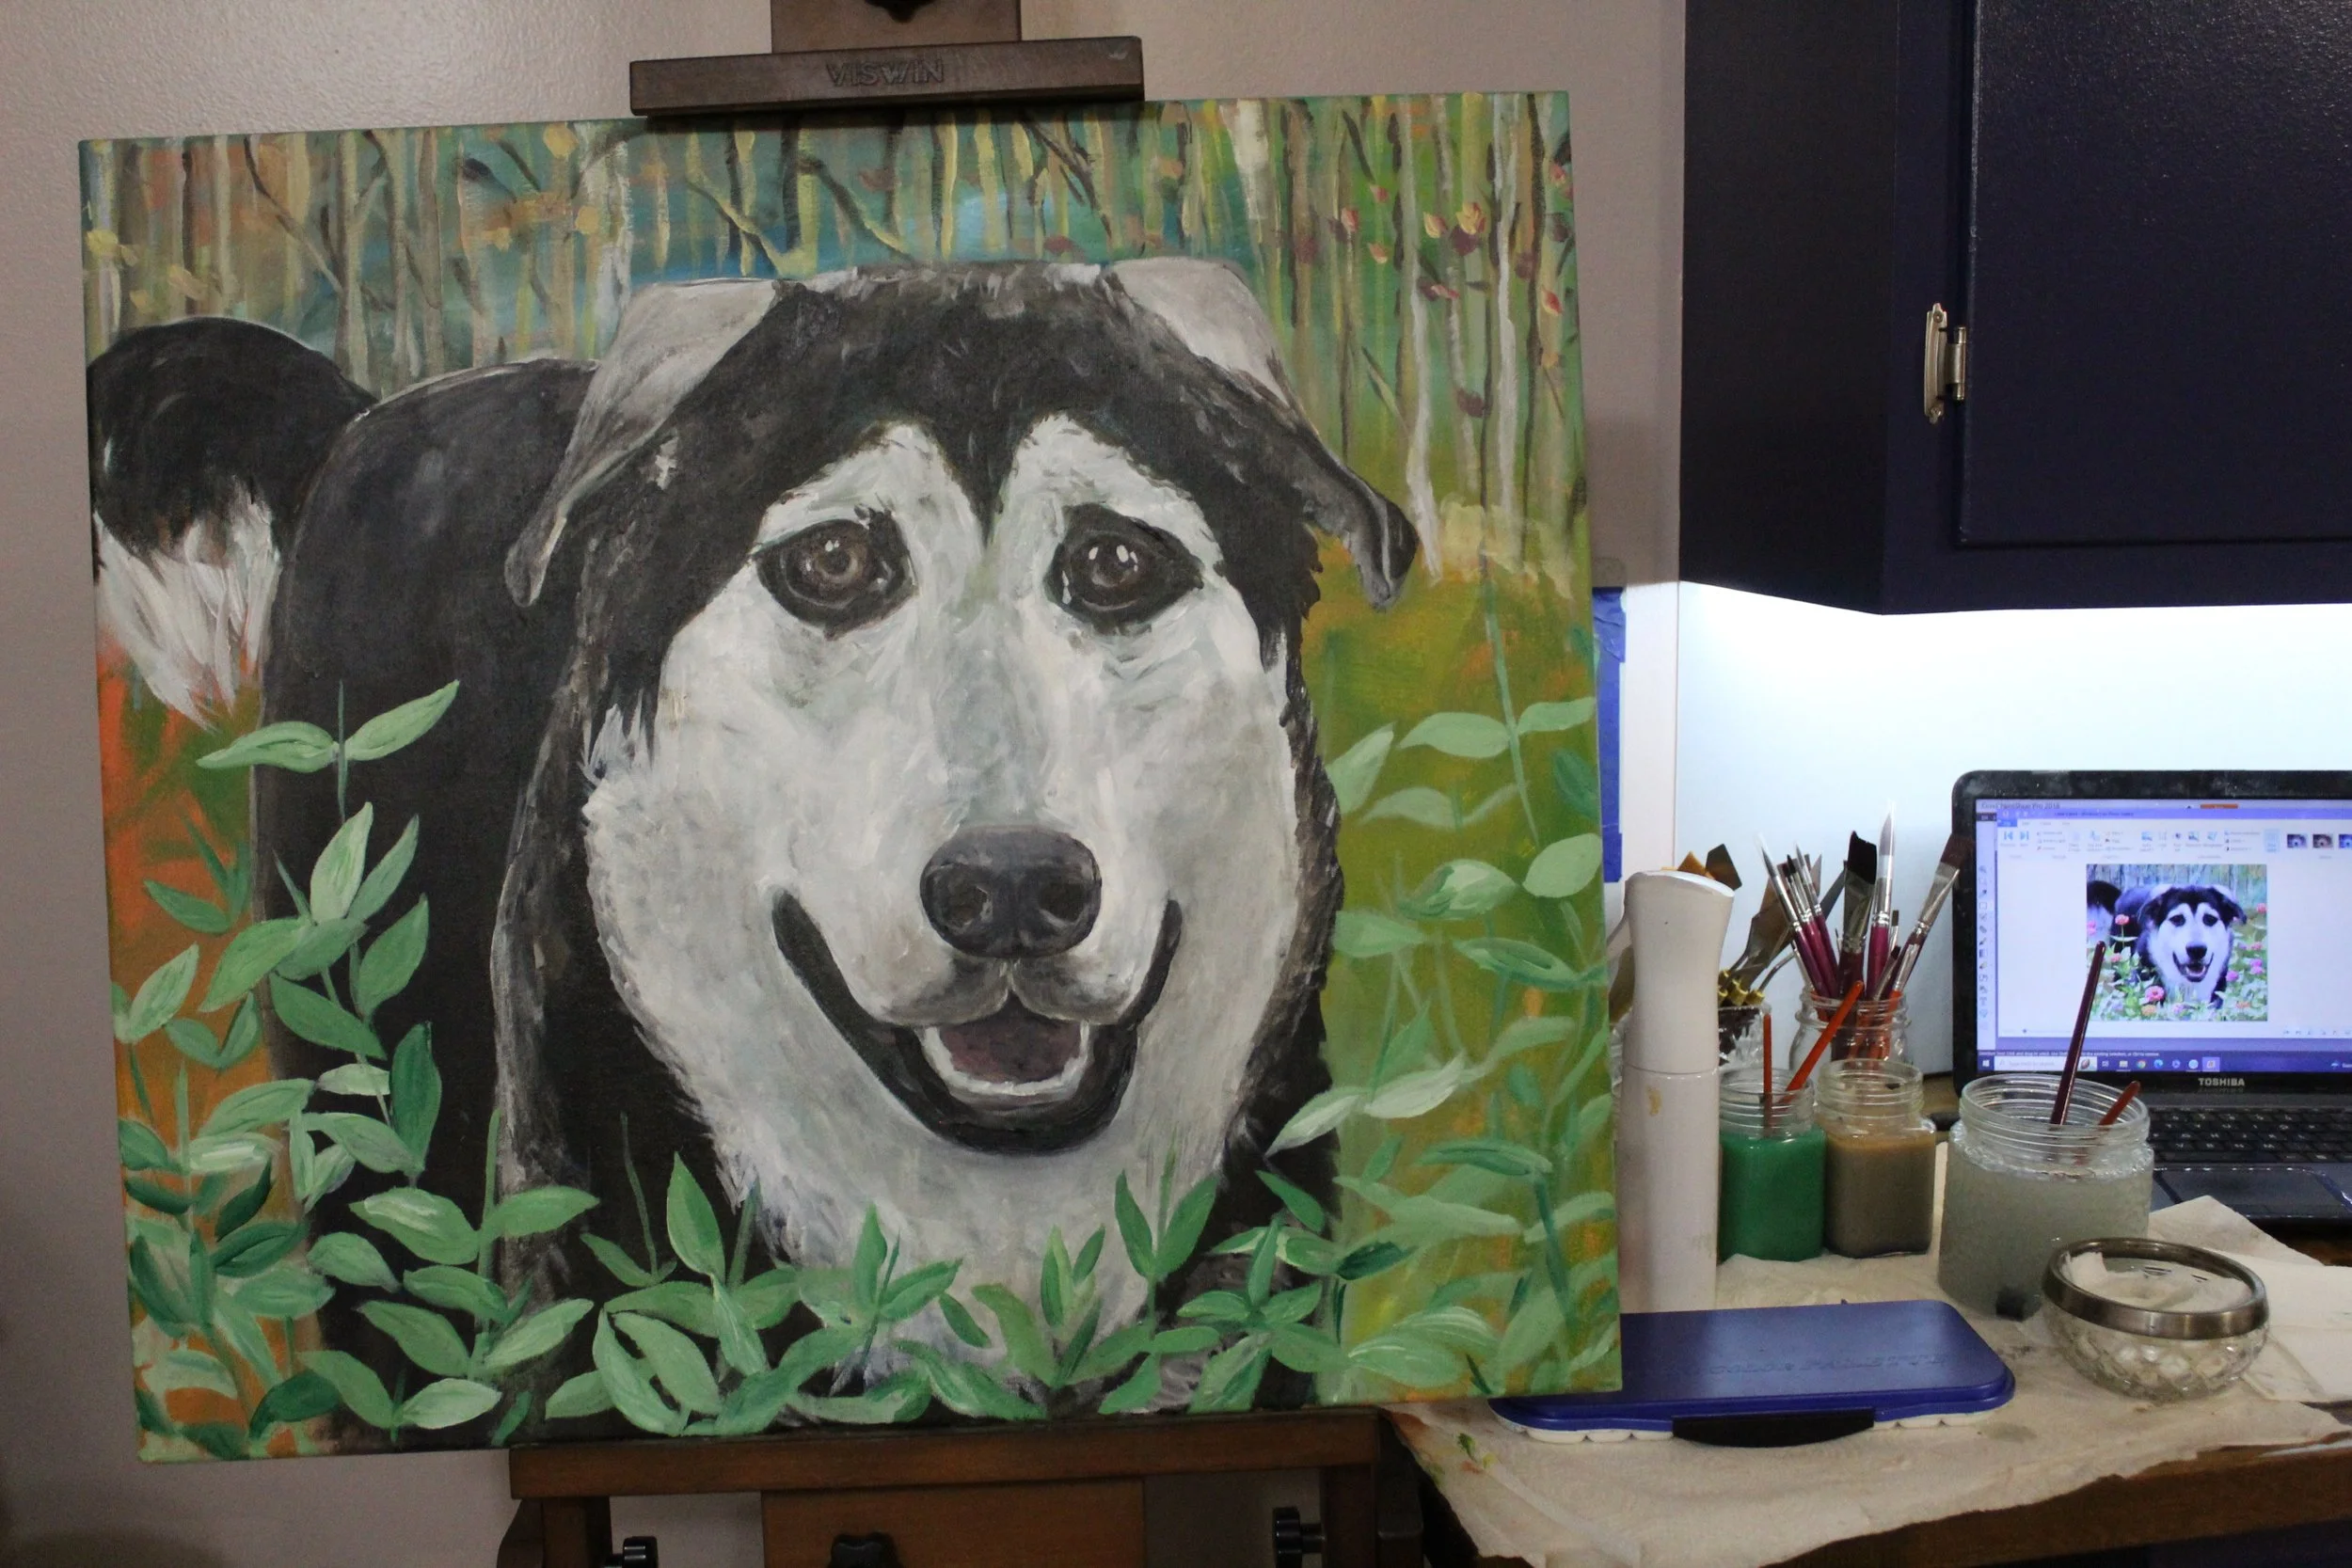
Once I was satisfied with how Cadet was starting to look, it was time to figured out all the other elements of the painting. I did this on my computer with Corel PaintShop Pro.
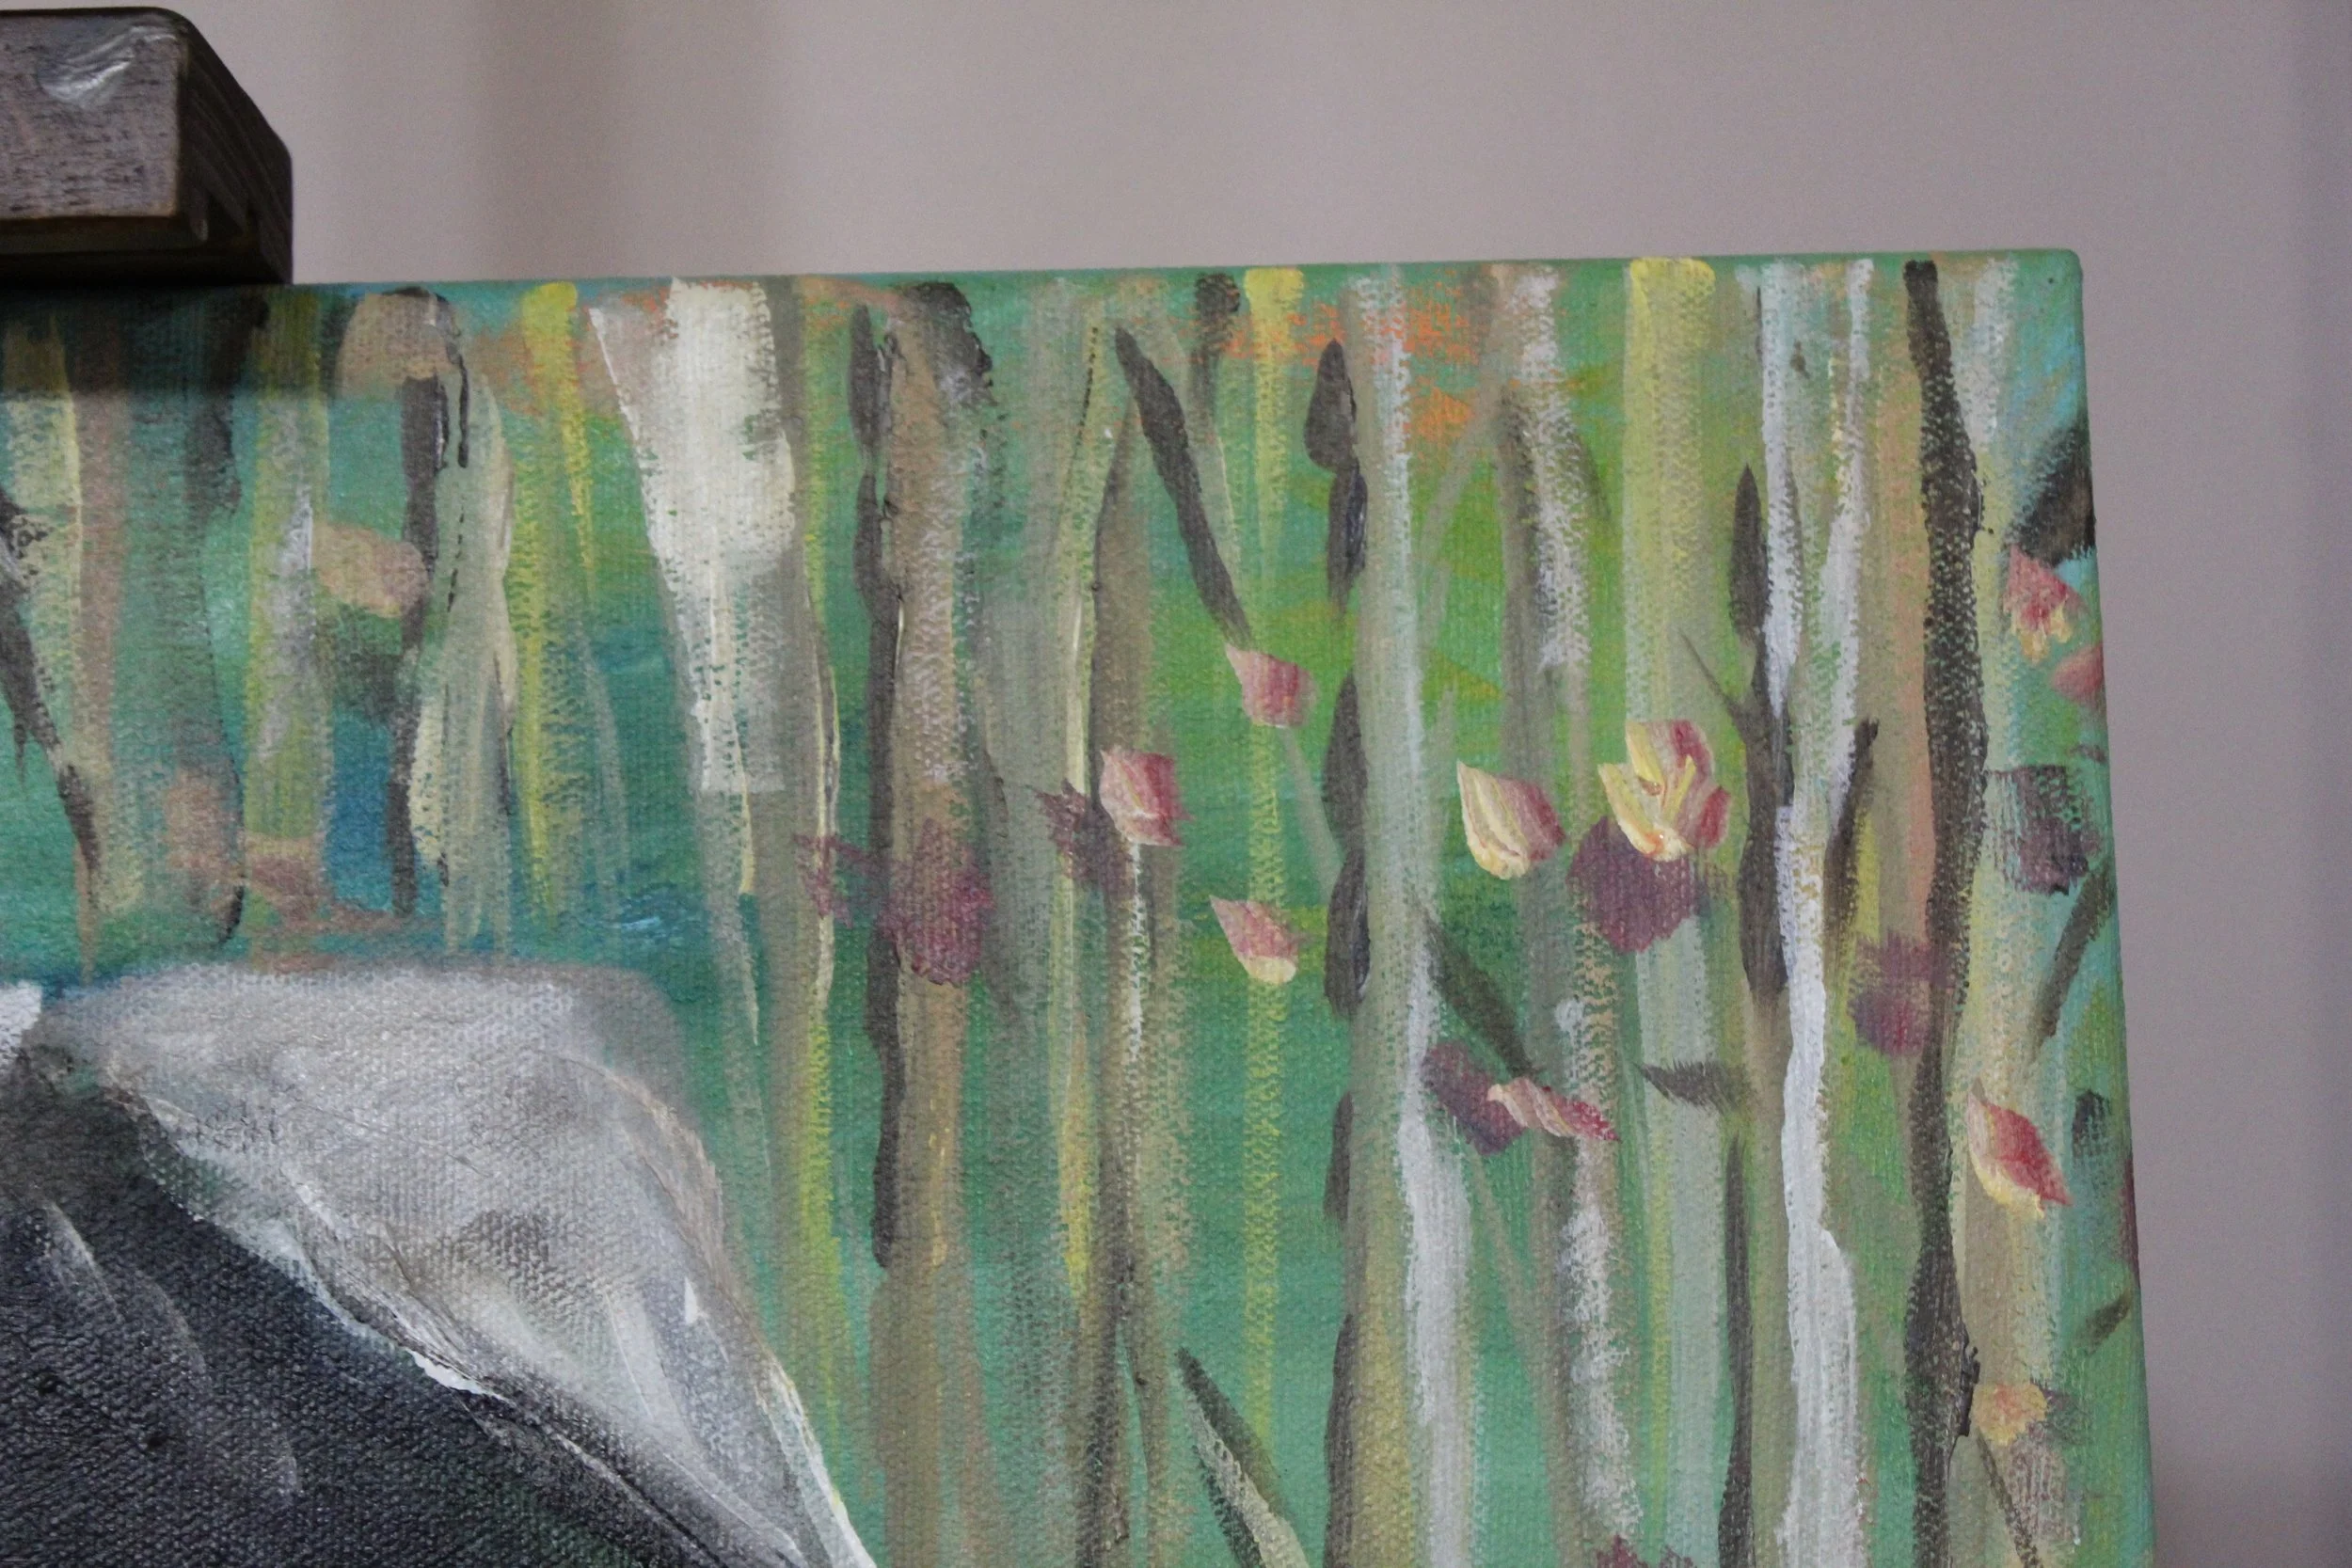
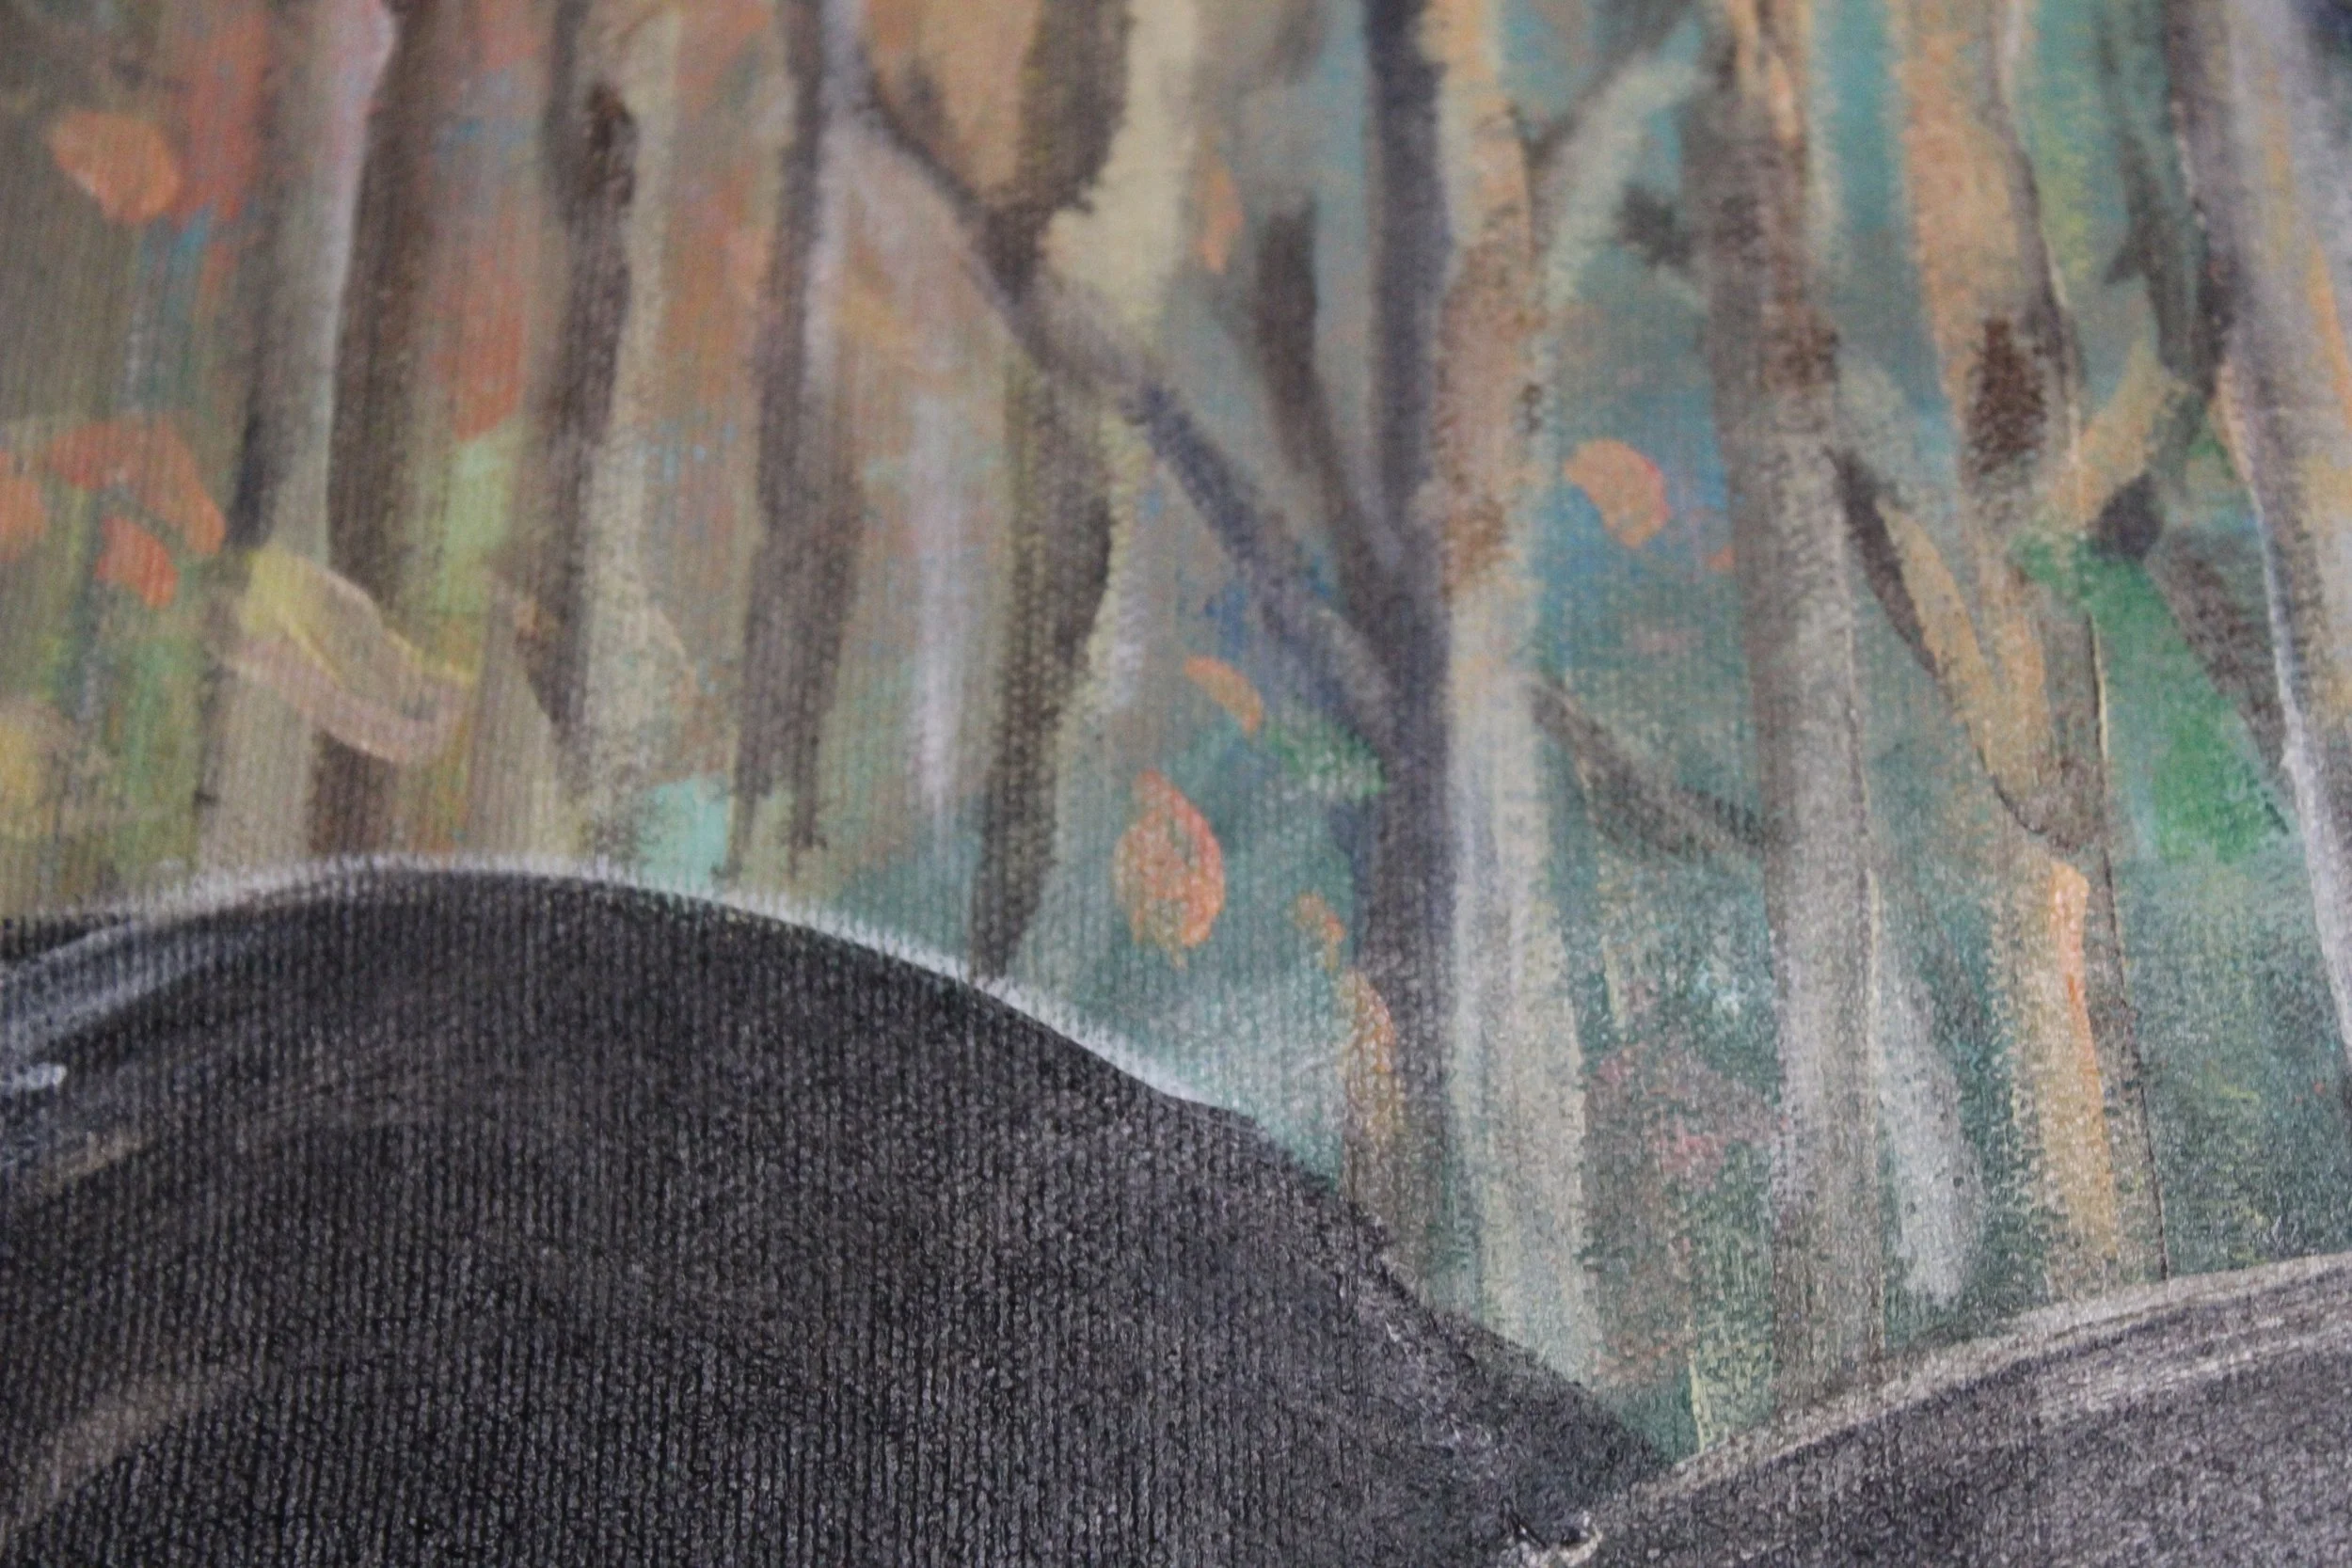
I took elements from different photos that I captured, as well as a painting that I created previously of the trees in my backyard in order to create the plans for my painting.
I did this by creating layers, adjusting the transparency, and removing the backgrounds of certain elements.
By creating a transparent layer of my reference photo of Cadet, I was able to fine tune my current painting.
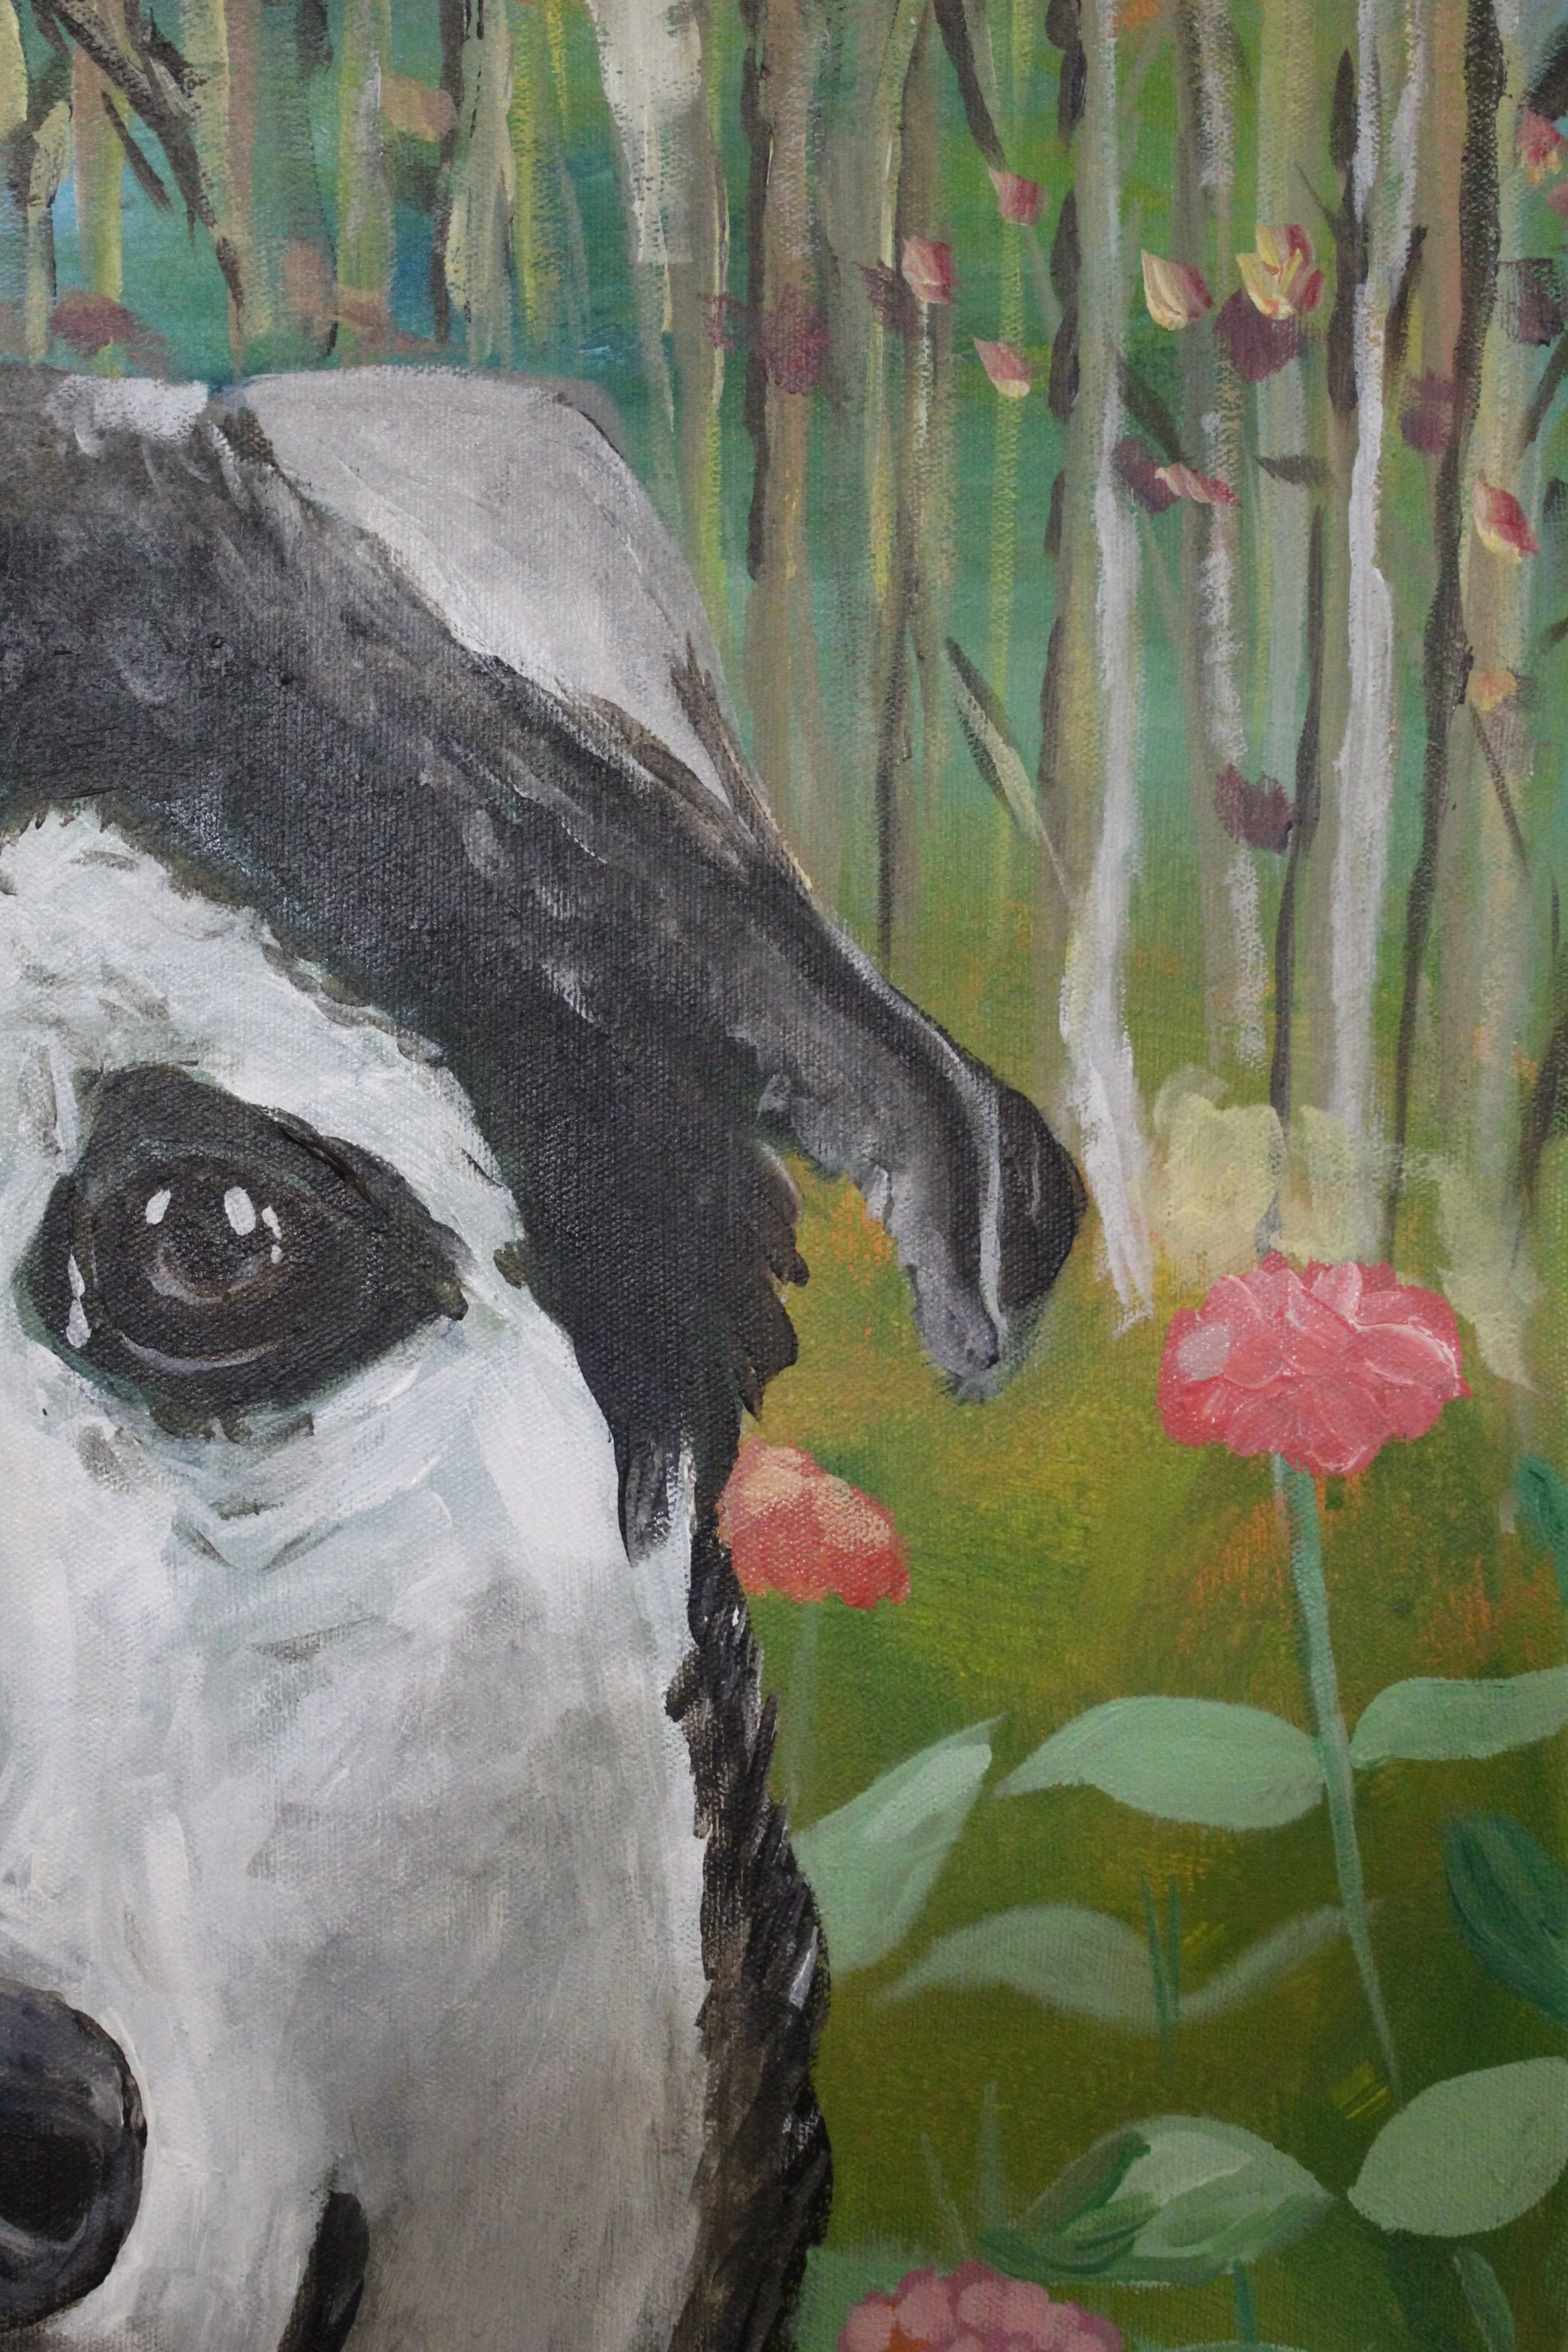
I chose to alter the colors of the trees by altering the brightness, contrast, and hues to complement the colors of the zinnias.
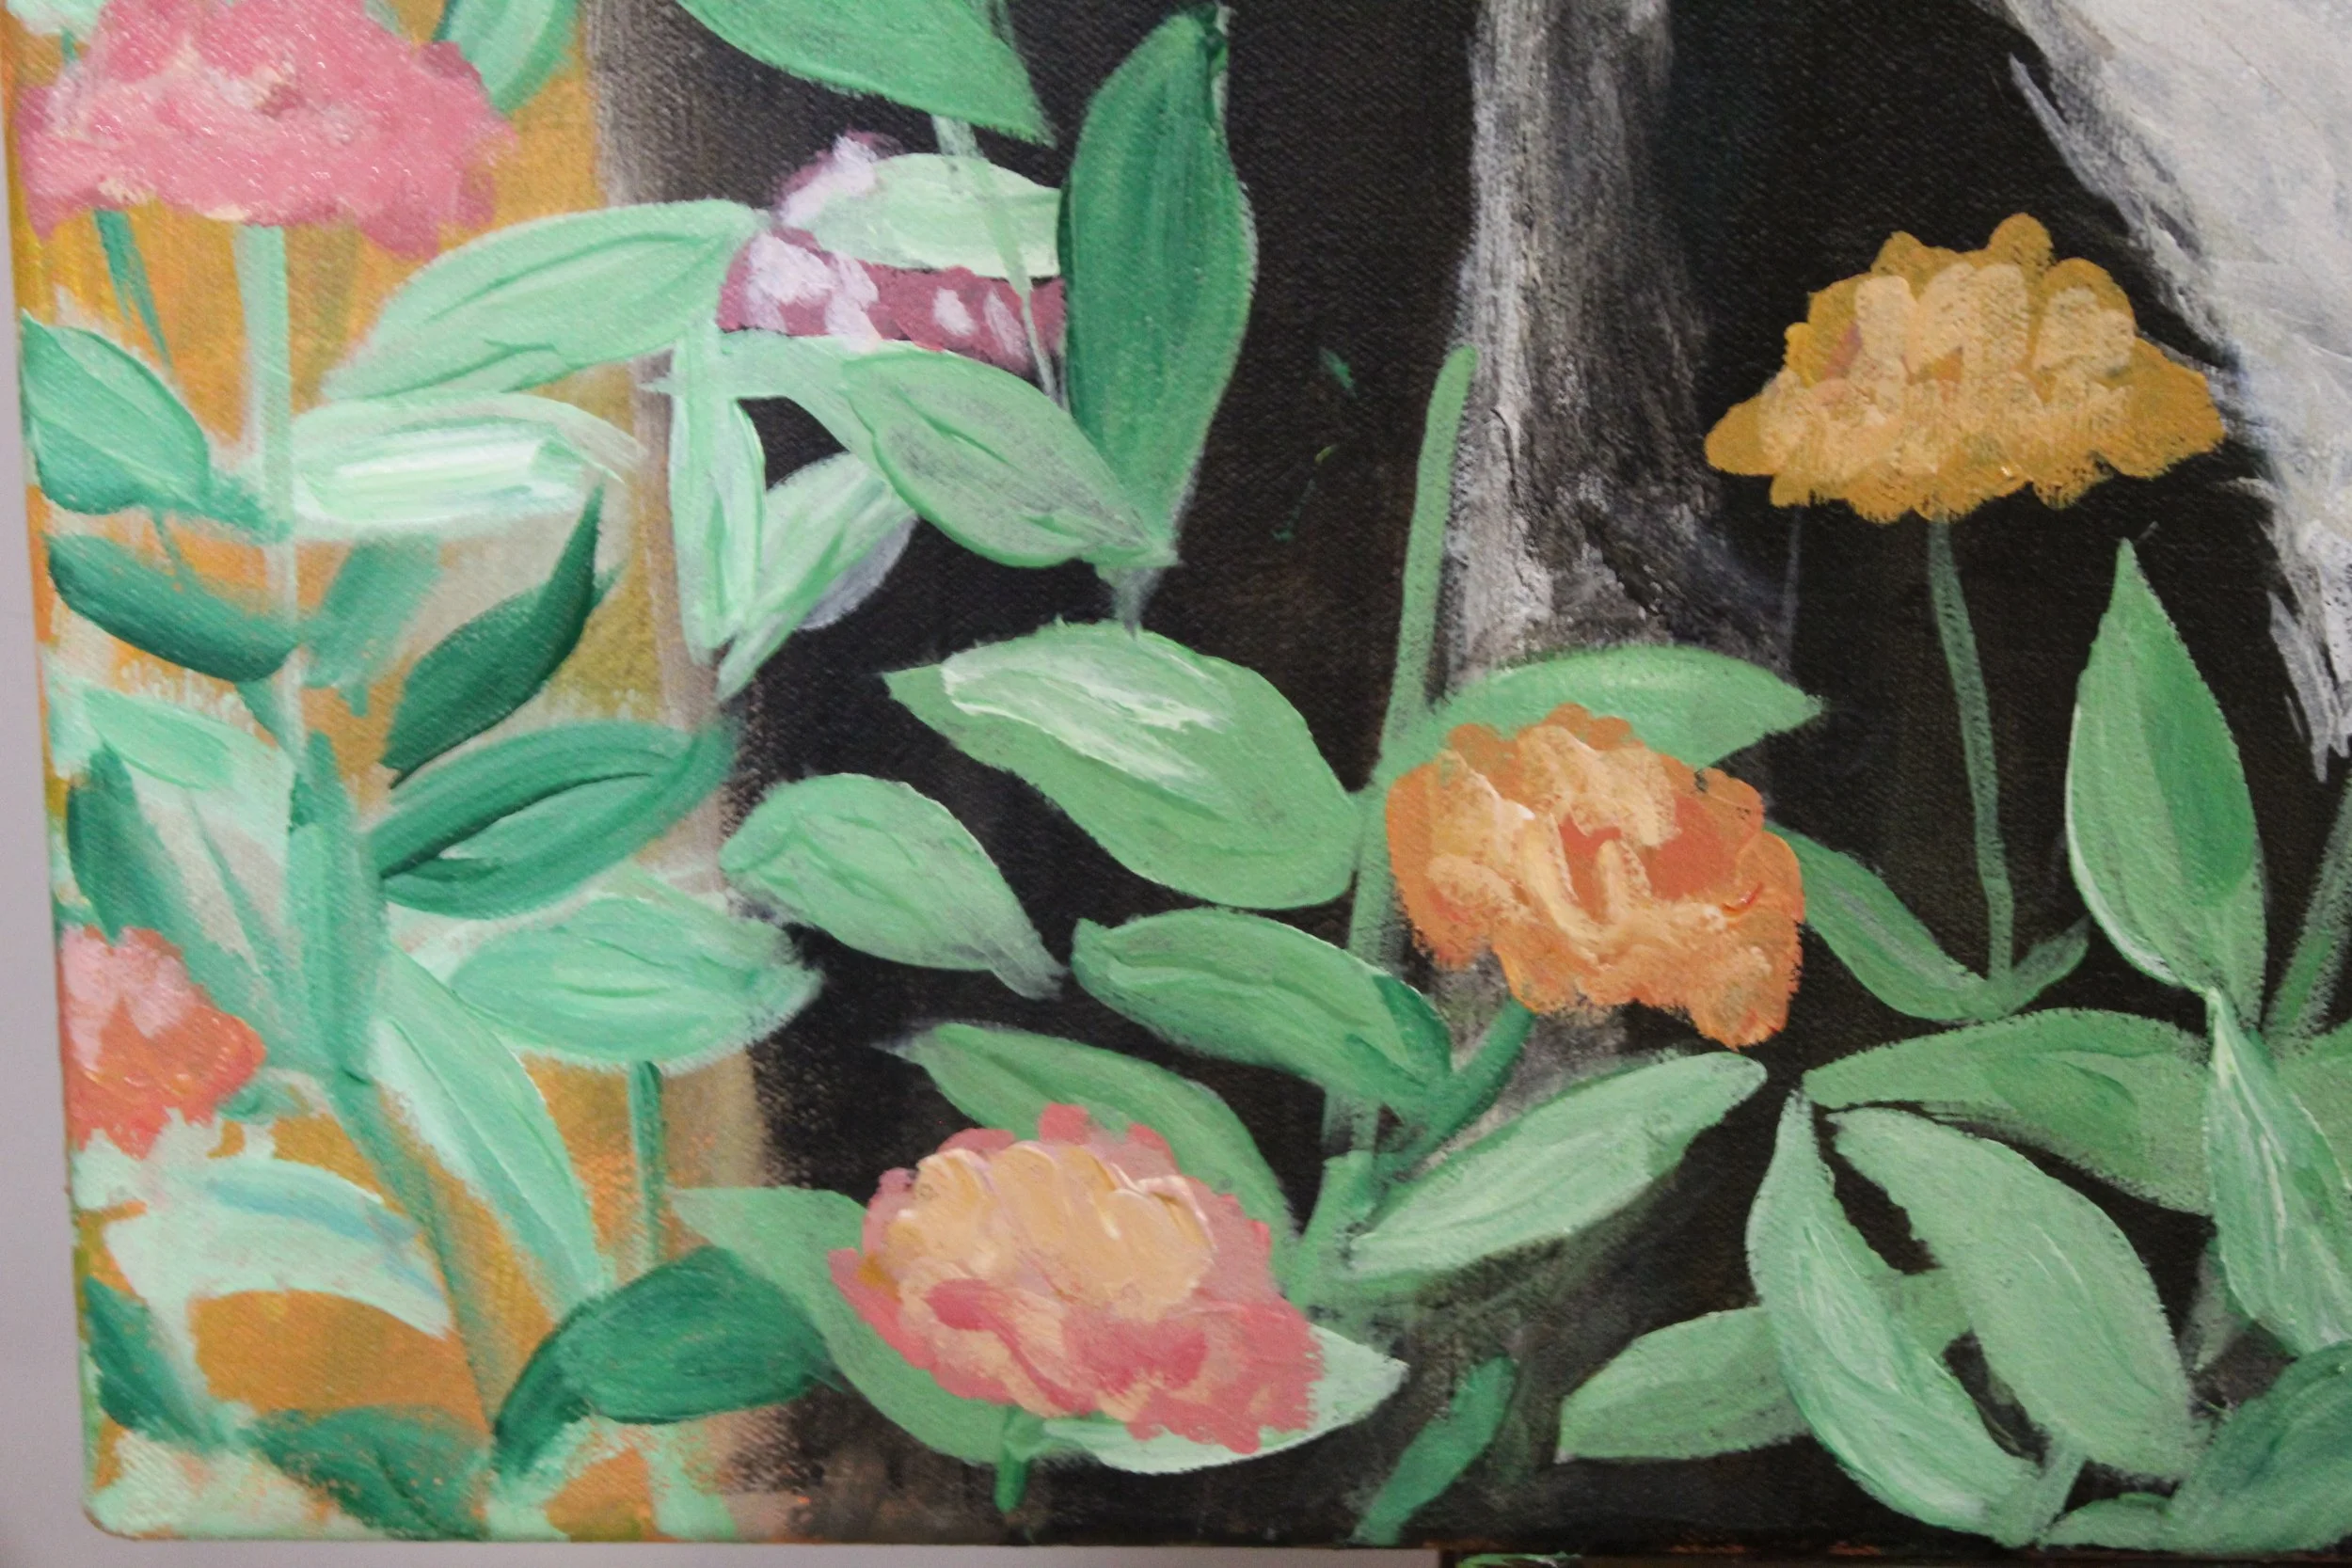
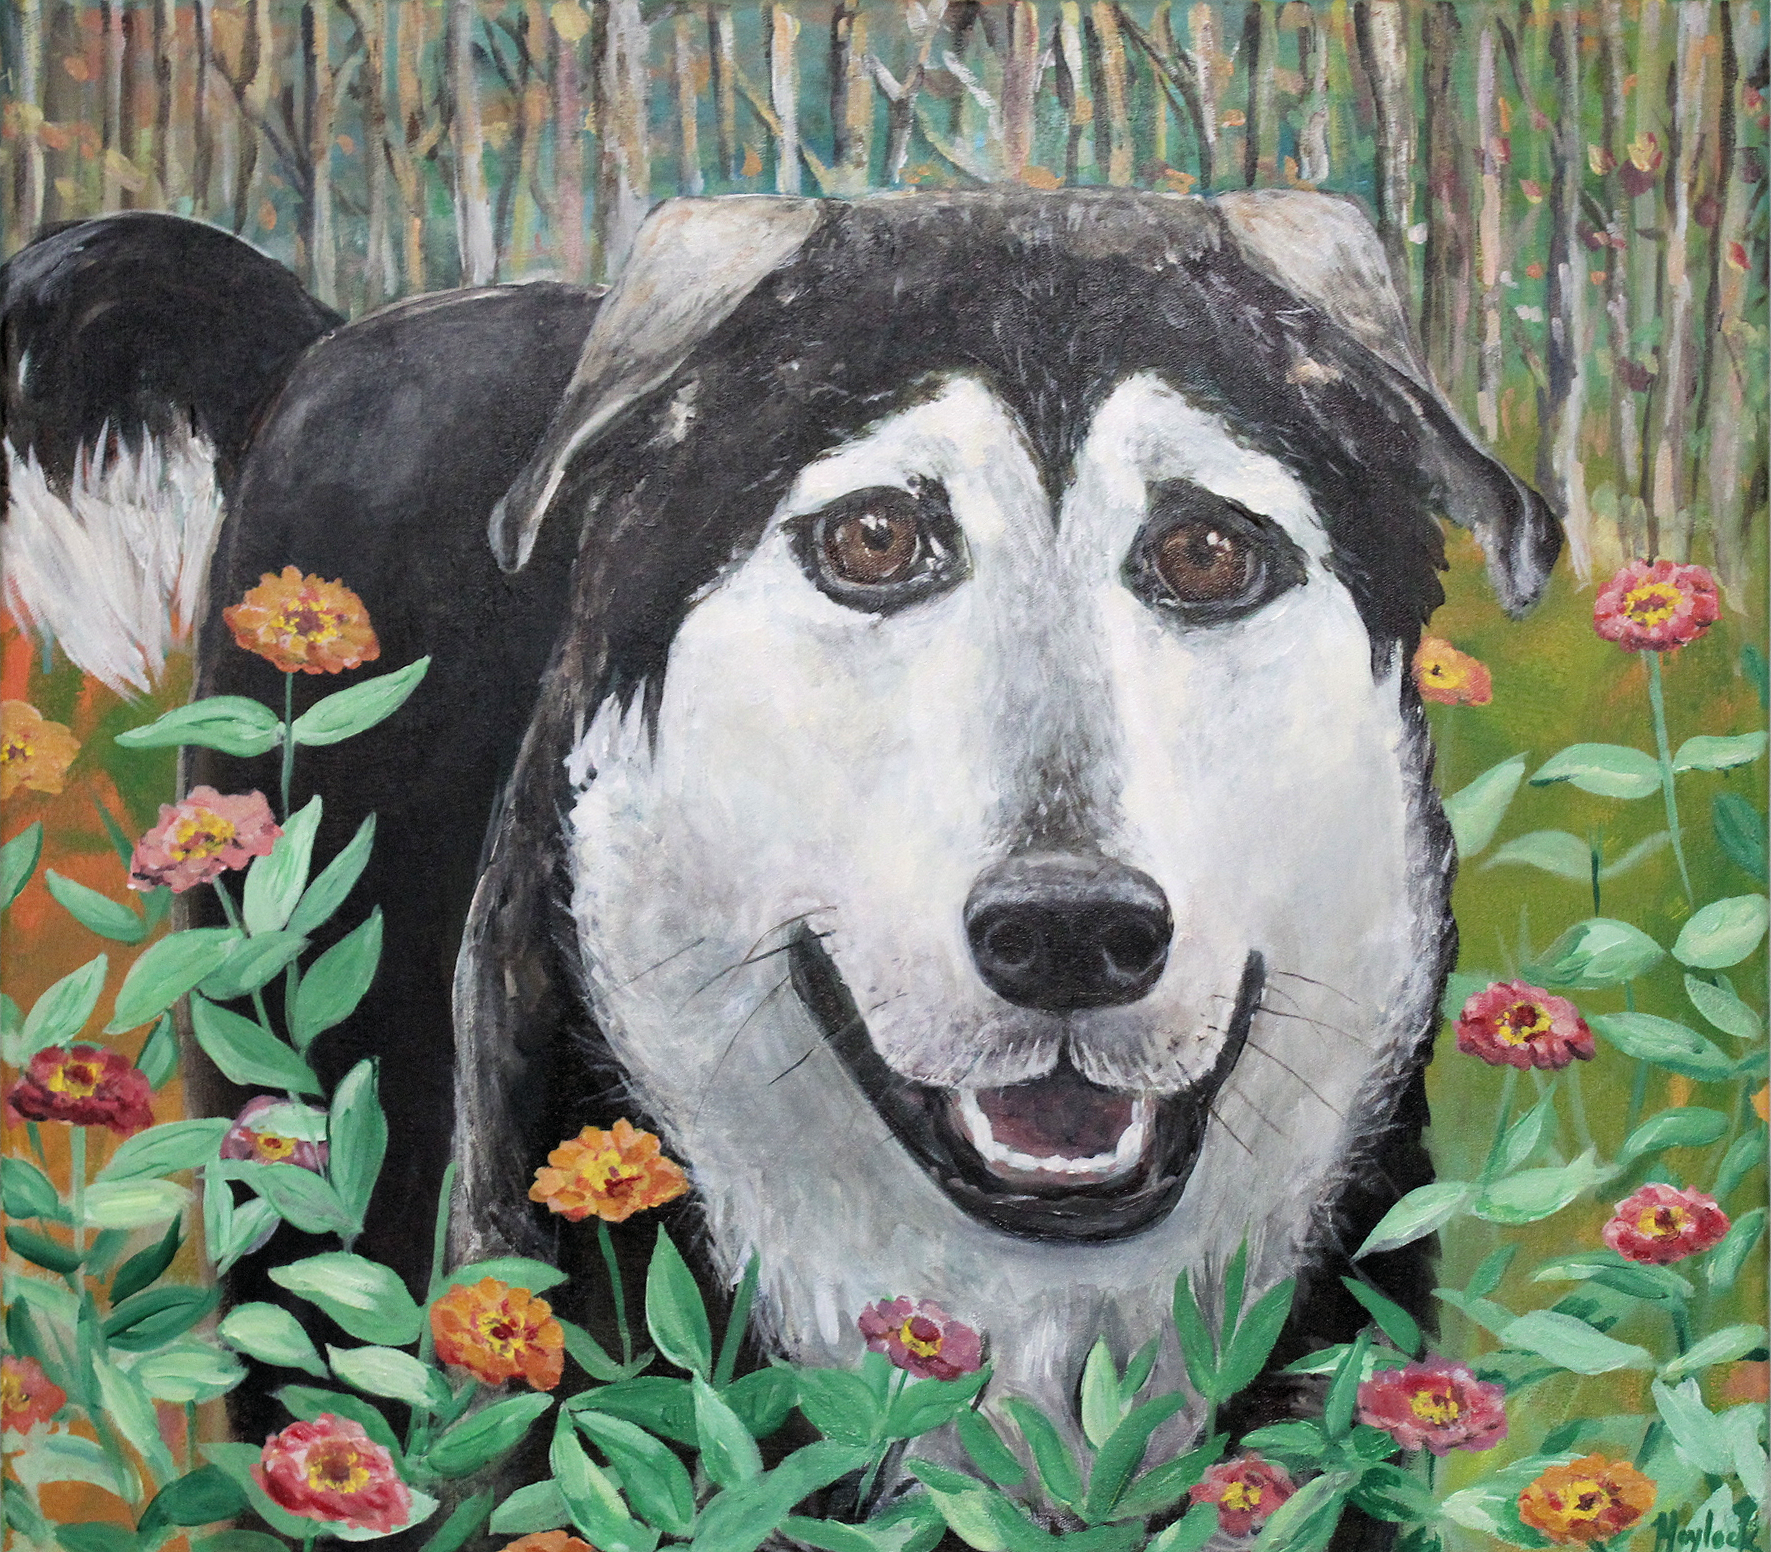
Finally, I added in the zinnias, arranging them to frame Cadet as though he was in a field of flowers.
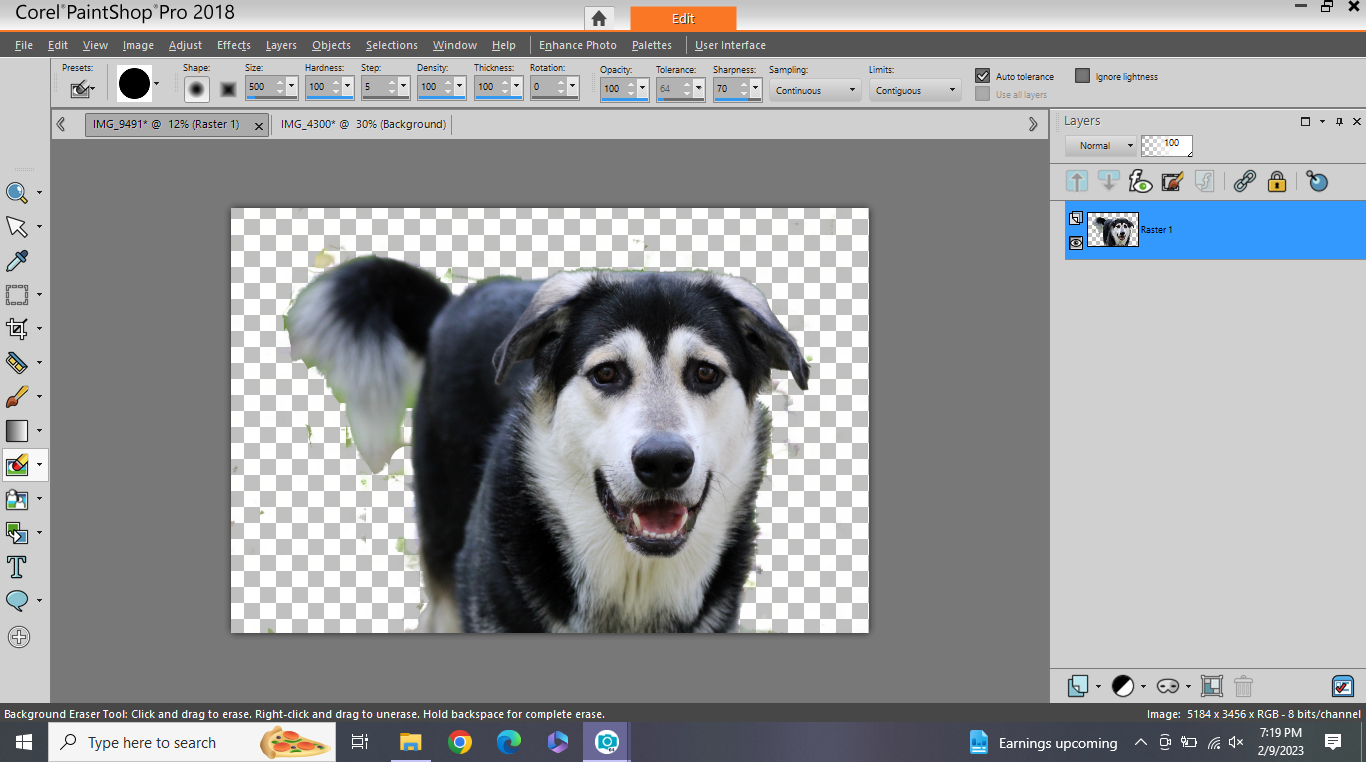
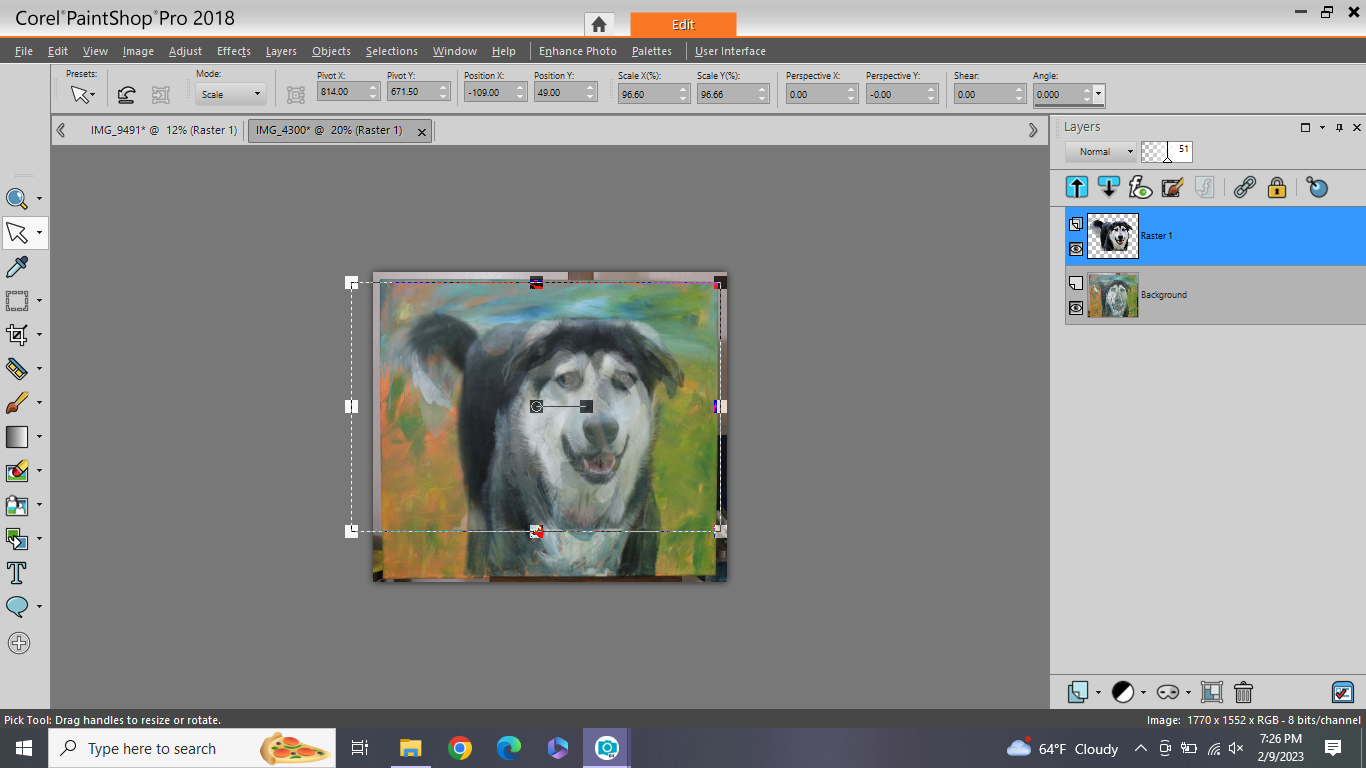

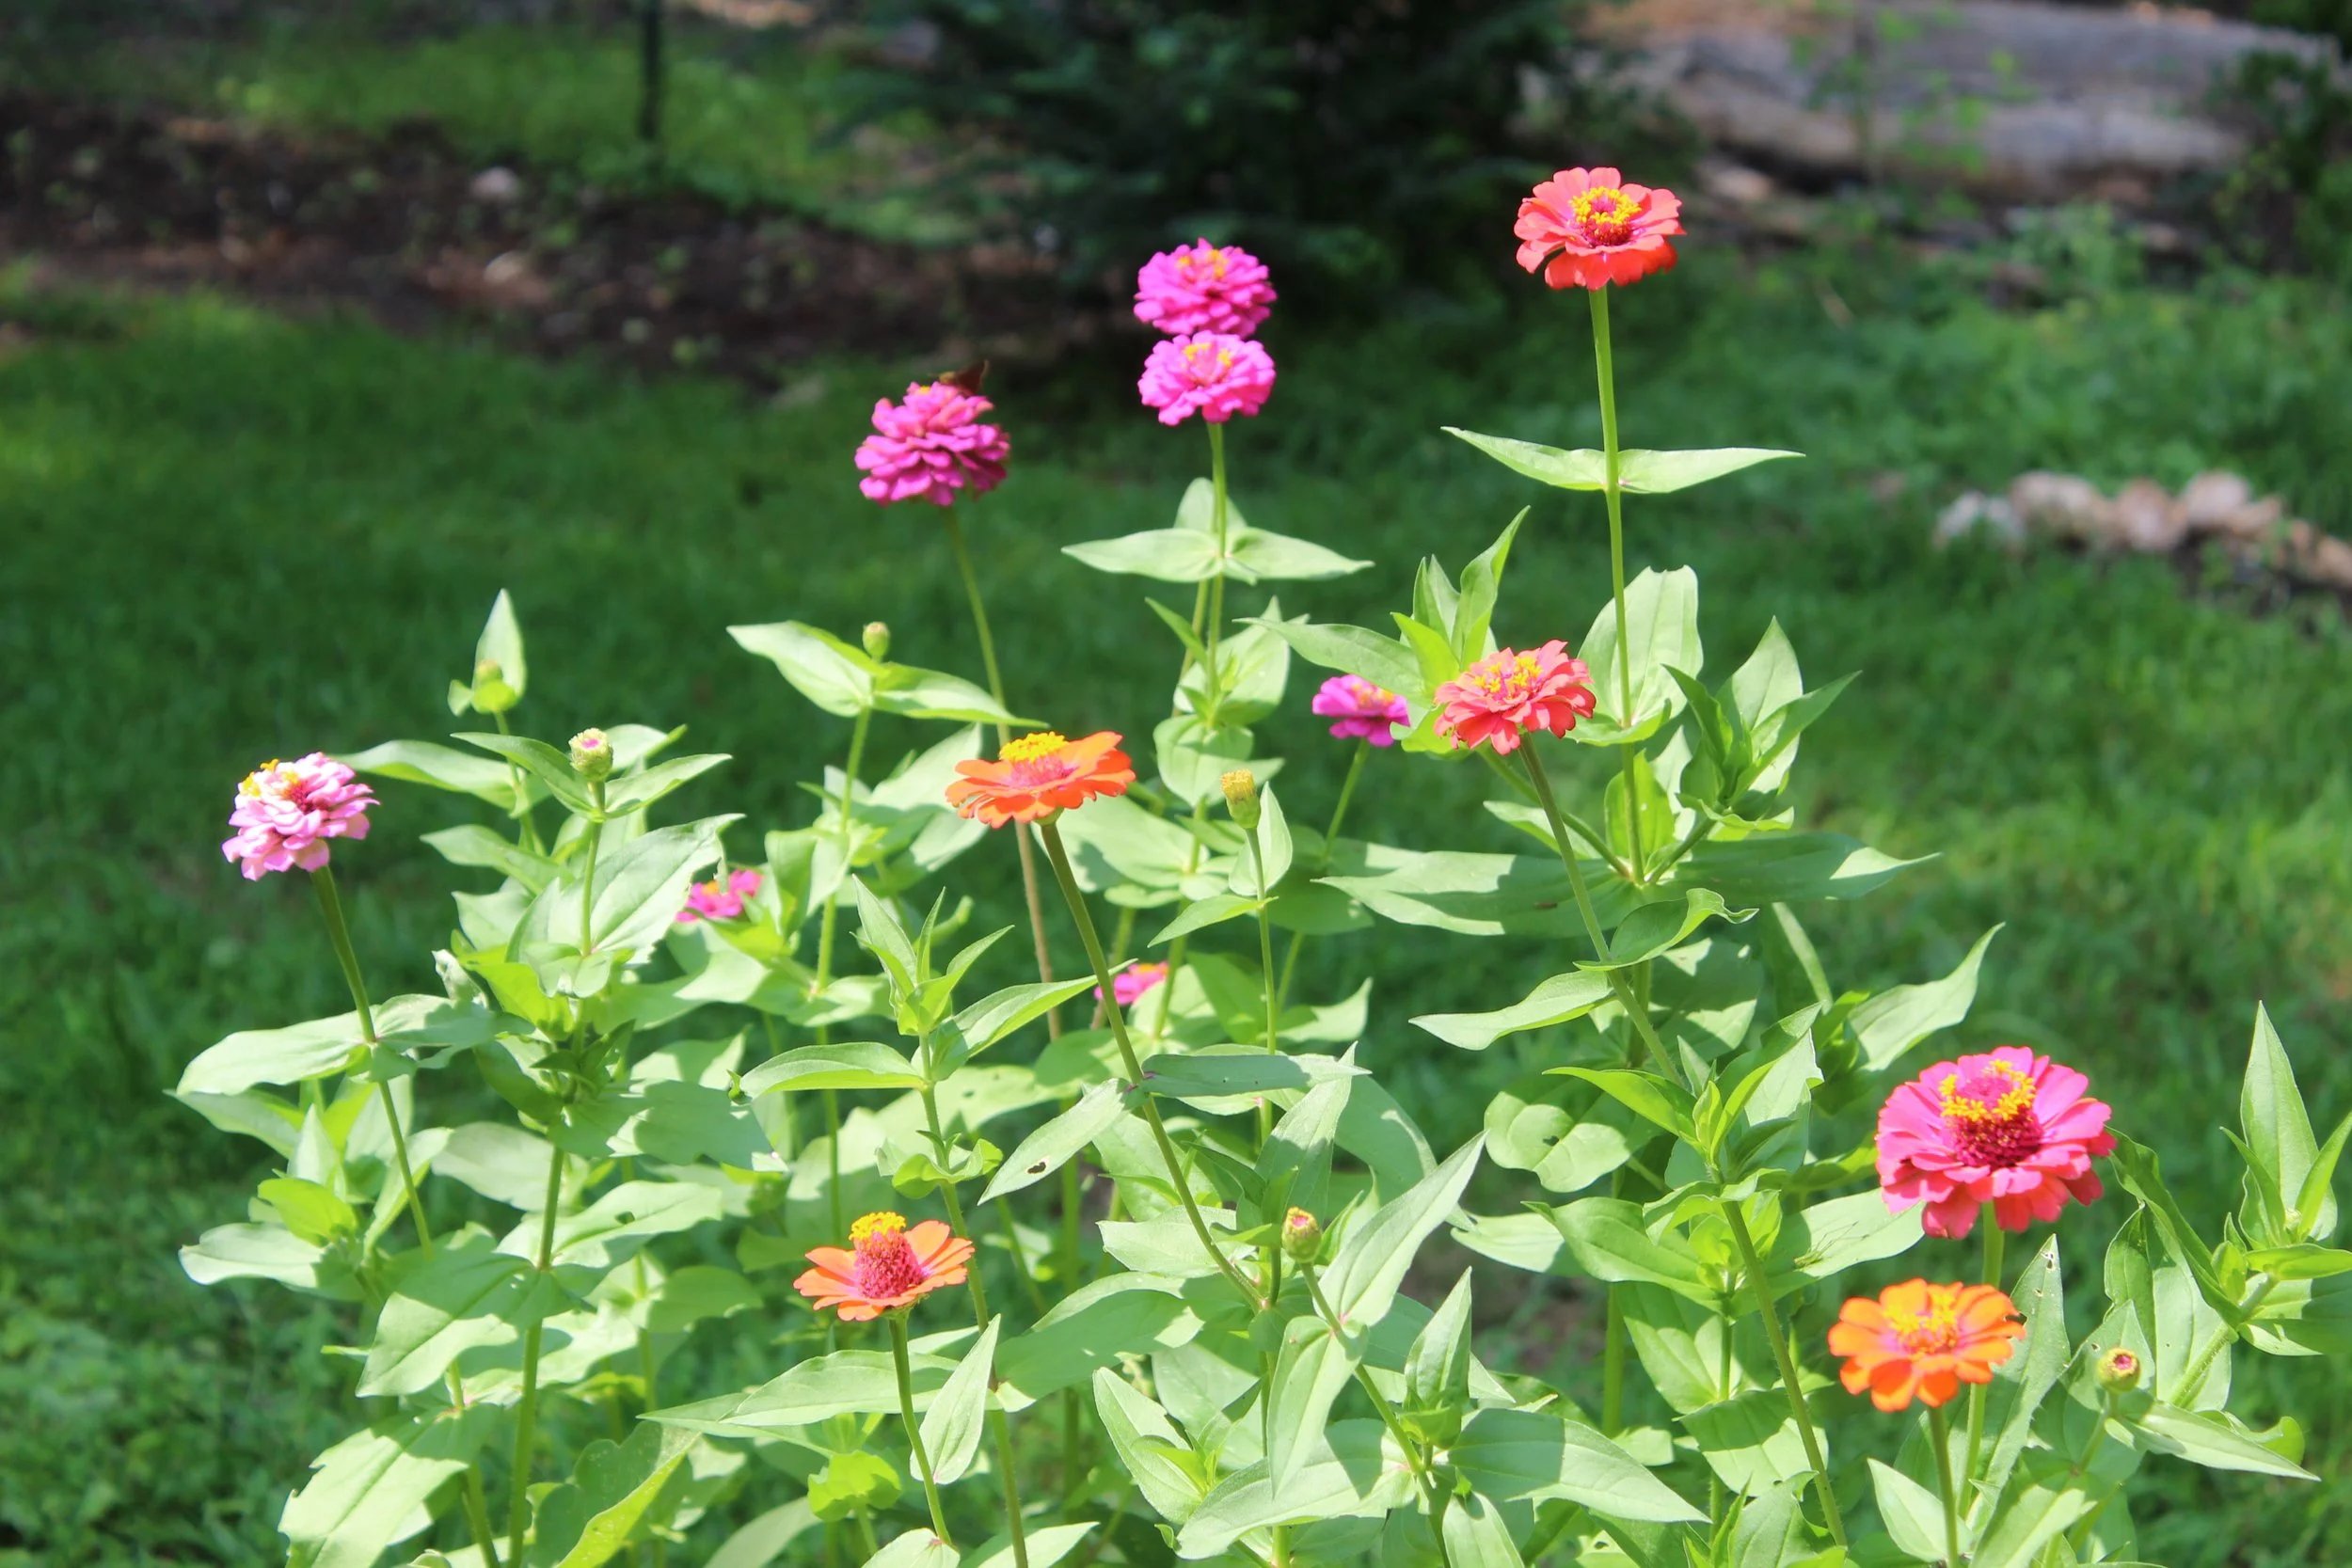
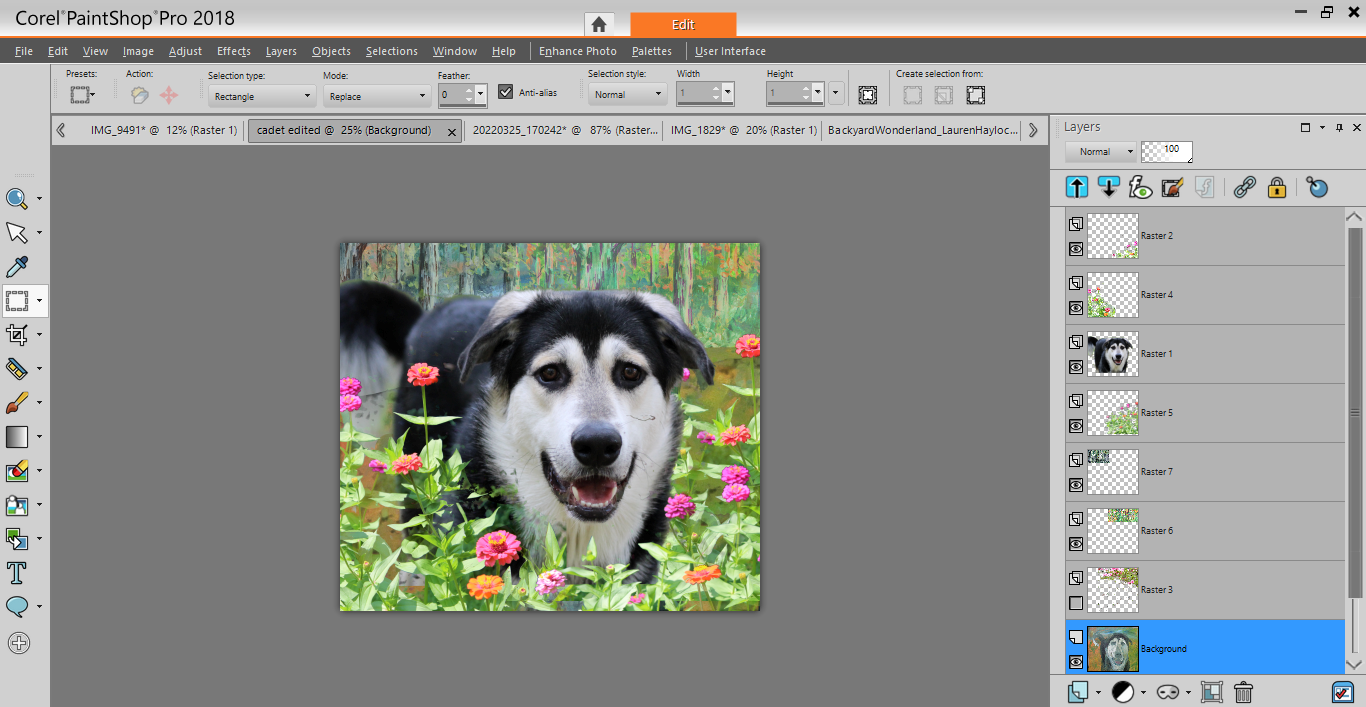

At this point, I started to get pretty excited for how the painting concept was coming together, because I could actually see my vision for how the painting will look.
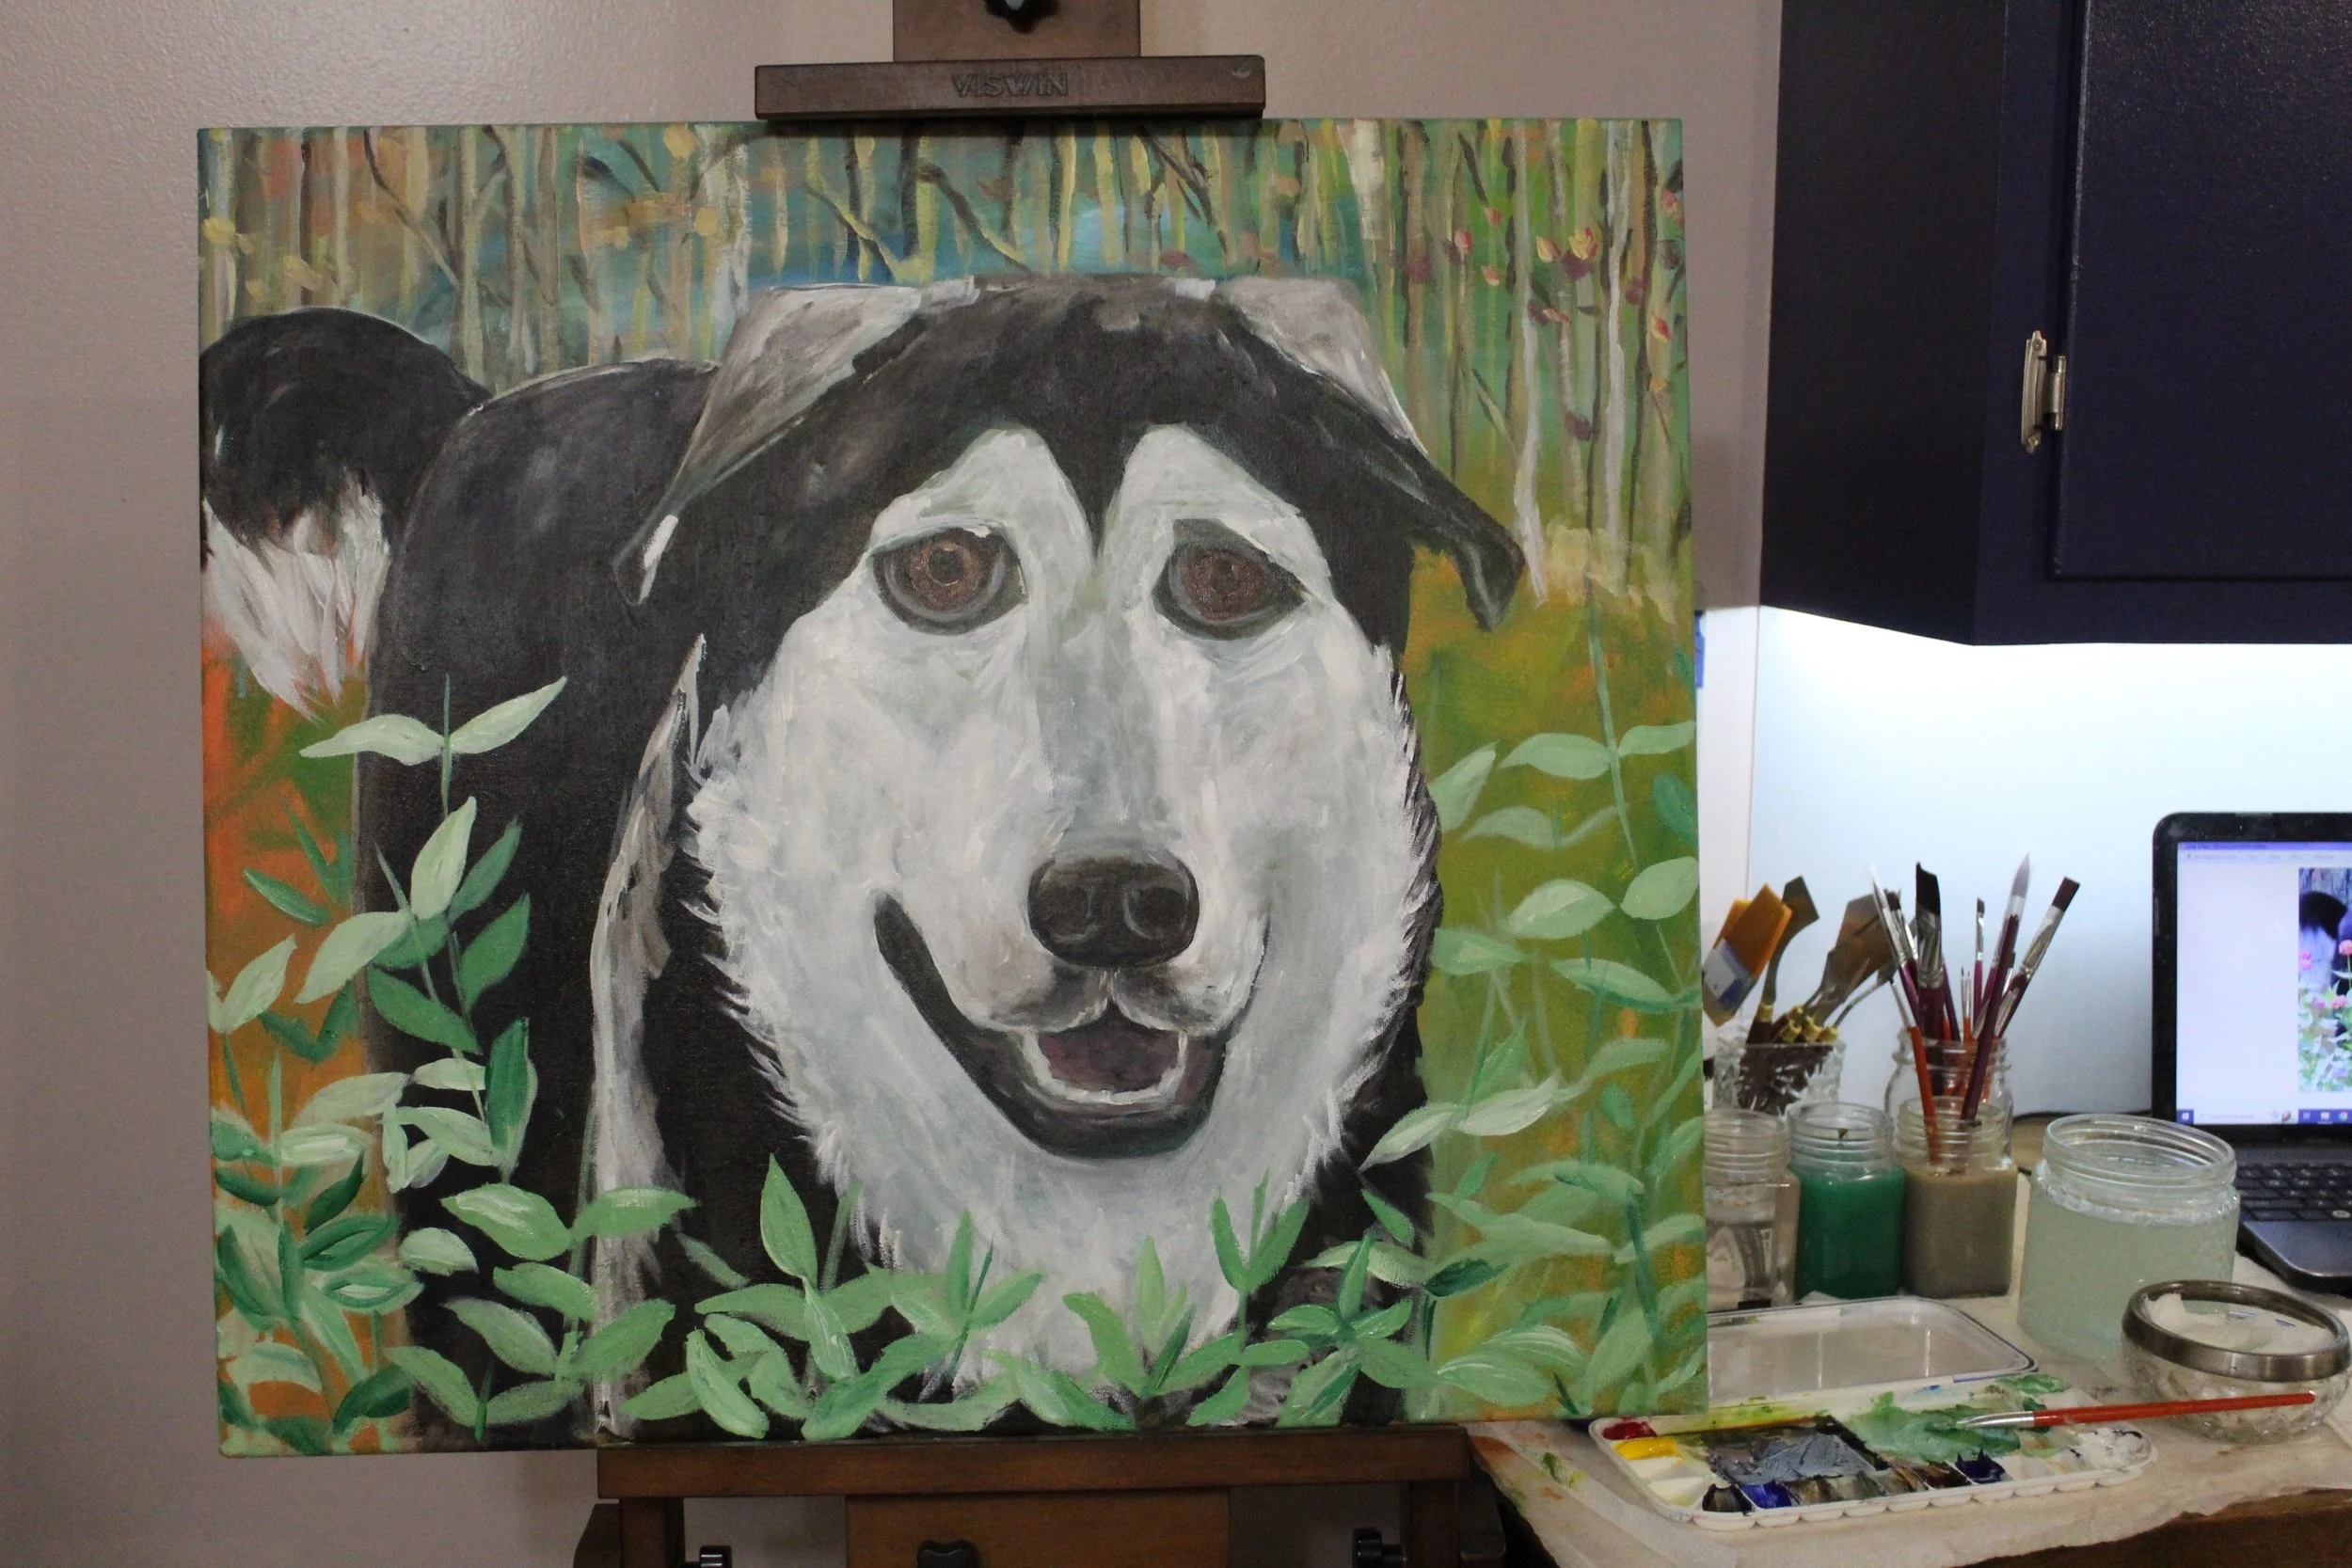
It was now time to begin to add the other elements of the painting.
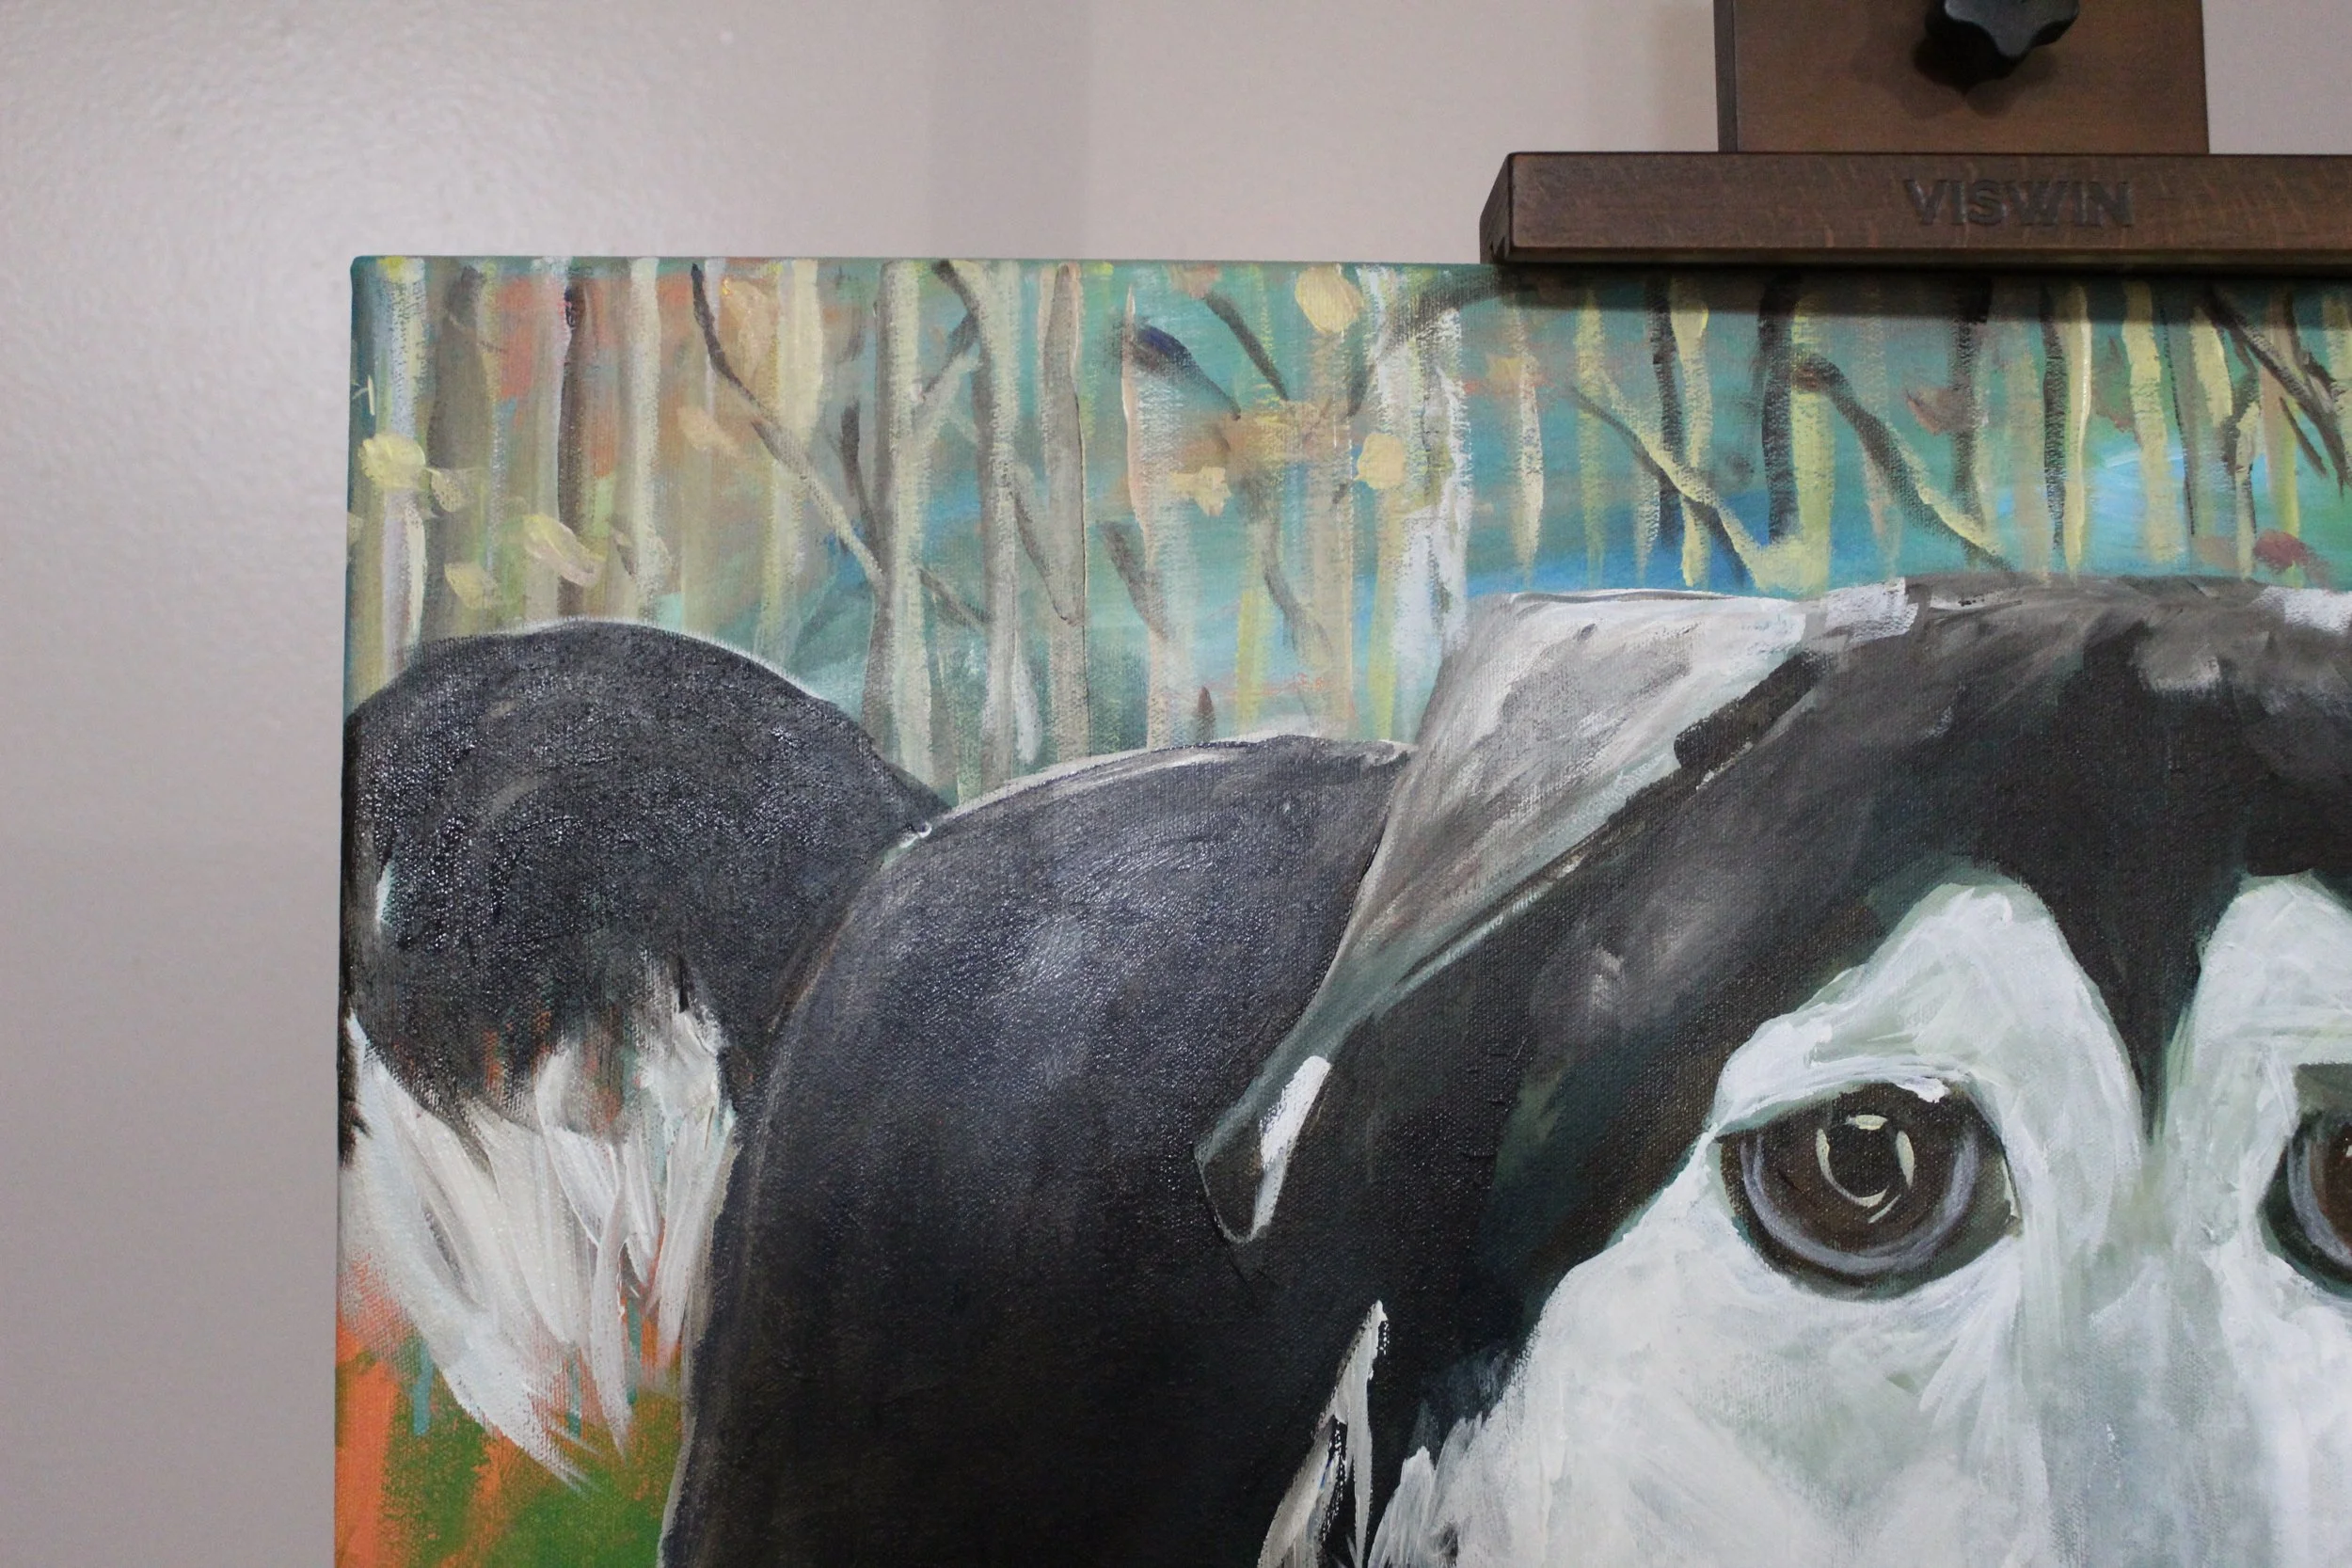
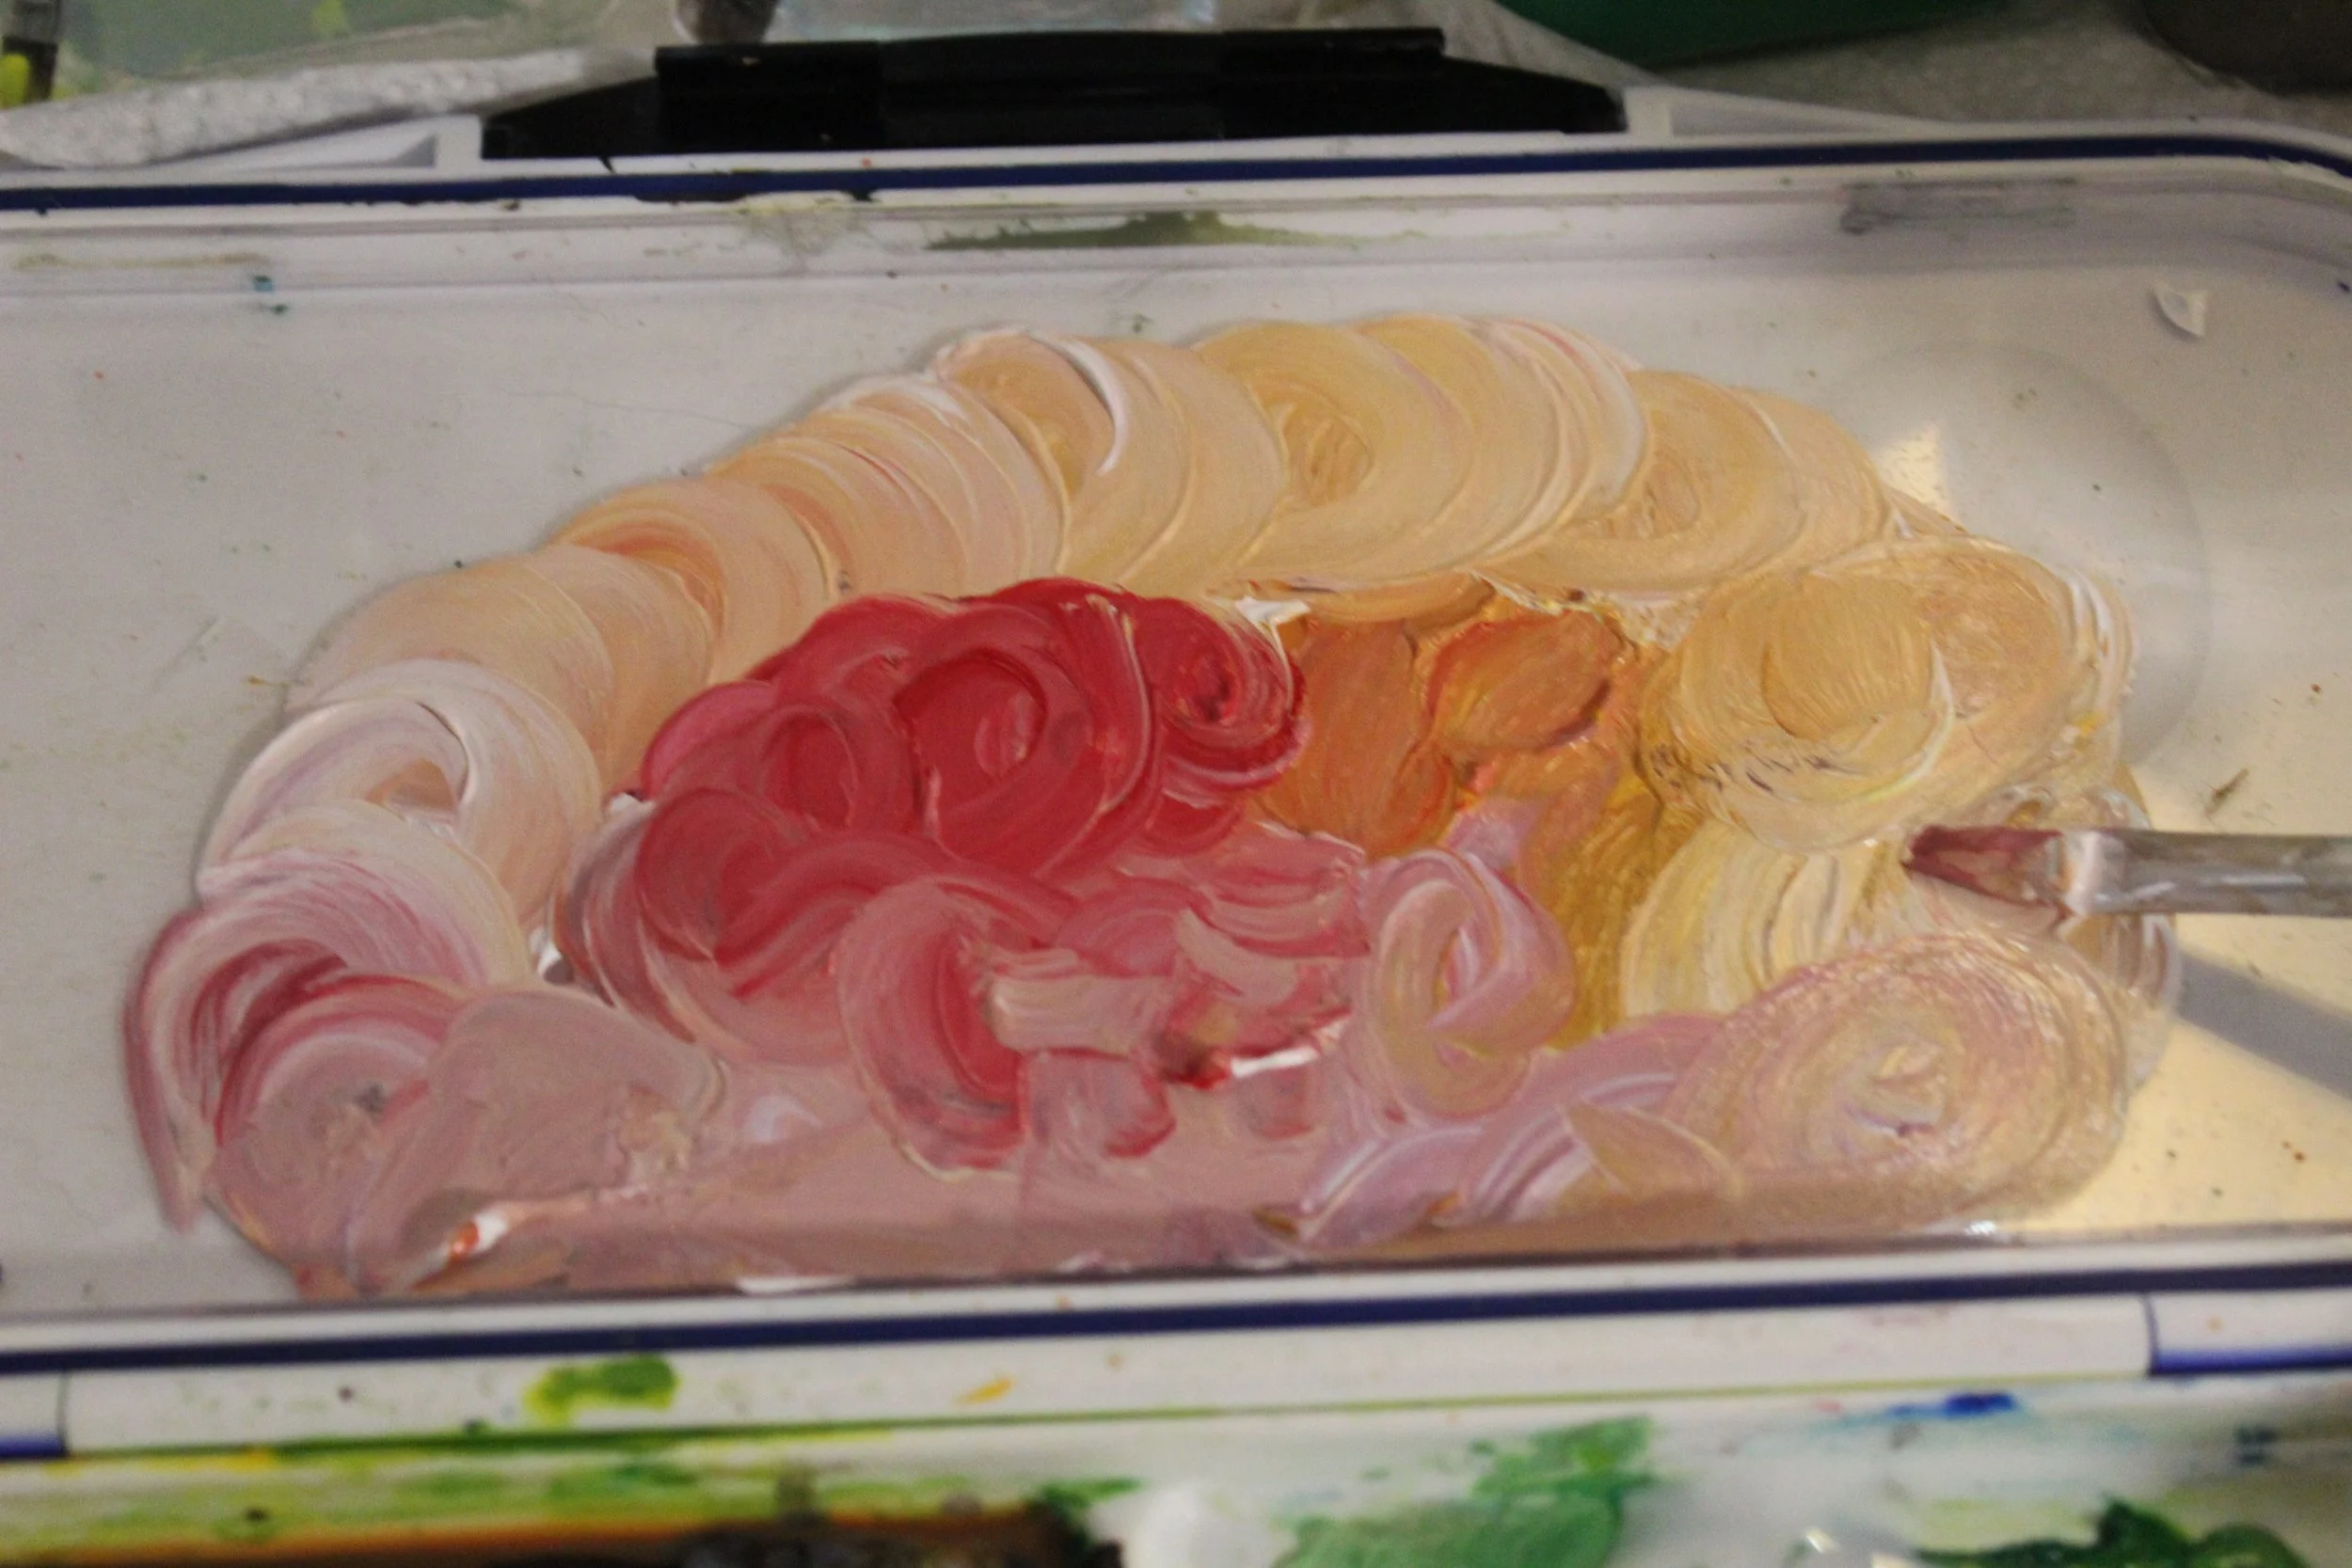
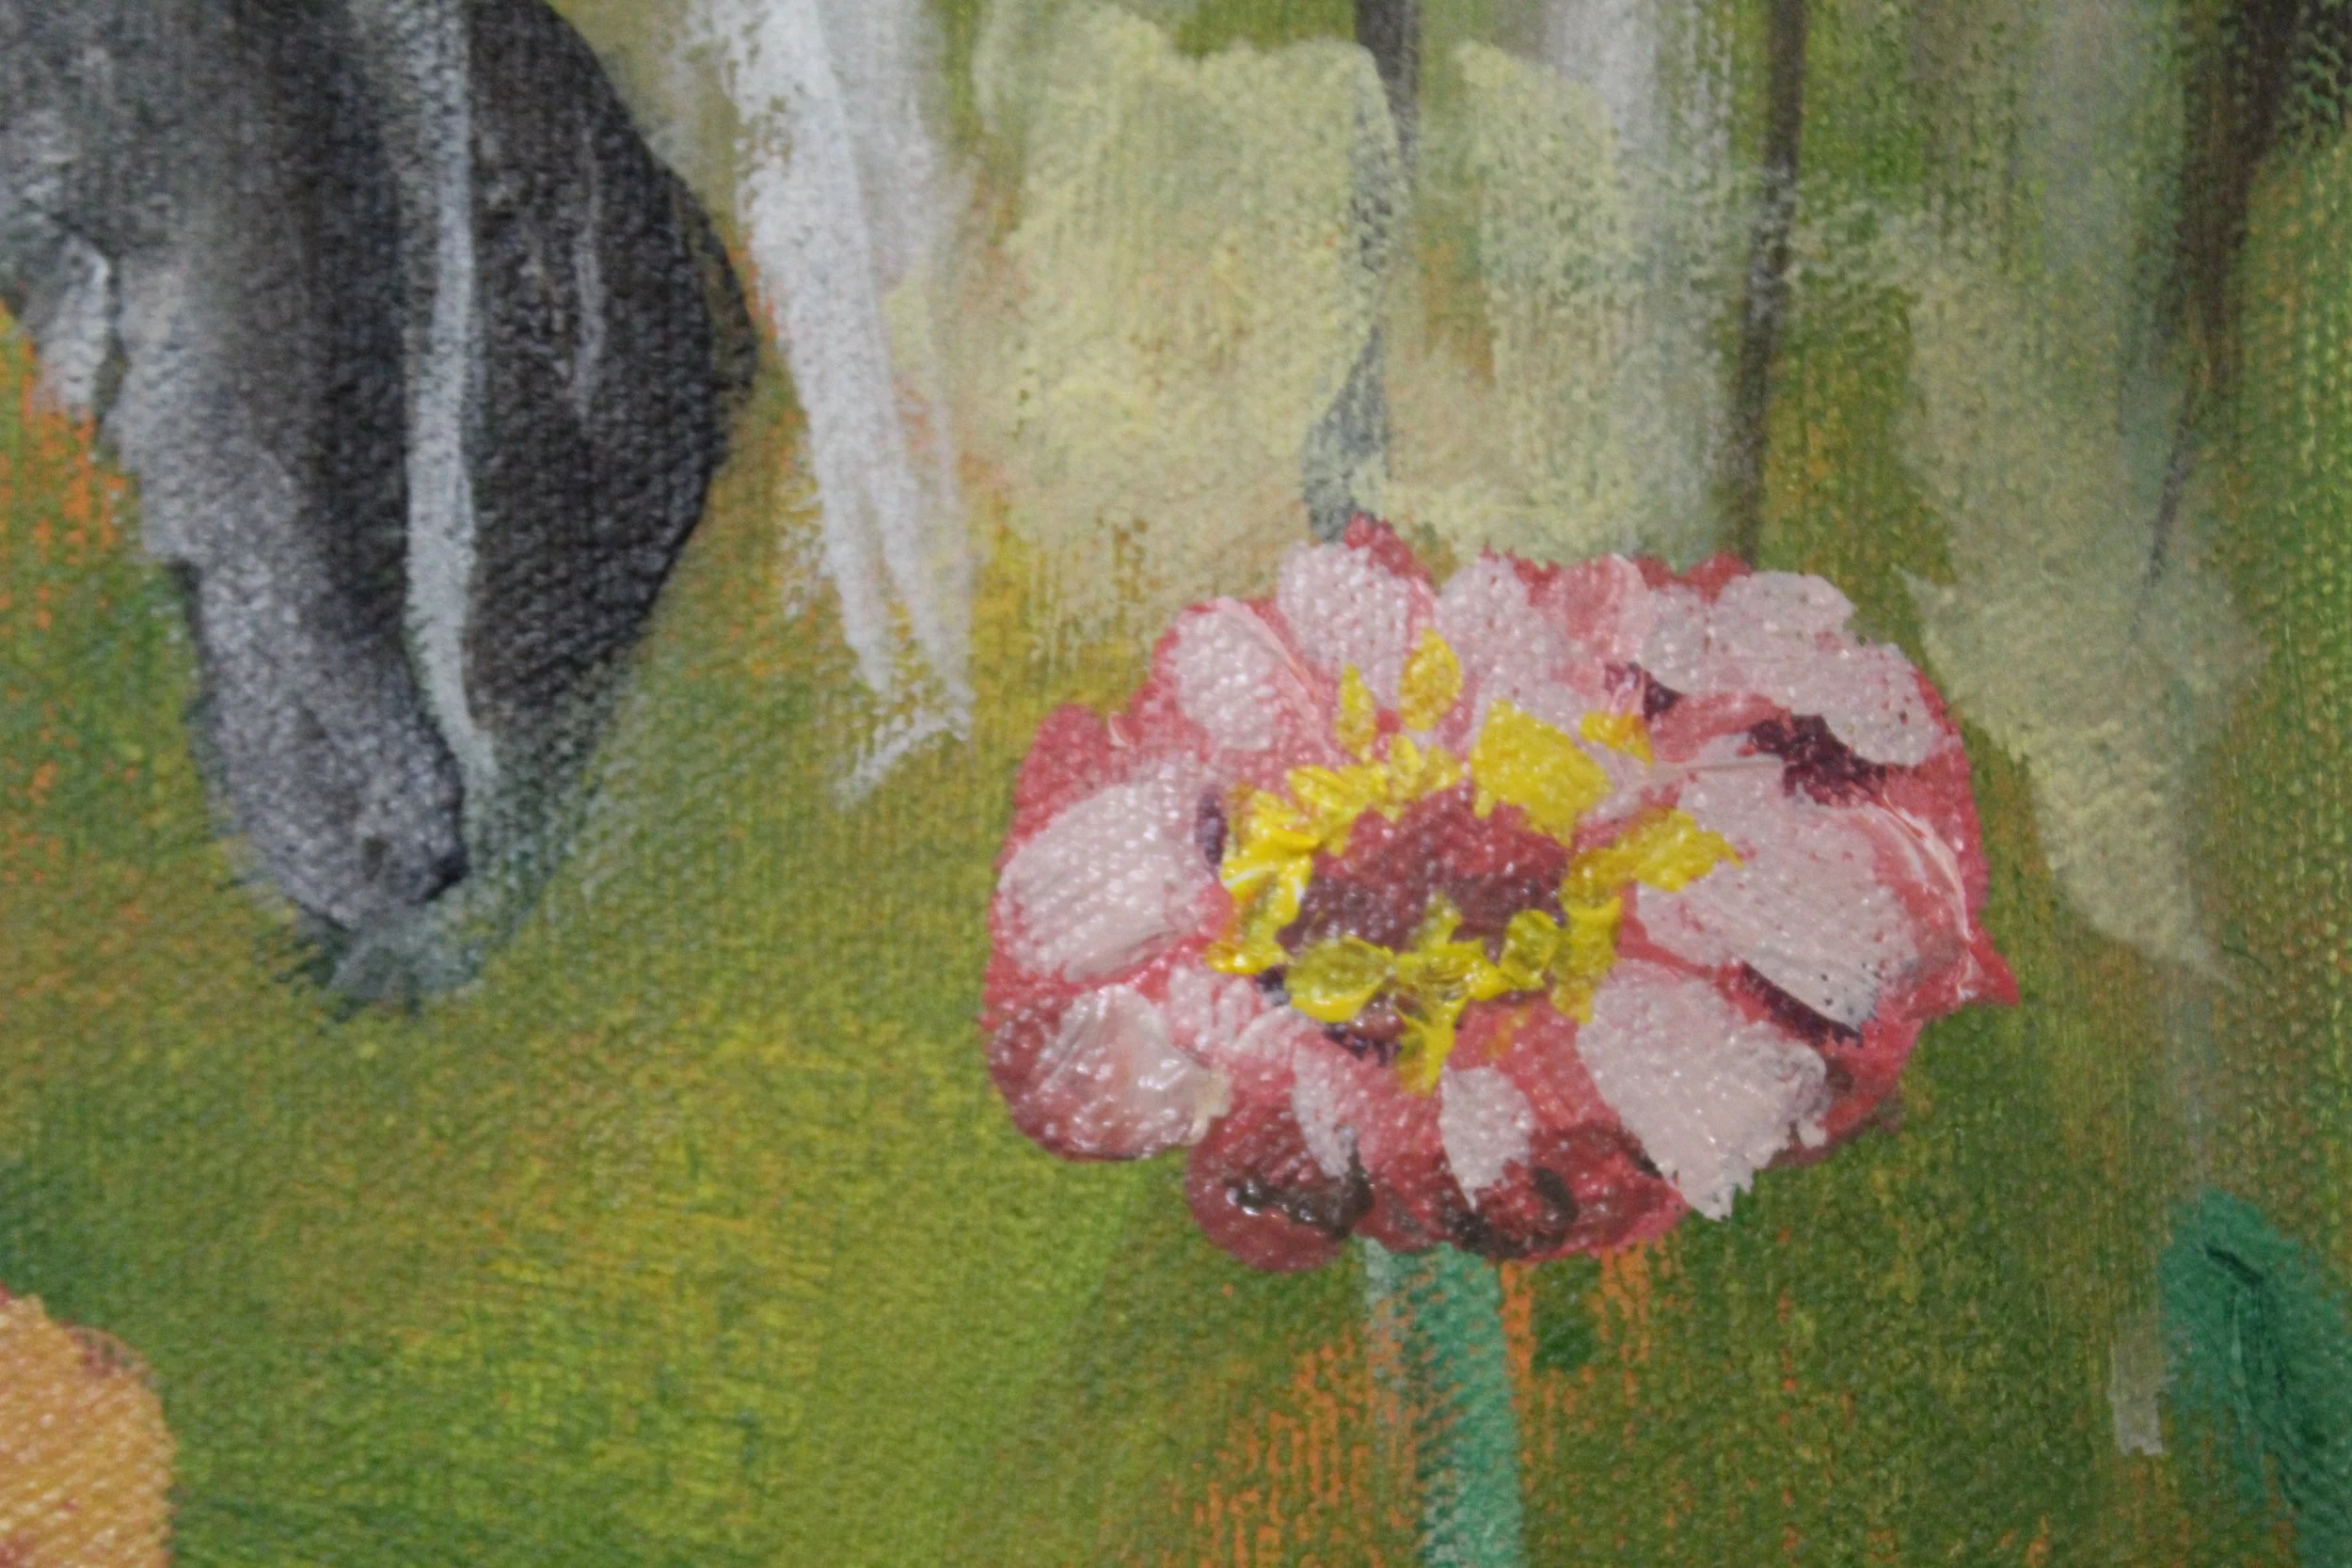
After the trees and leaves were mapped out, it was time to add the flowers.
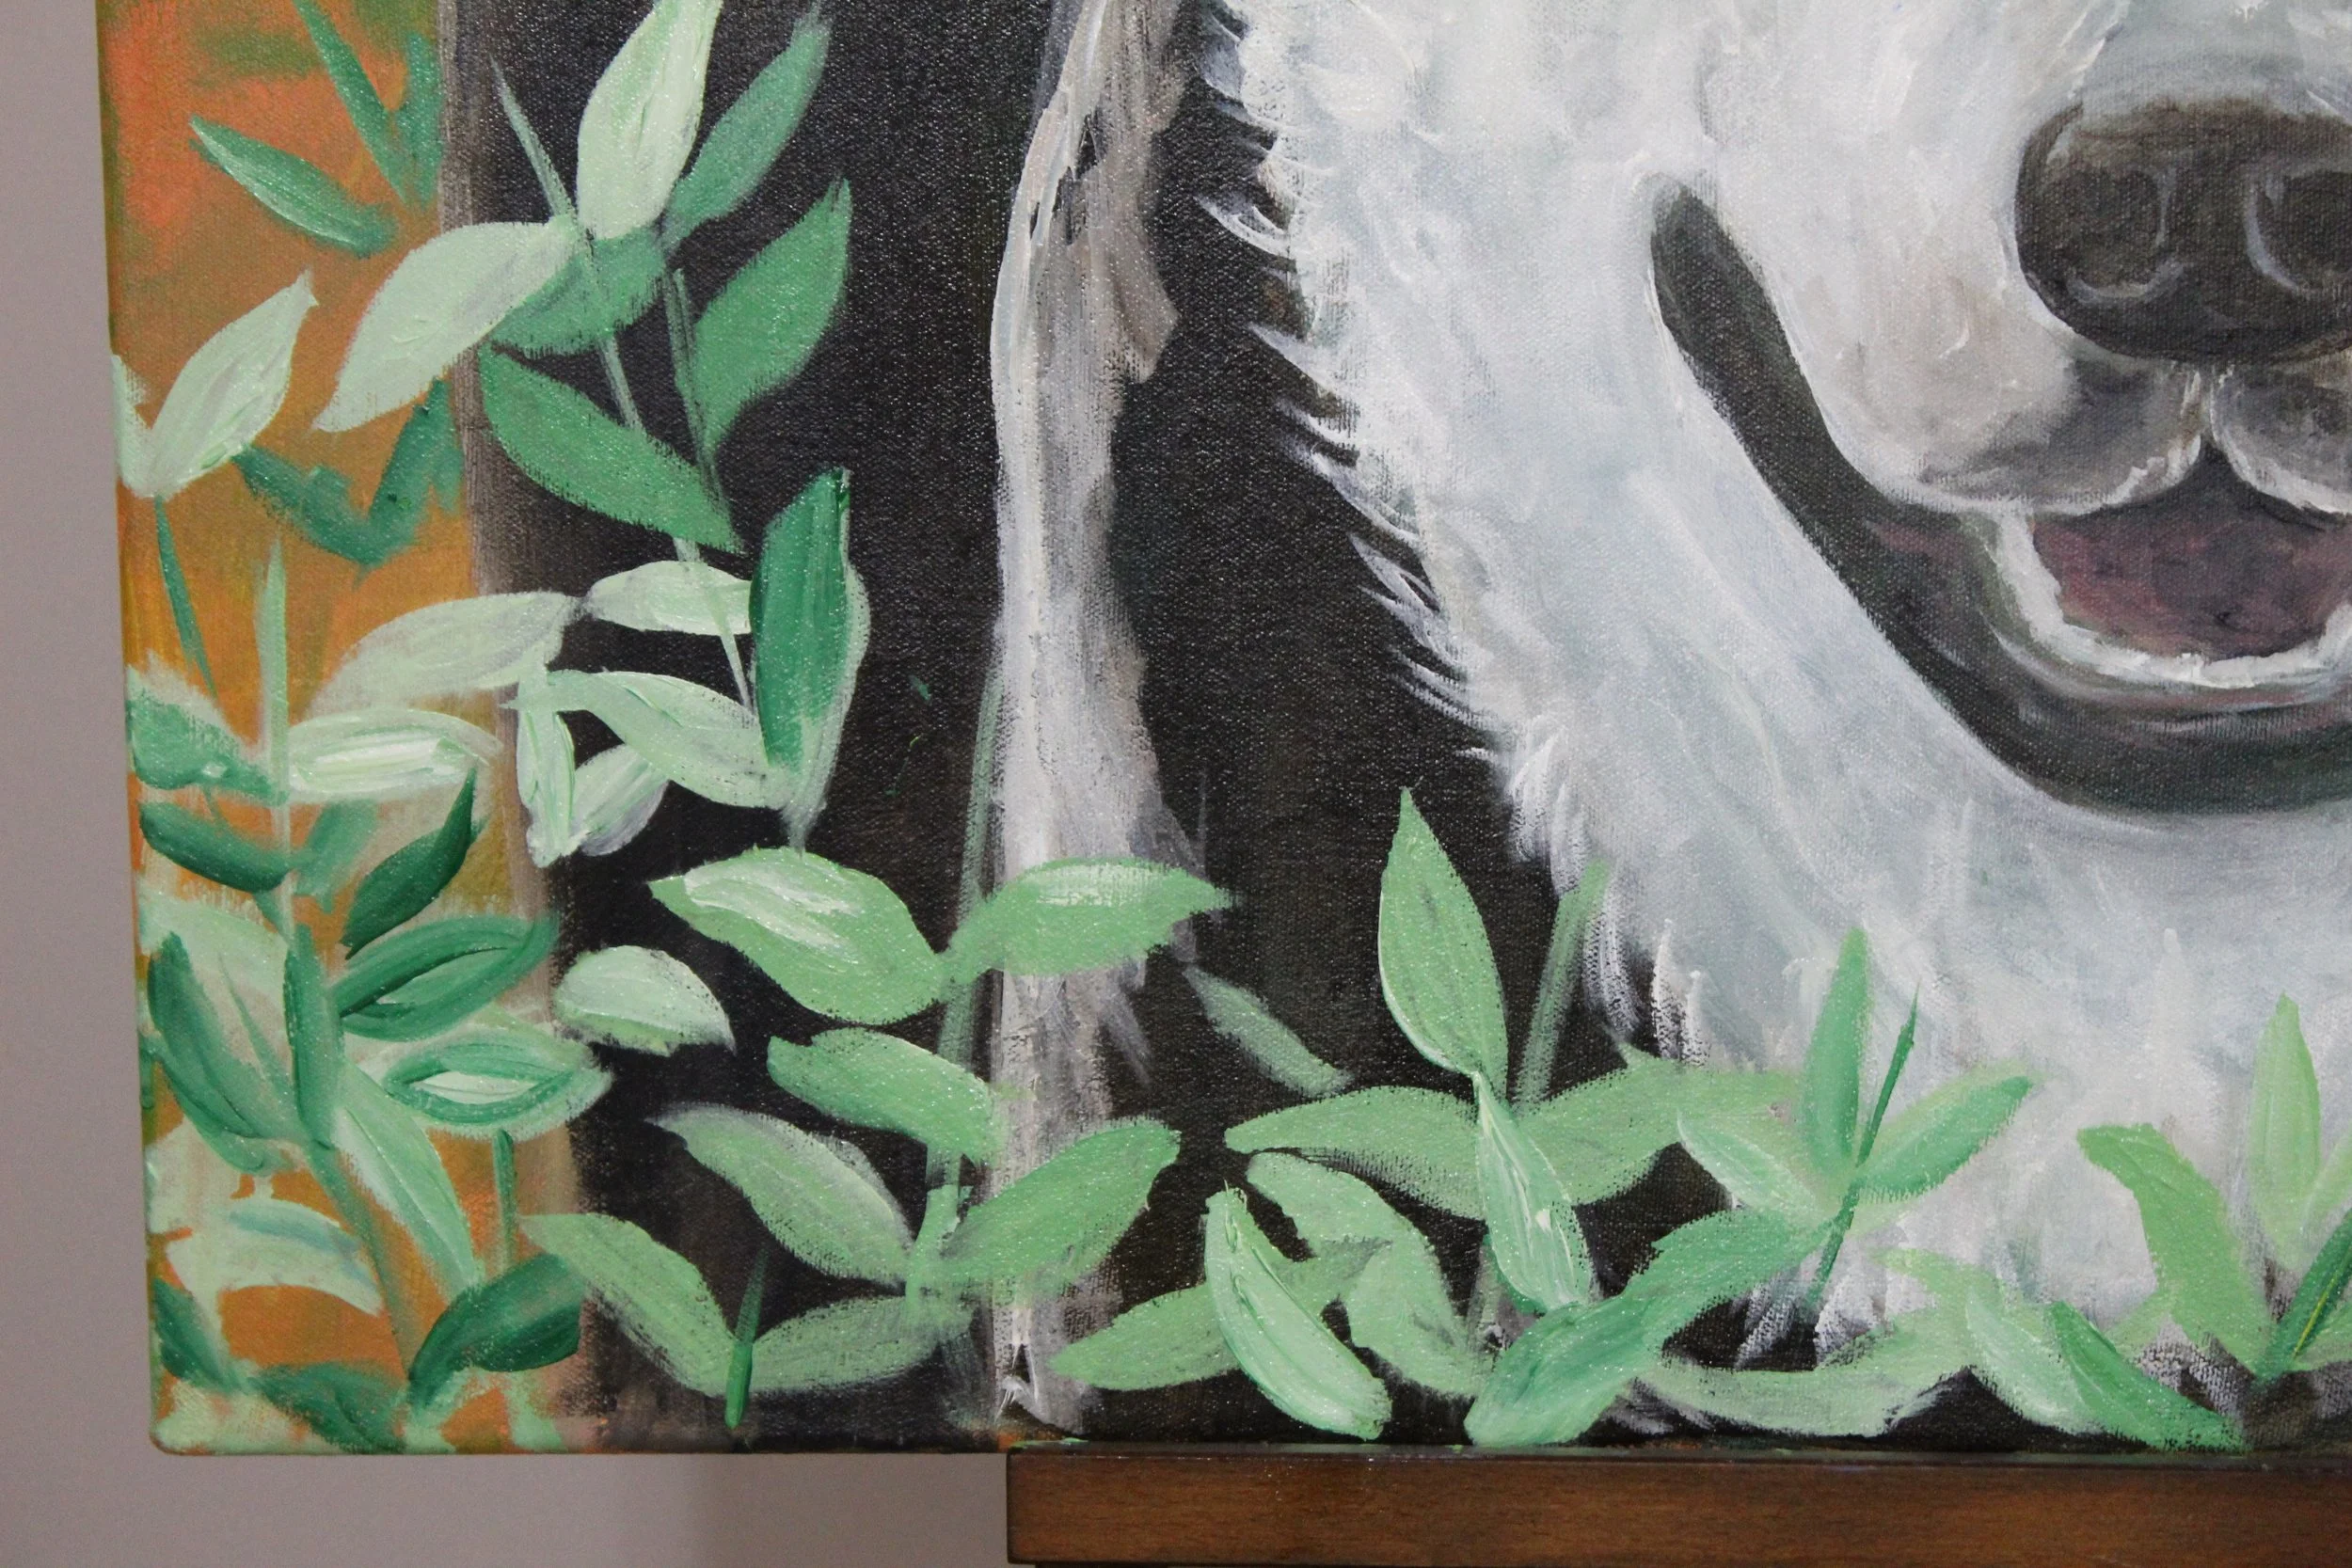
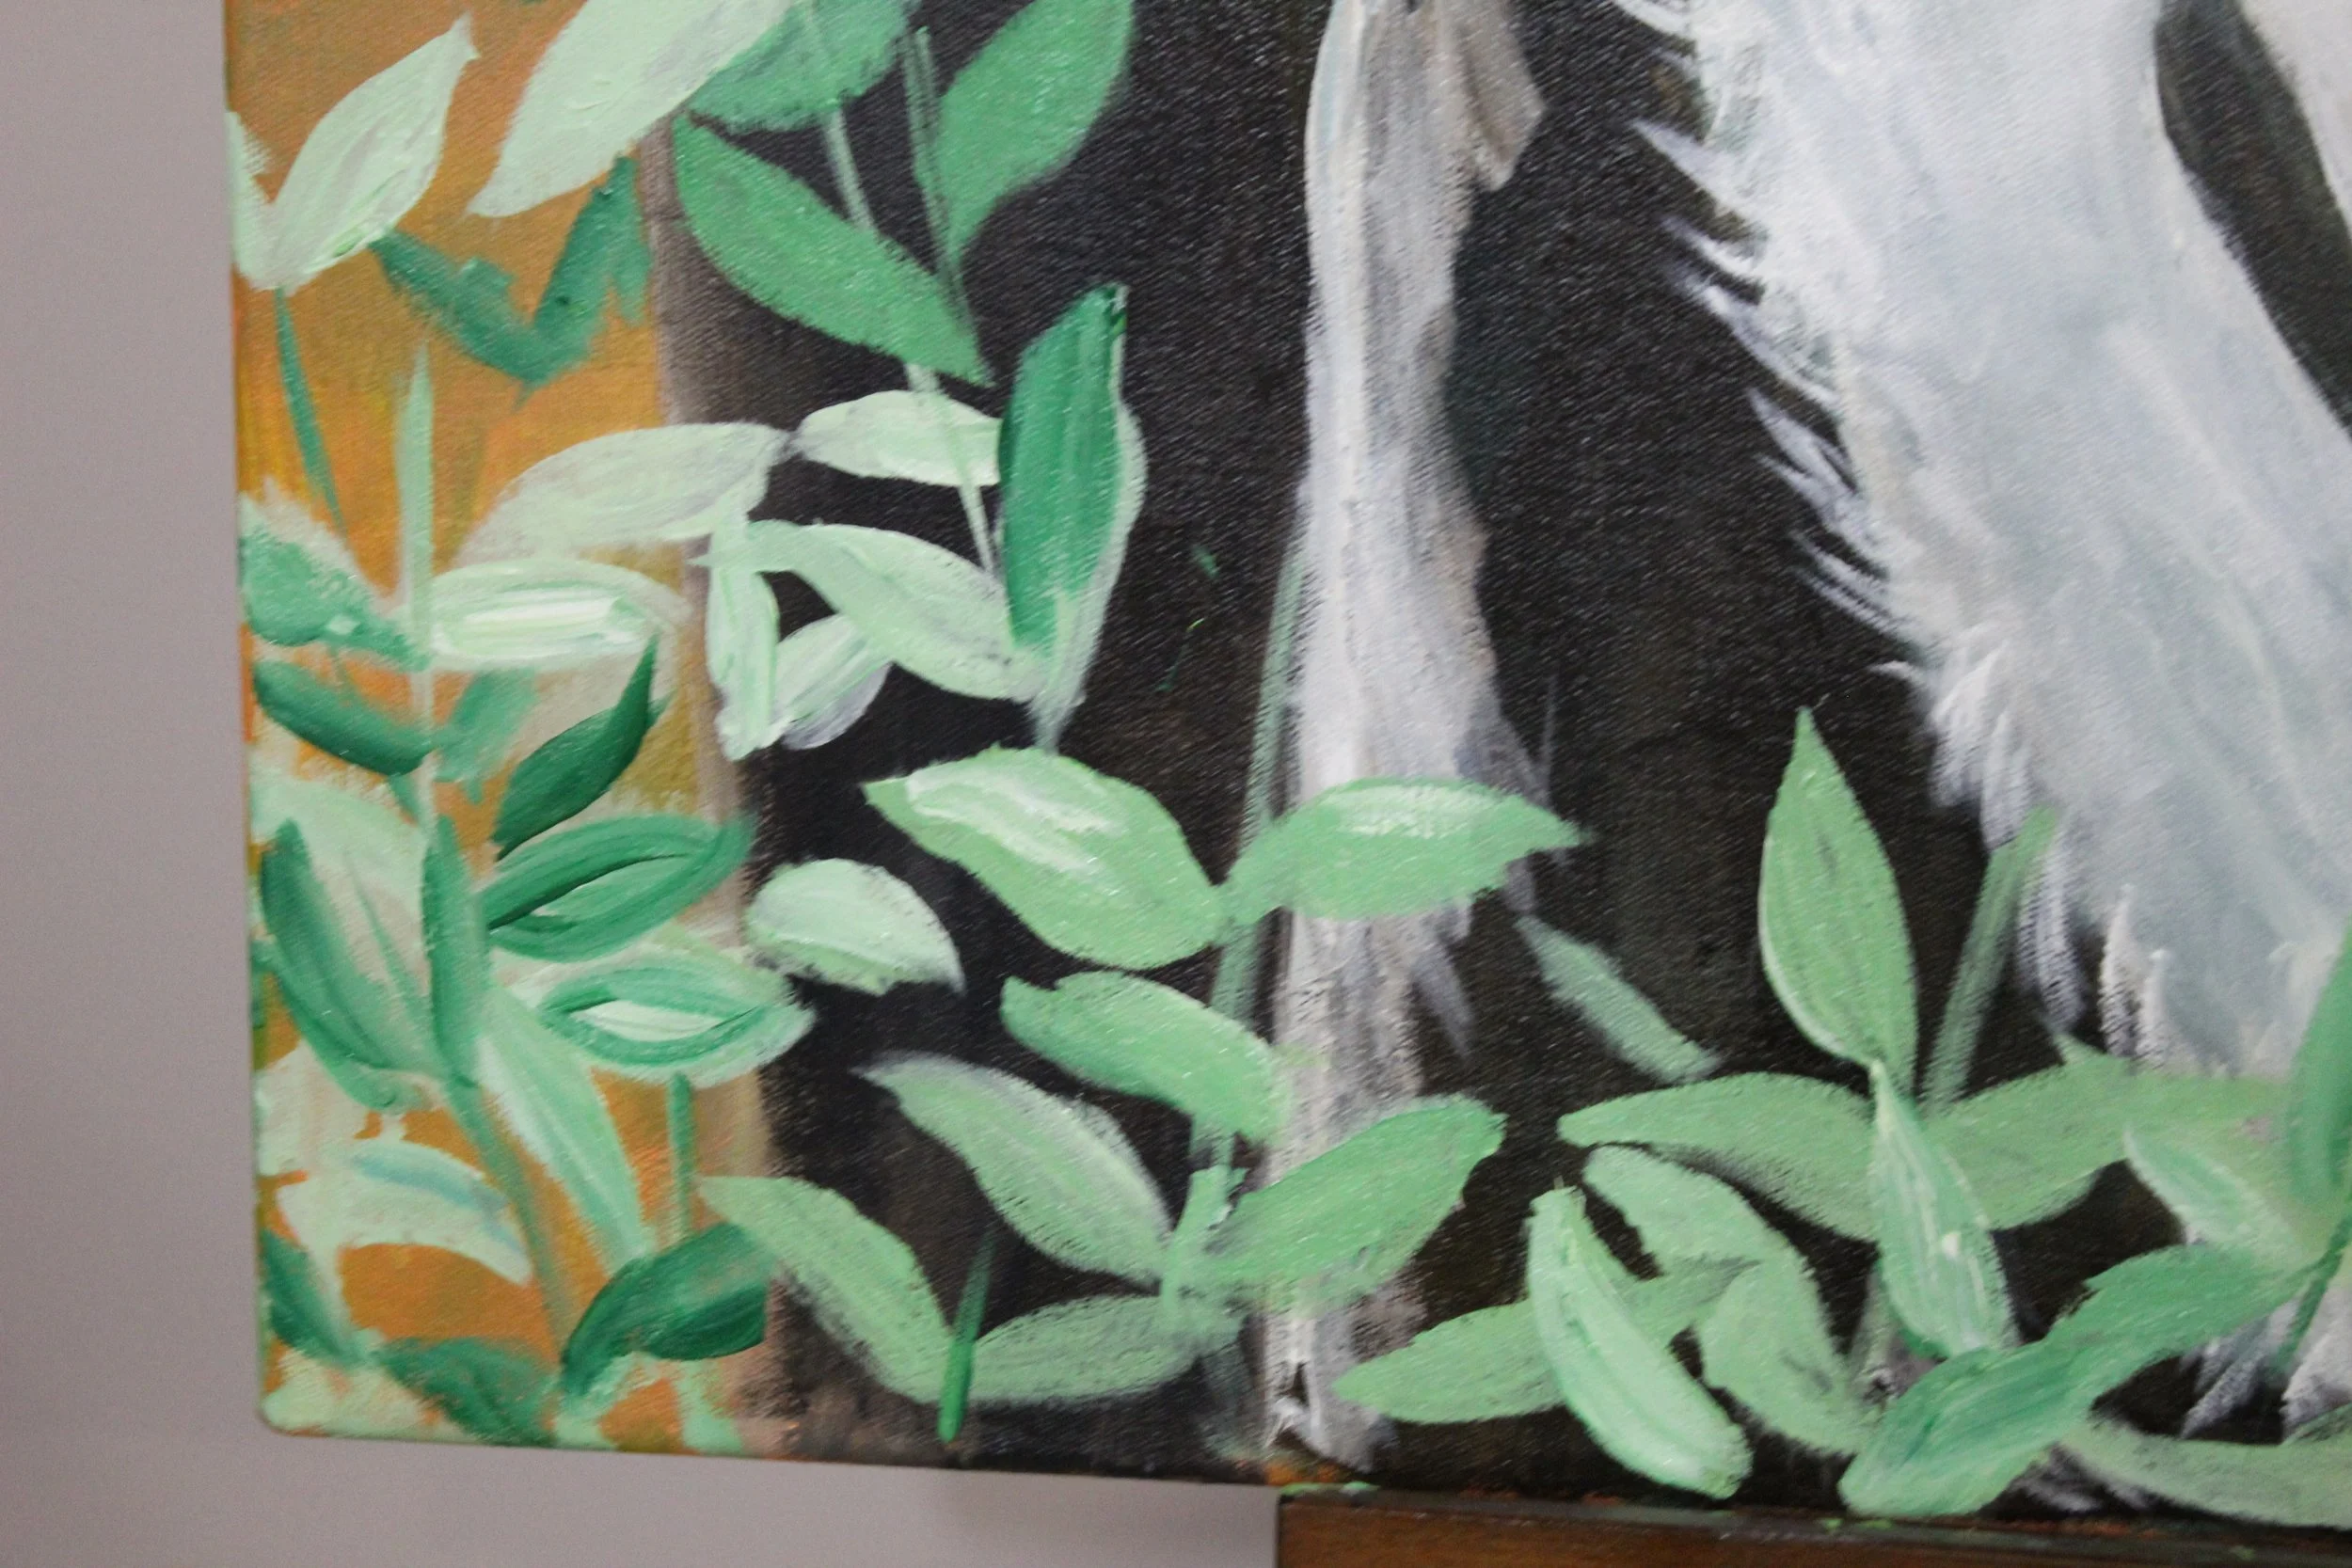
Now that all the main elements of the painting were added, it was time to add in the fine details and make any subtle adjustments.
At last, I was satisfied with all the details, and the painted was able to be signed and completed.
Here is the finished painting!
